Another day, another adventure, on this crazy ride home. Its the journey, right? Because you’re never really done, and I’d never want to be.
Piece by piece, step by step
A few weeks back, we knocked out the closets in the master bedroom in anticipation of reframing and rebuilding one in each corner. Three for Dan, one for me, he jokes. But really, he has more clothes and shoes than me, and with the original closets and their awkward layout, there was no way we were going to fit everything.

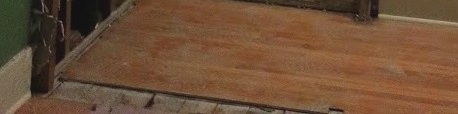
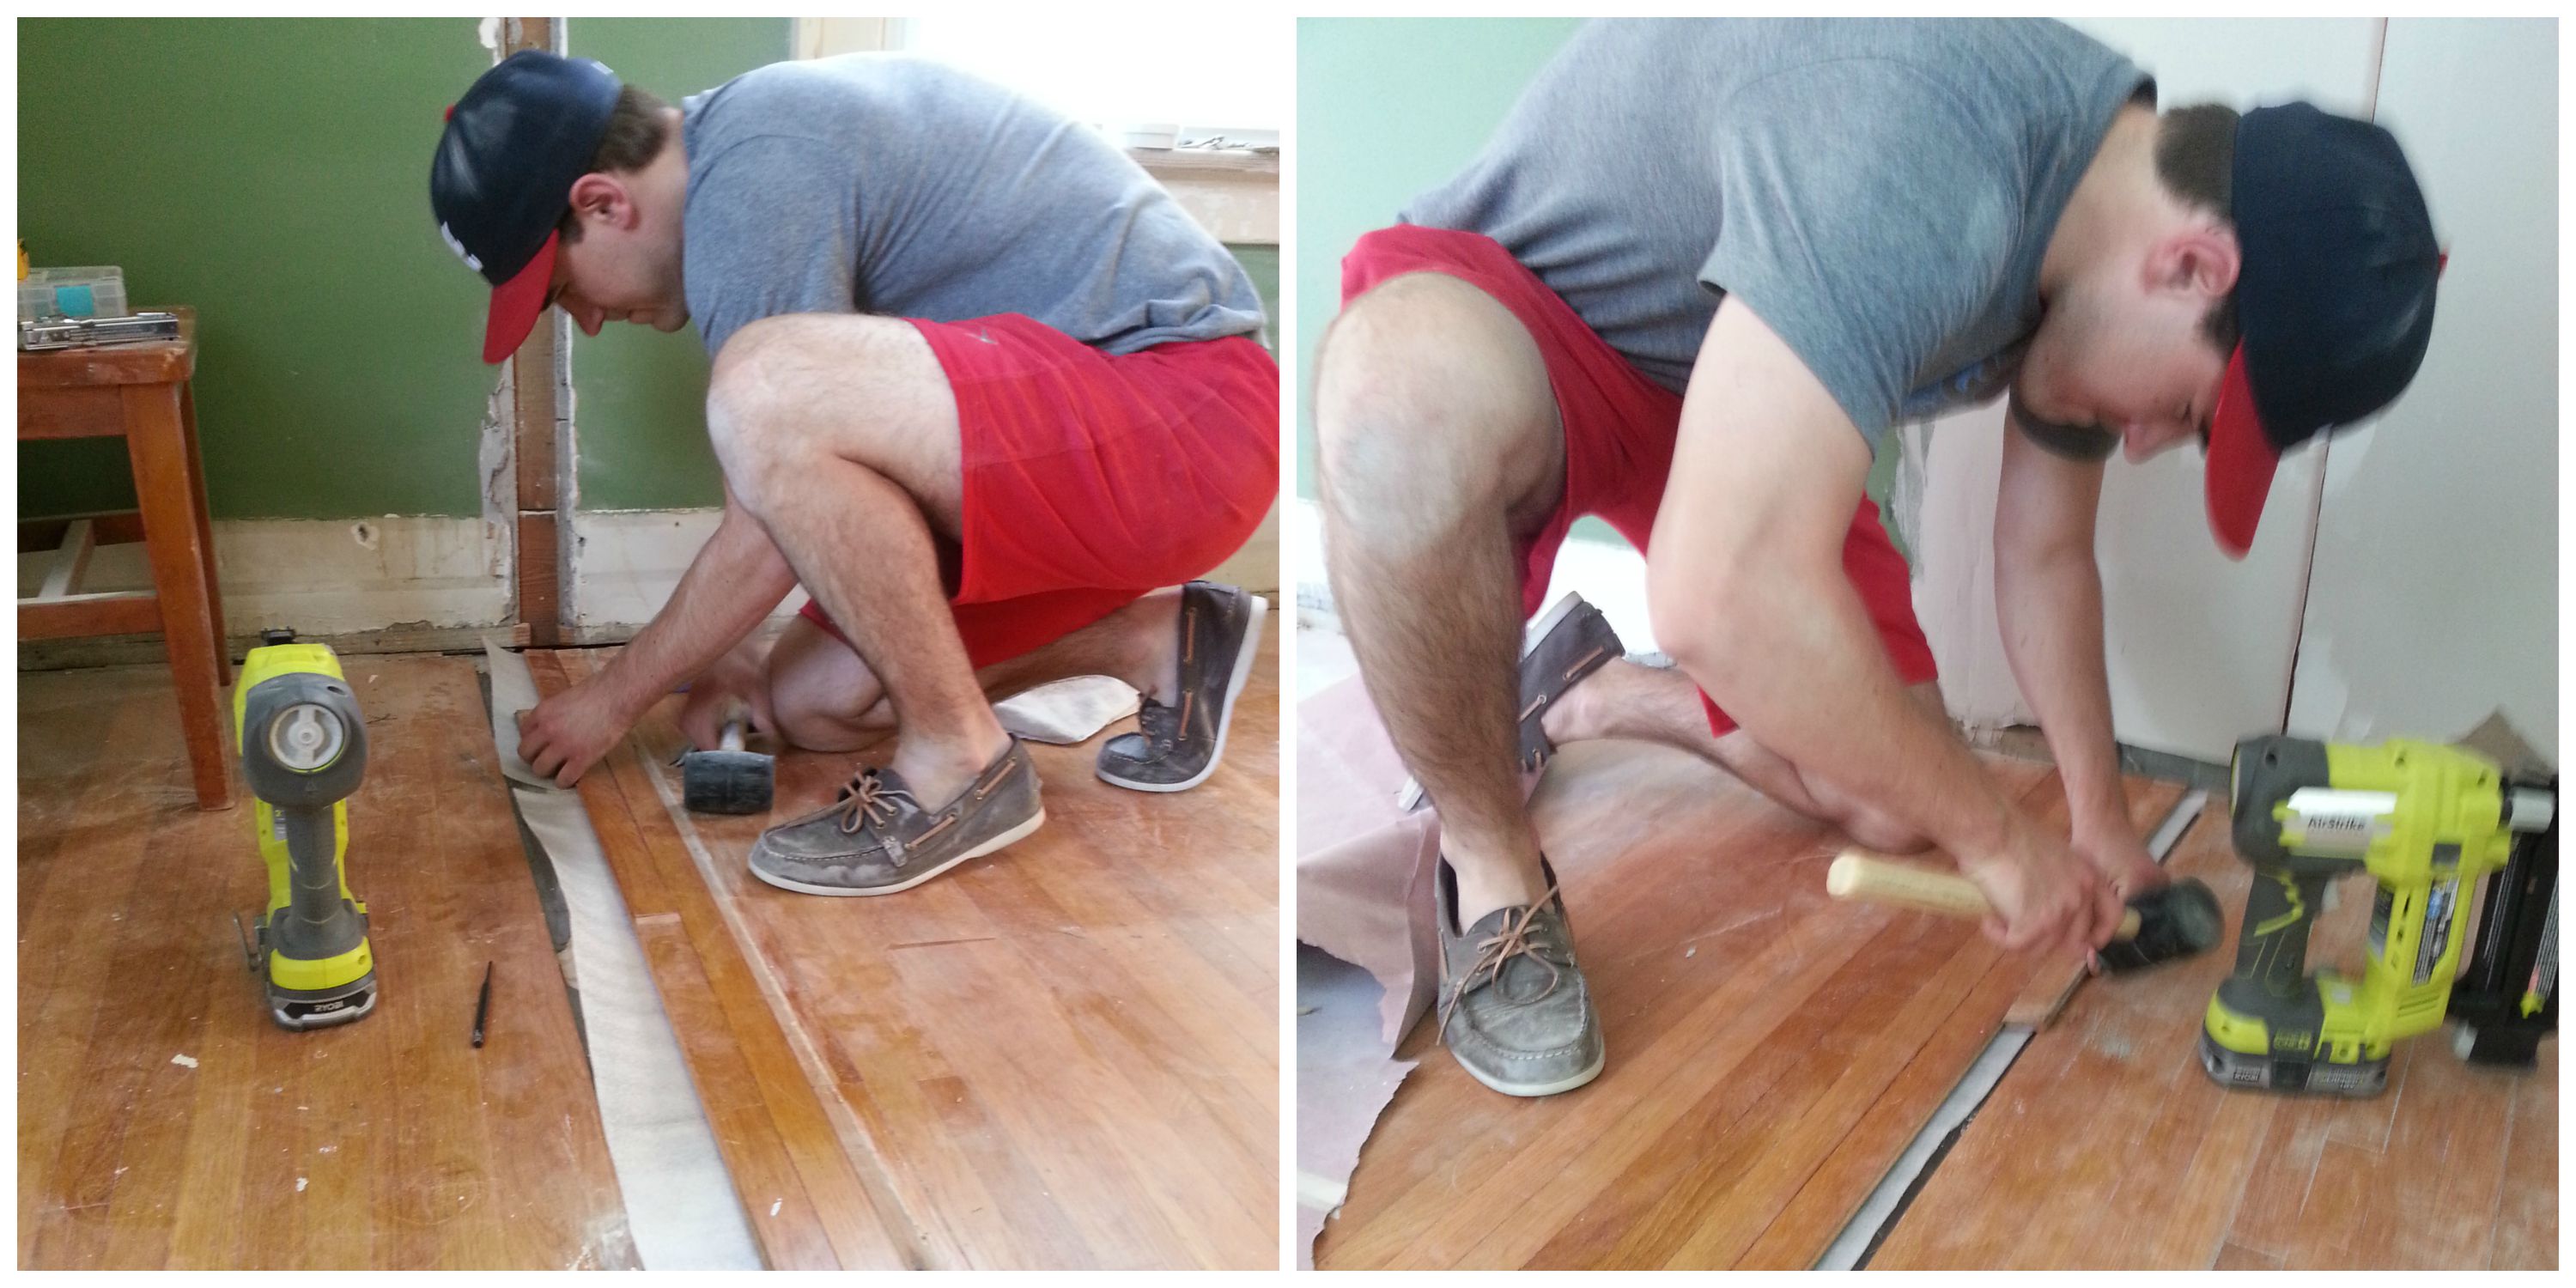
But with ripping down the closets came an unanticipated find. Being that they were original to the house, there was no flooring underneath the walls. This meant we had to find replacement boards to piece in there. And with 85 year old floors, this was easier said than done.
A few trips to local rehab stores came up empty. Which meant a trip up the 90 and out to Rochester to visit a place called ReHouse Architectural Salvage – a fun little store that we stumbled upon a few months back. Its like a playground for anyone looking to find old fixtures from houses dating back to the 19th century. A perfect place to find old oak flooring.
The back room is filled with hardwood flooring, doors, trim and baseboards, just waiting for their second home. Sorting through everything wasn’t easy, but somehow we stumbled upon a bundle of 75sqft of white oak flooring – exactly what we needed and practically handed to us. A bit more digging, and we found the exact same window trim that’s found in our house – another lucky find and since we’ll be reframing some windows, its something that we’ll definitely use. How much for all of this? $24. Beat that.

Something to note is that the floor wasn’t an exact match – about 1/4″ too wide. But it was the closest we would find and Dan had a plan (as he always does). So he pulled the original woodwork out of another closet and used that to piece in the missing boards in the master. This ensured that the floors that would be out in the open would blend in perfectly.
Once the old woodwork was pulled up from the closet, Dan replaced it with the boards found at ReHouse. A close match, and once sanded, will also blend in perfectly.
 One step closer to refinishing the floors. Our biggest project that I absolutely cannot wait for.
Finishing up the landscaping
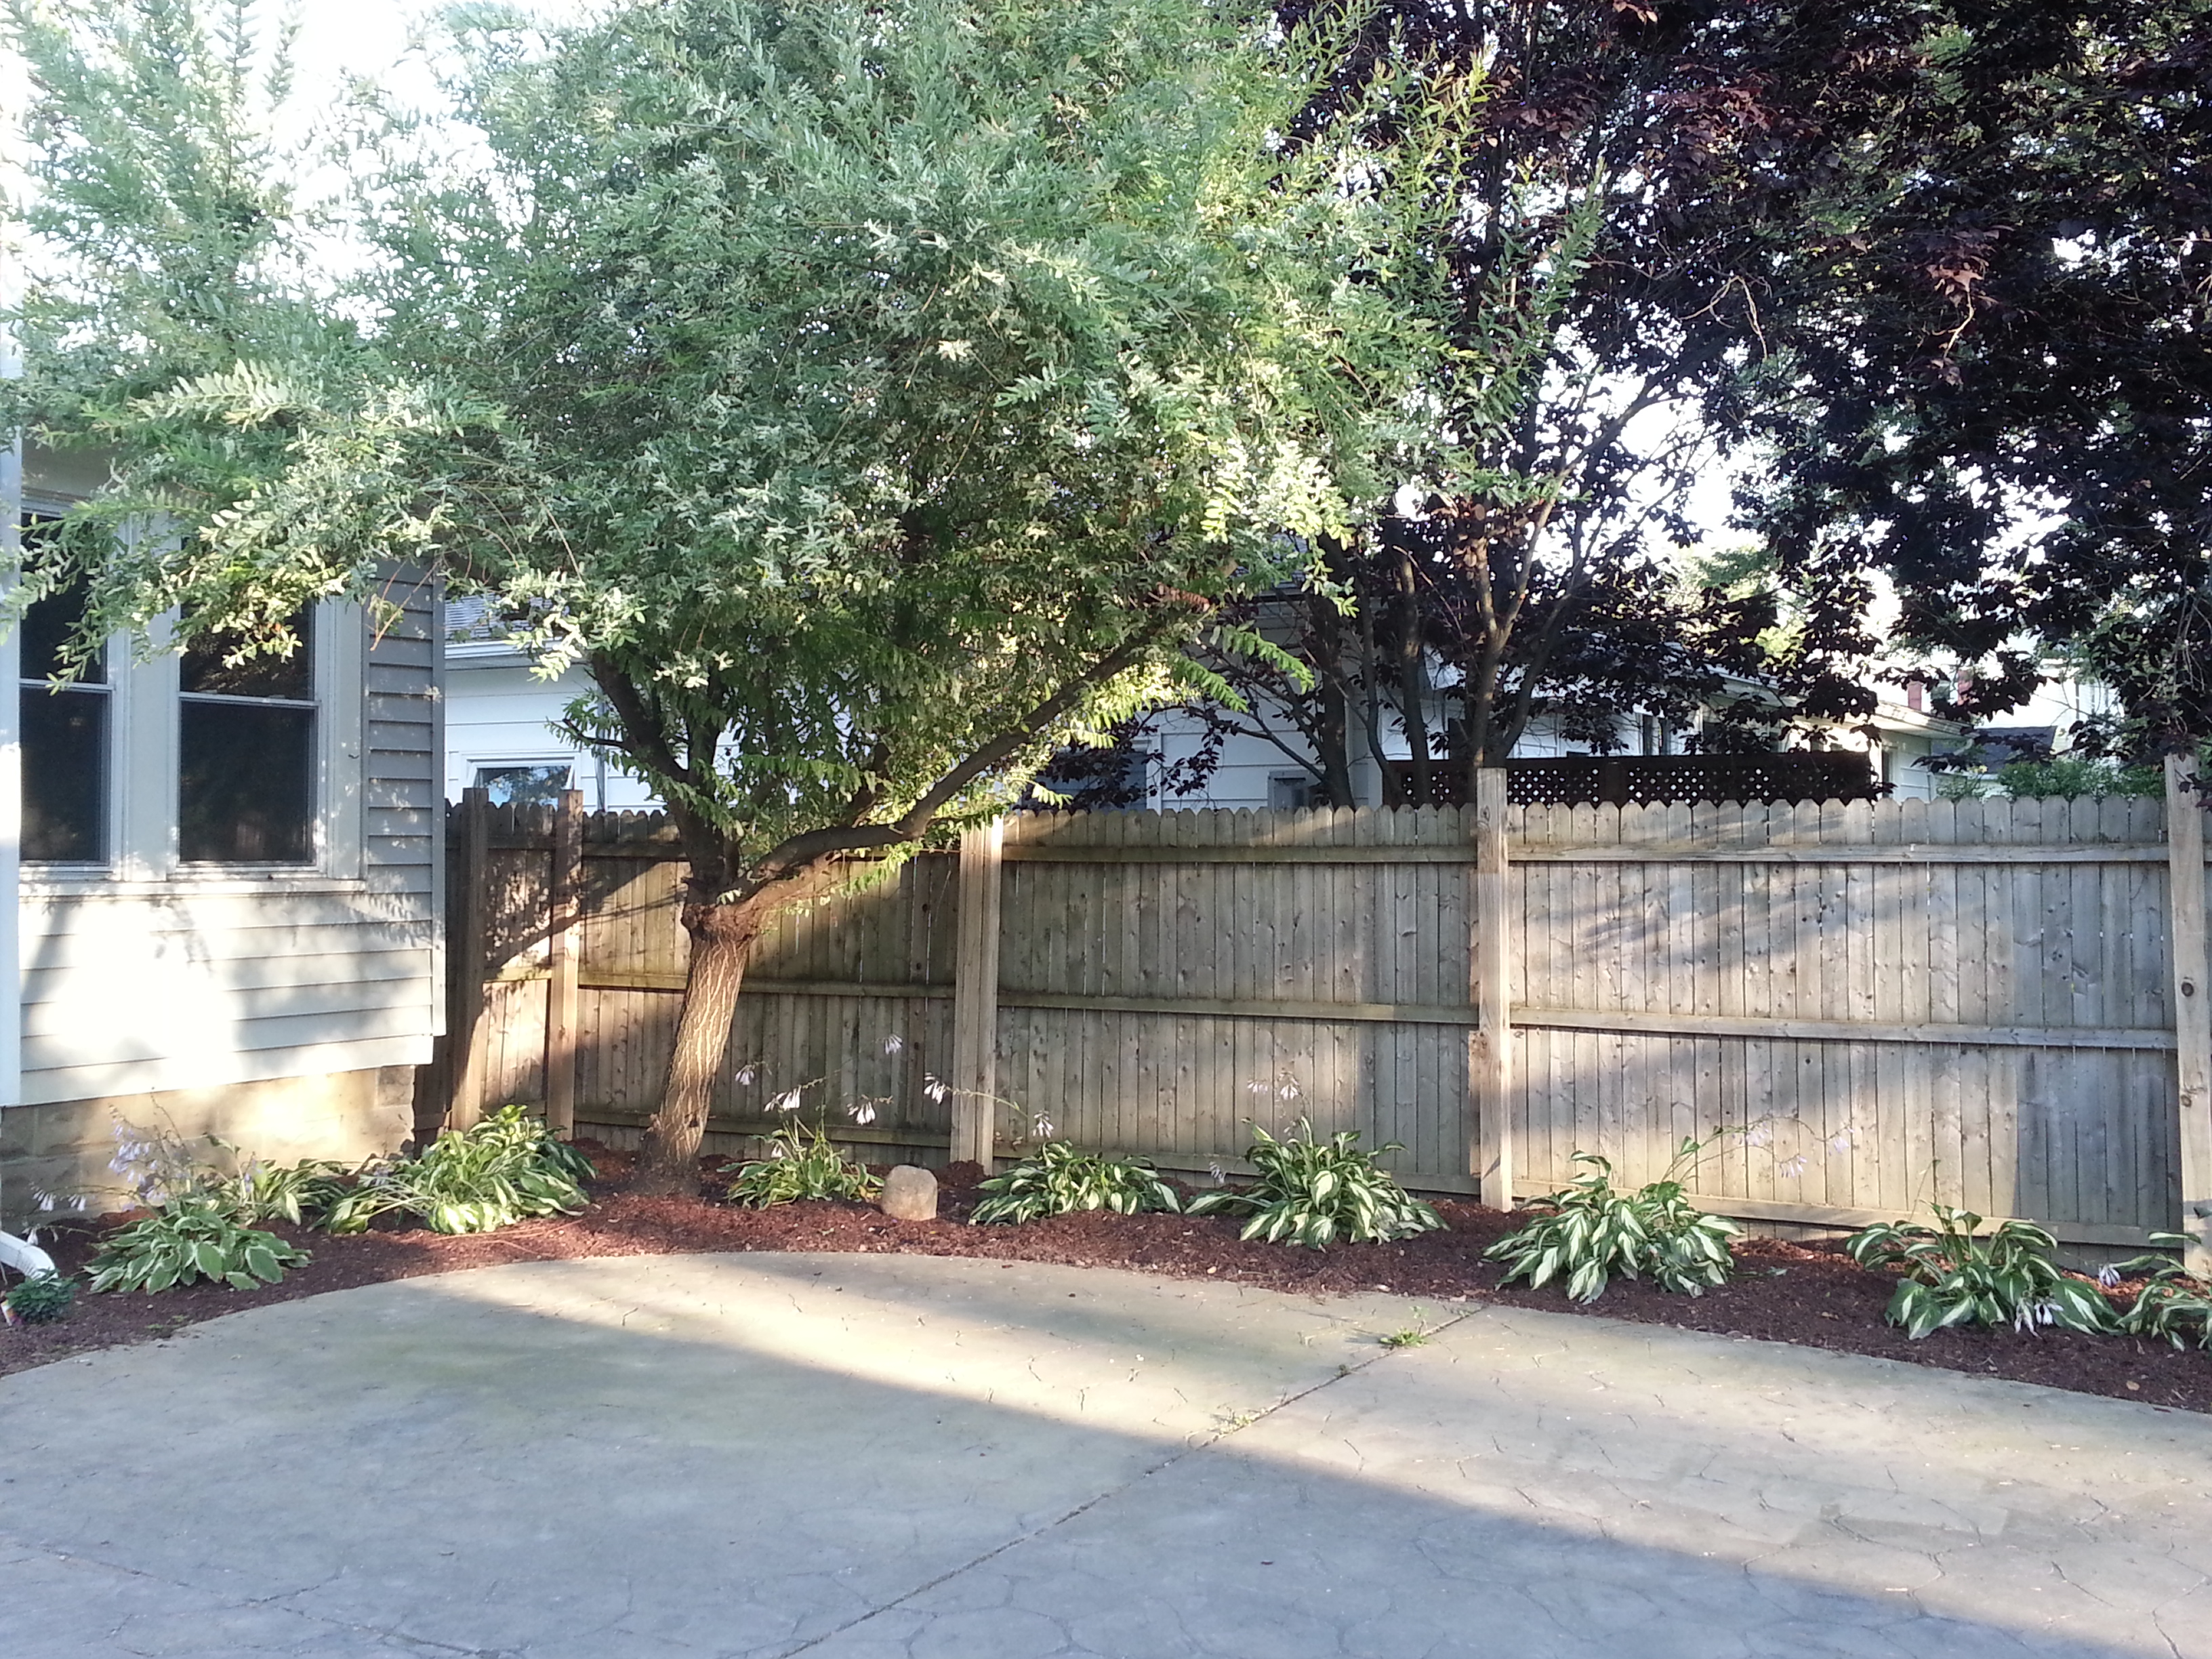
Little by little, we’ve been working on the front and back landscaping. And now, it all comes together. After receiving an estimate of $300 to trim back a small tree in the backyard, my mom and dad decided to take it into their own hands and do the work for us. It took them all of 20 minutes to get the tree looking like new.

And another find along the way – a cardinal nest in the tree, with three little eggs inside =)

The next part was a long time coming. With our house came an ugly tree stump in the front. The previous owner decided to plant a garden in it rather than having it removed. To each their own I guess. The time now came for us to finally have it removed. Finally.

But, grinding the stump meant a big mess in the end, which we were responsible for.
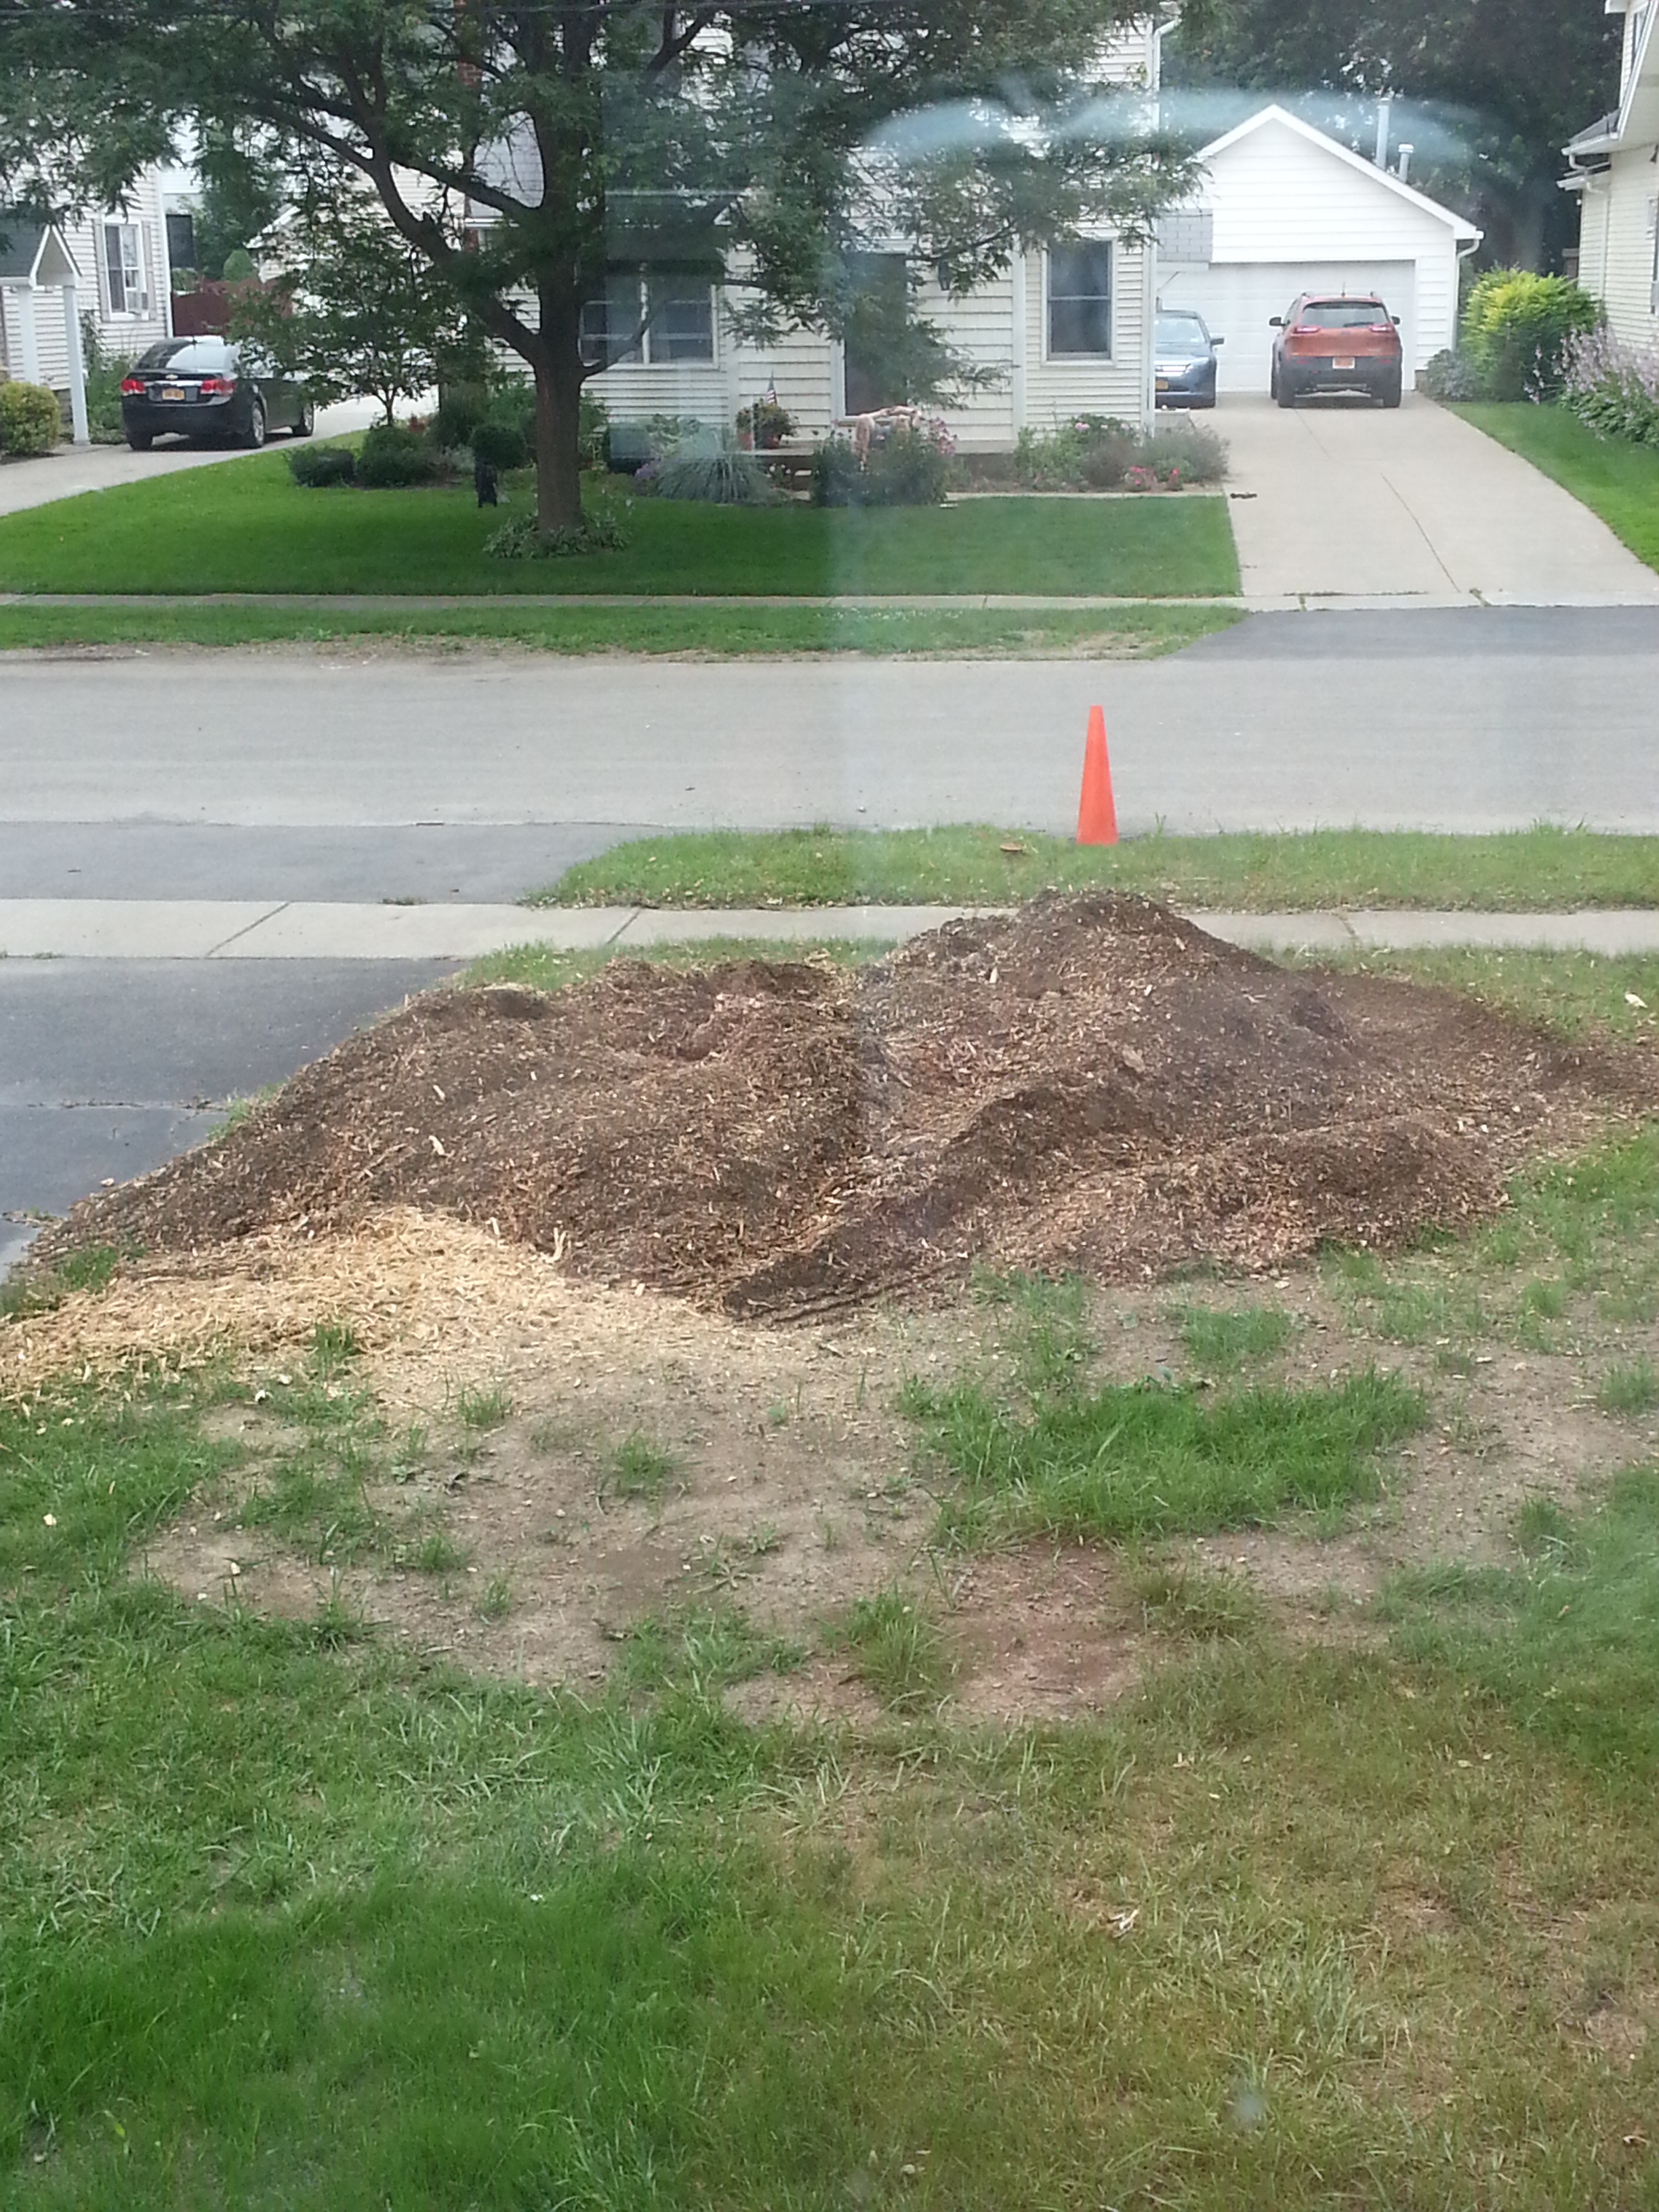
Luckily, it made for good mulch, and we had just the place for it. About 30 trips with the wheel barrel later, we were able to fill in a lot of the holes we had in the back.
And now that the last garden was mostly leveled out, Dan’s mom and brother helped move bushes from the back and placed them around the tree. The finishing touch will be an old wood and iron bench that I’ll place under the tree. Once I find it, it’ll be my favorite seat in the house.
 To top off the landscaping (which may look like a step backwards, but really isn’t), Tommy helped us by using a roto-tiller in the front to level out where the stump once was, and in the backyard to help level out the lawn.
Grass is planted, and better start growing quickly! If not, Dan’s going to turn that sprinkler into a swimming pool =P

Another fun little project
Our beautiful fireplace was accented by a mirror that hung above the mantel. A nice feature, but because of the way the room is set up, left us no place for the oh-so-important television. So it was time to go. But this sucker was glued to the wall, and was going to be a bit more difficult to take down than we thought. And the goal was to take it down in one piece, rather than having it shatter all over the room, and all over us. Leave it to my dad to come up with the best solution. We threaded wire behind the mirror, sawing back and forth to loosen up the glue. About 20 minutes of this, and a little bit of prying, and that stubborn mirror came off the wall – and in one piece. Woo!
And that’s almost it for all of our small projects all adding up into one. We’ll be able to take this project by project from here on out. Before and after pictures included. Can’t wait to share!

You all are doing such an amazing job! Can’t wait to see it.
LikeLike
It’s about time for Uncle John and me to take a ride over again! It’s looking SO good!!!
LikeLike