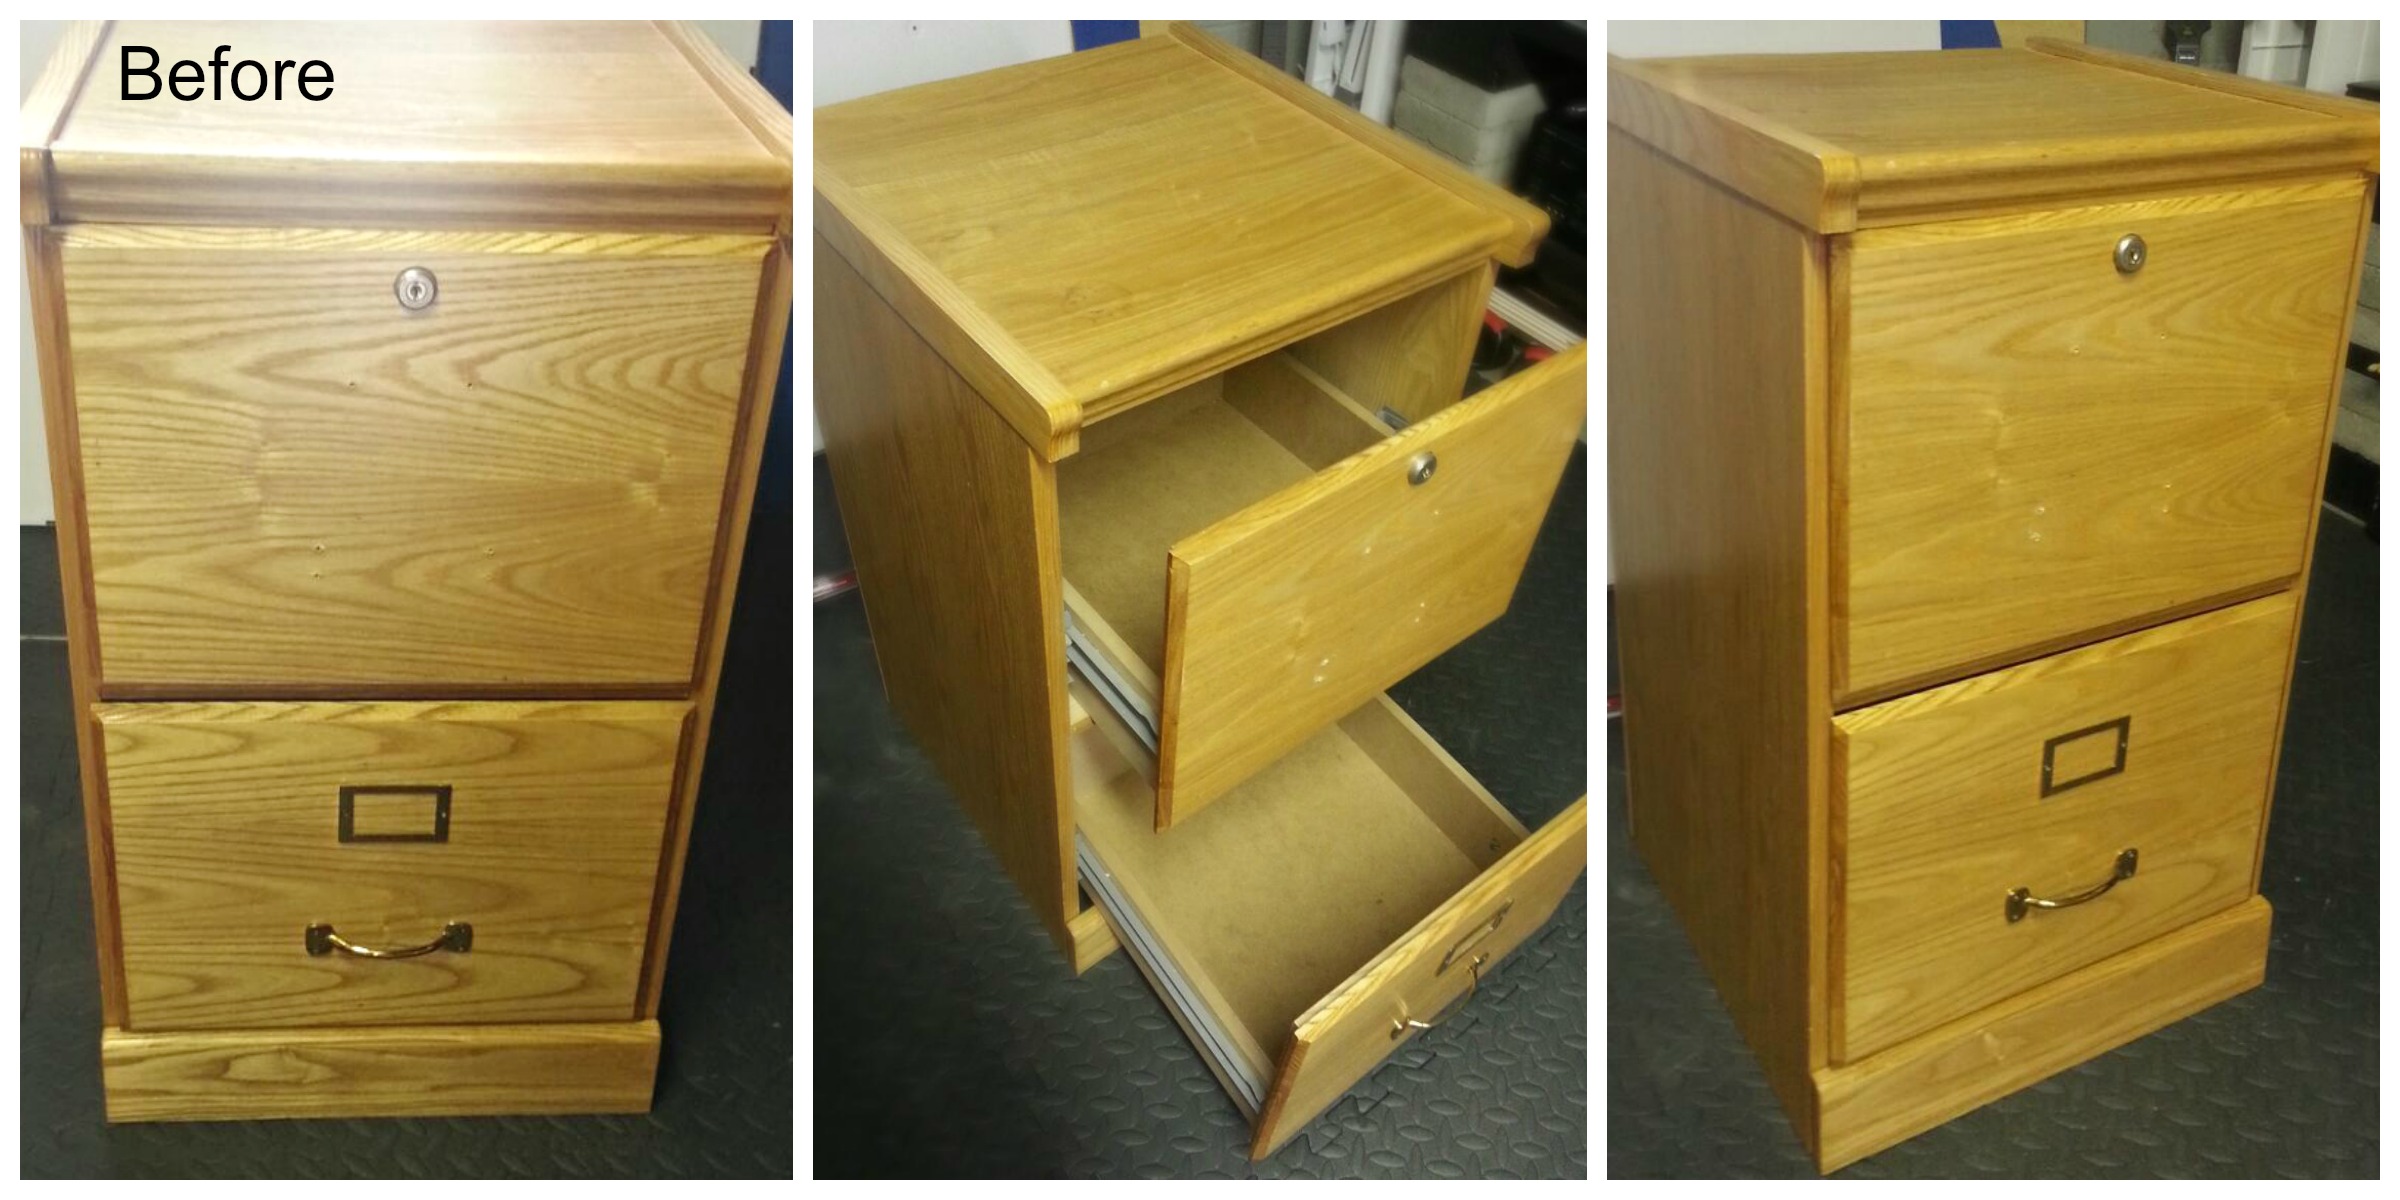
My parent’s basement is a haven for furniture. We’re talking buffets, bookshelves, desks, and cabinets. So while working on other projects, it didn’t take long for us to come across something that we wanted to flip.
Little did I know that what would intrigue Dan the most was a filing cabinet that wasn’t even completely wood. At the same time, I shouldn’t be surprised. As an accountant, he likes to keep track of everything, paperwork, receipts, etc. A good habit to have, and one that I tend to slack at. He currently has a little plastic filing cabinet that he keeps under his desk at home with all his bills and receipts organized – so a free-standing wood filing cabinet with his own personal touch would be perfect for his future office. Yes – the office in our dream home that we’re still dreaming about. At this rate, we’re going to have our rooms fully furnished before we even have a house.
I’ll admit, this project was all Dan from start to finish. I helped out here and there, but other than a bit of hardware removal and spray painting, it was all him.
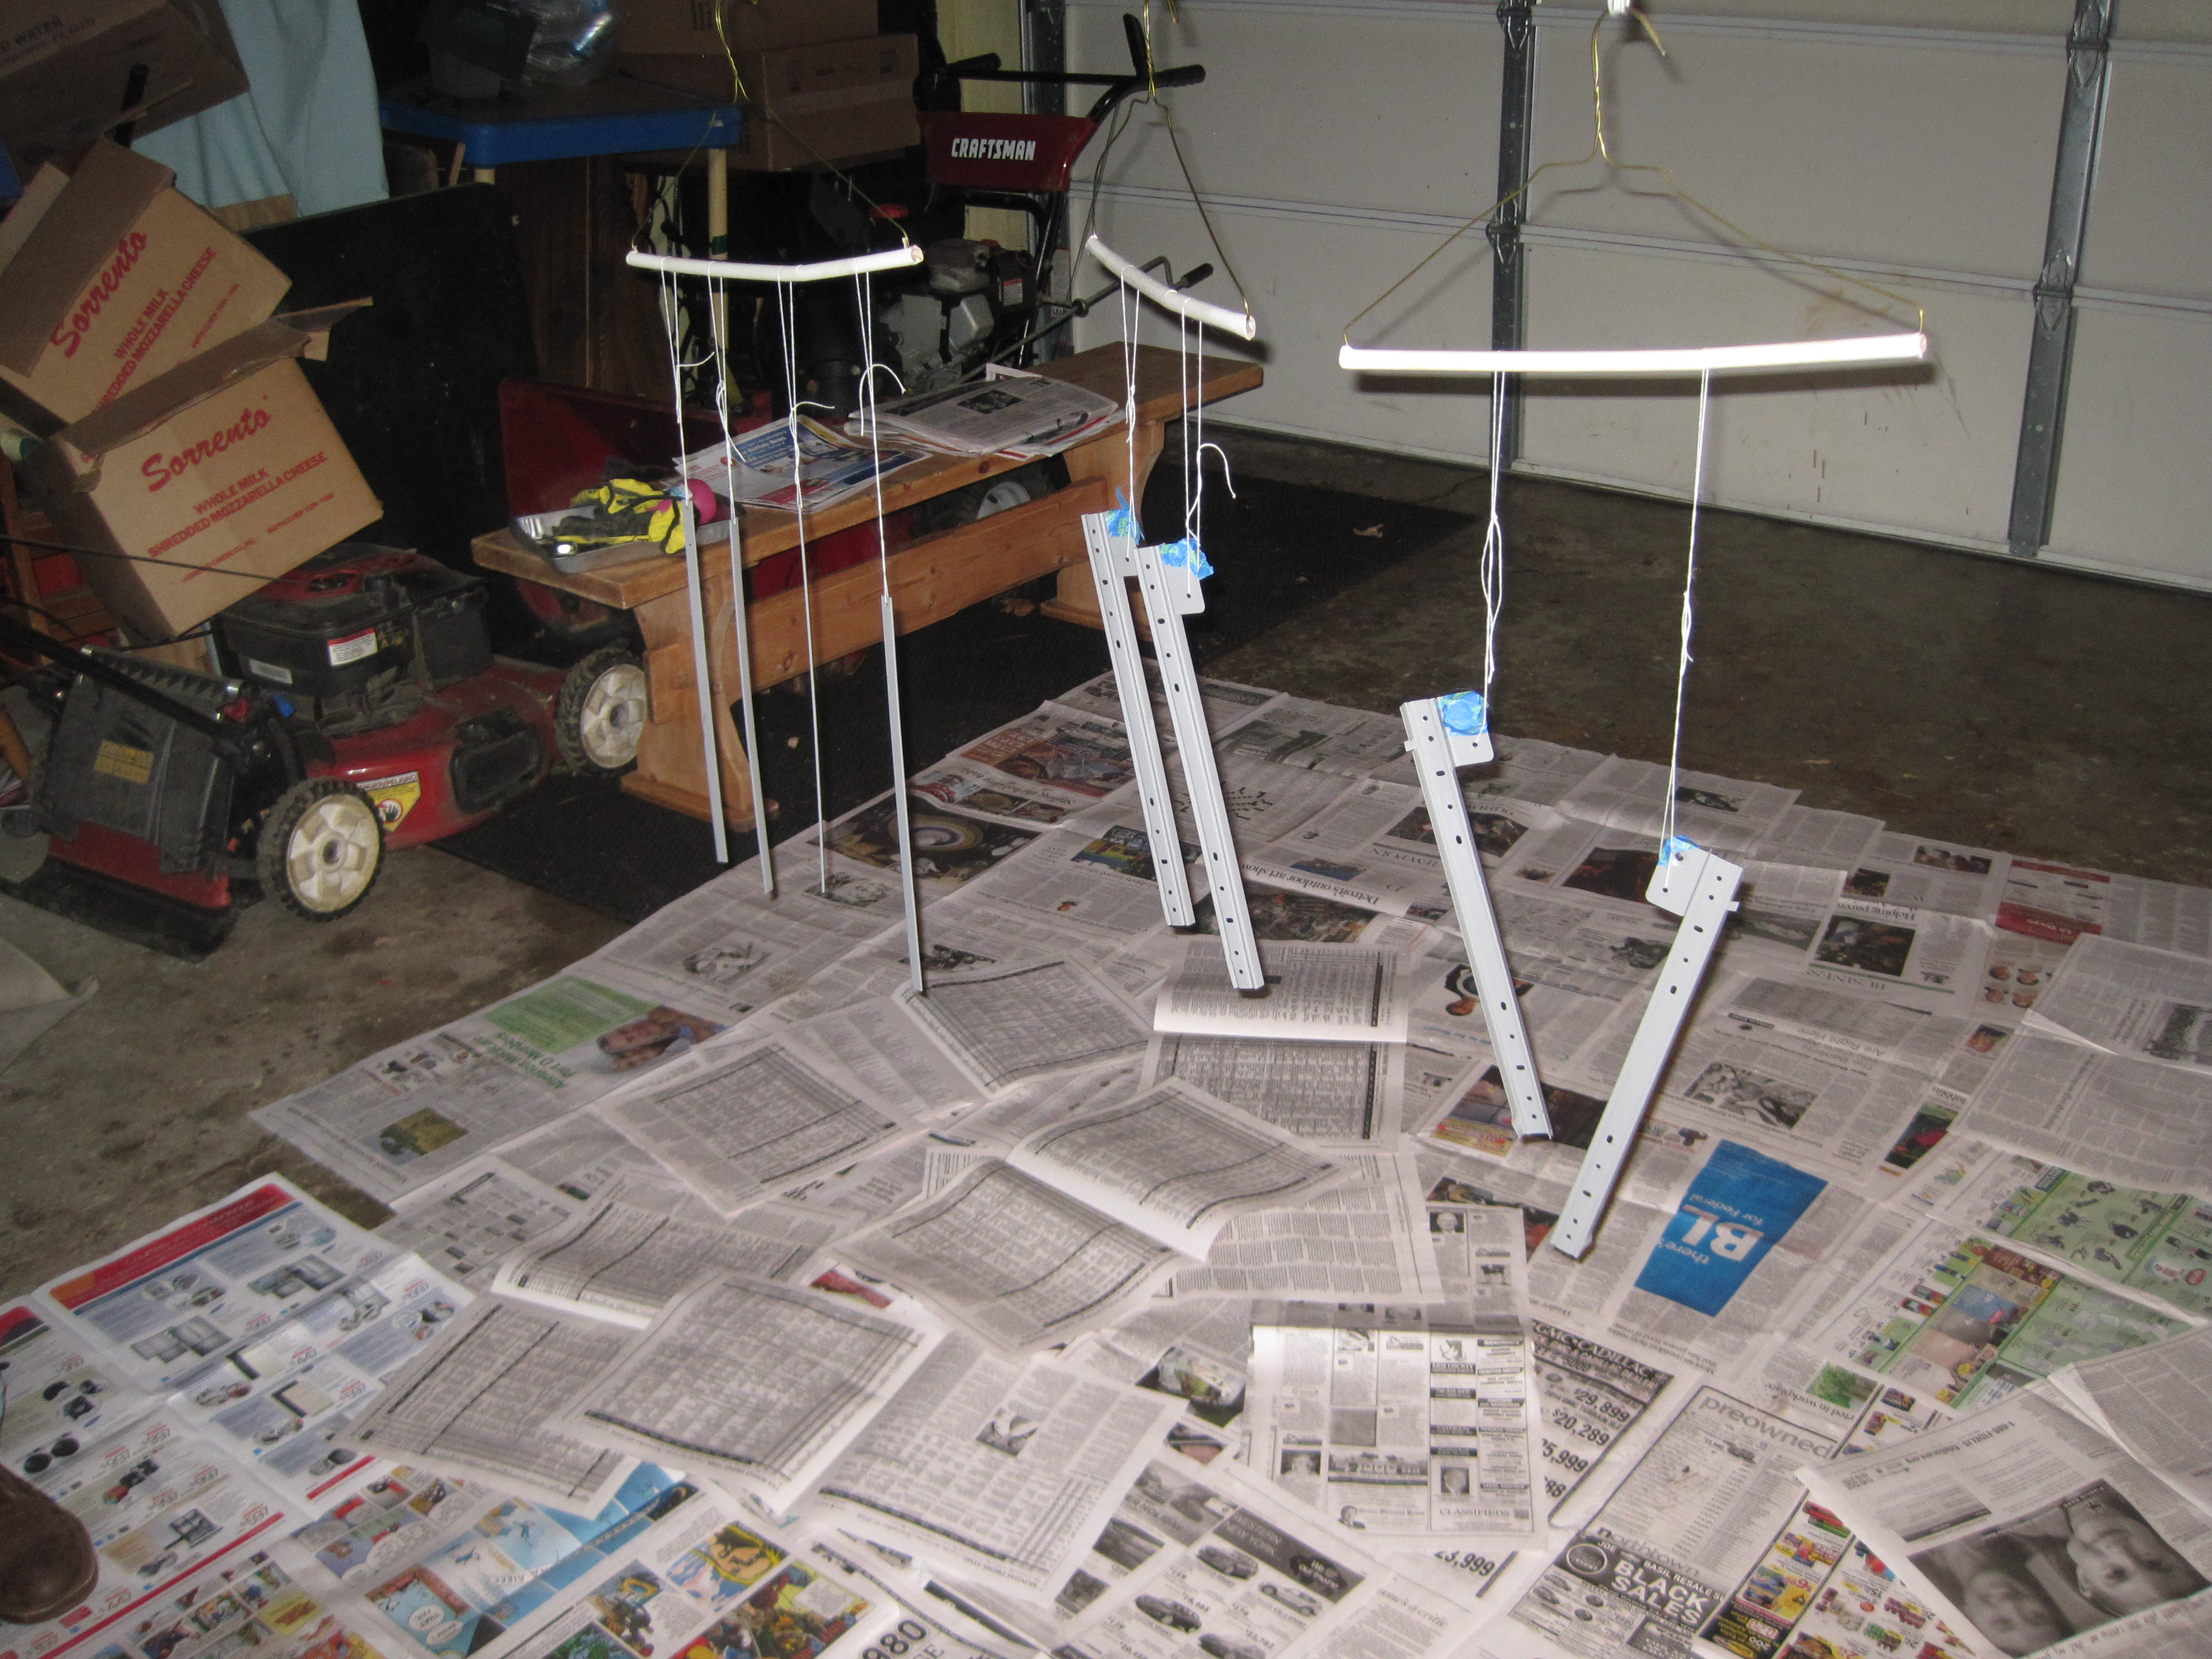
And that was the first thing we did. Took off the old, gold-plated hardware and gave it a new look. Because we were spray painting both sides, Dan came up with nifty contraptions to hang them from. Coat hangers and string, hung from my garage rafters. Not a bad idea, and it got the job done. A few layers of primer, a few more of black paint, topped off with satin poly, and the hardware was good to go.
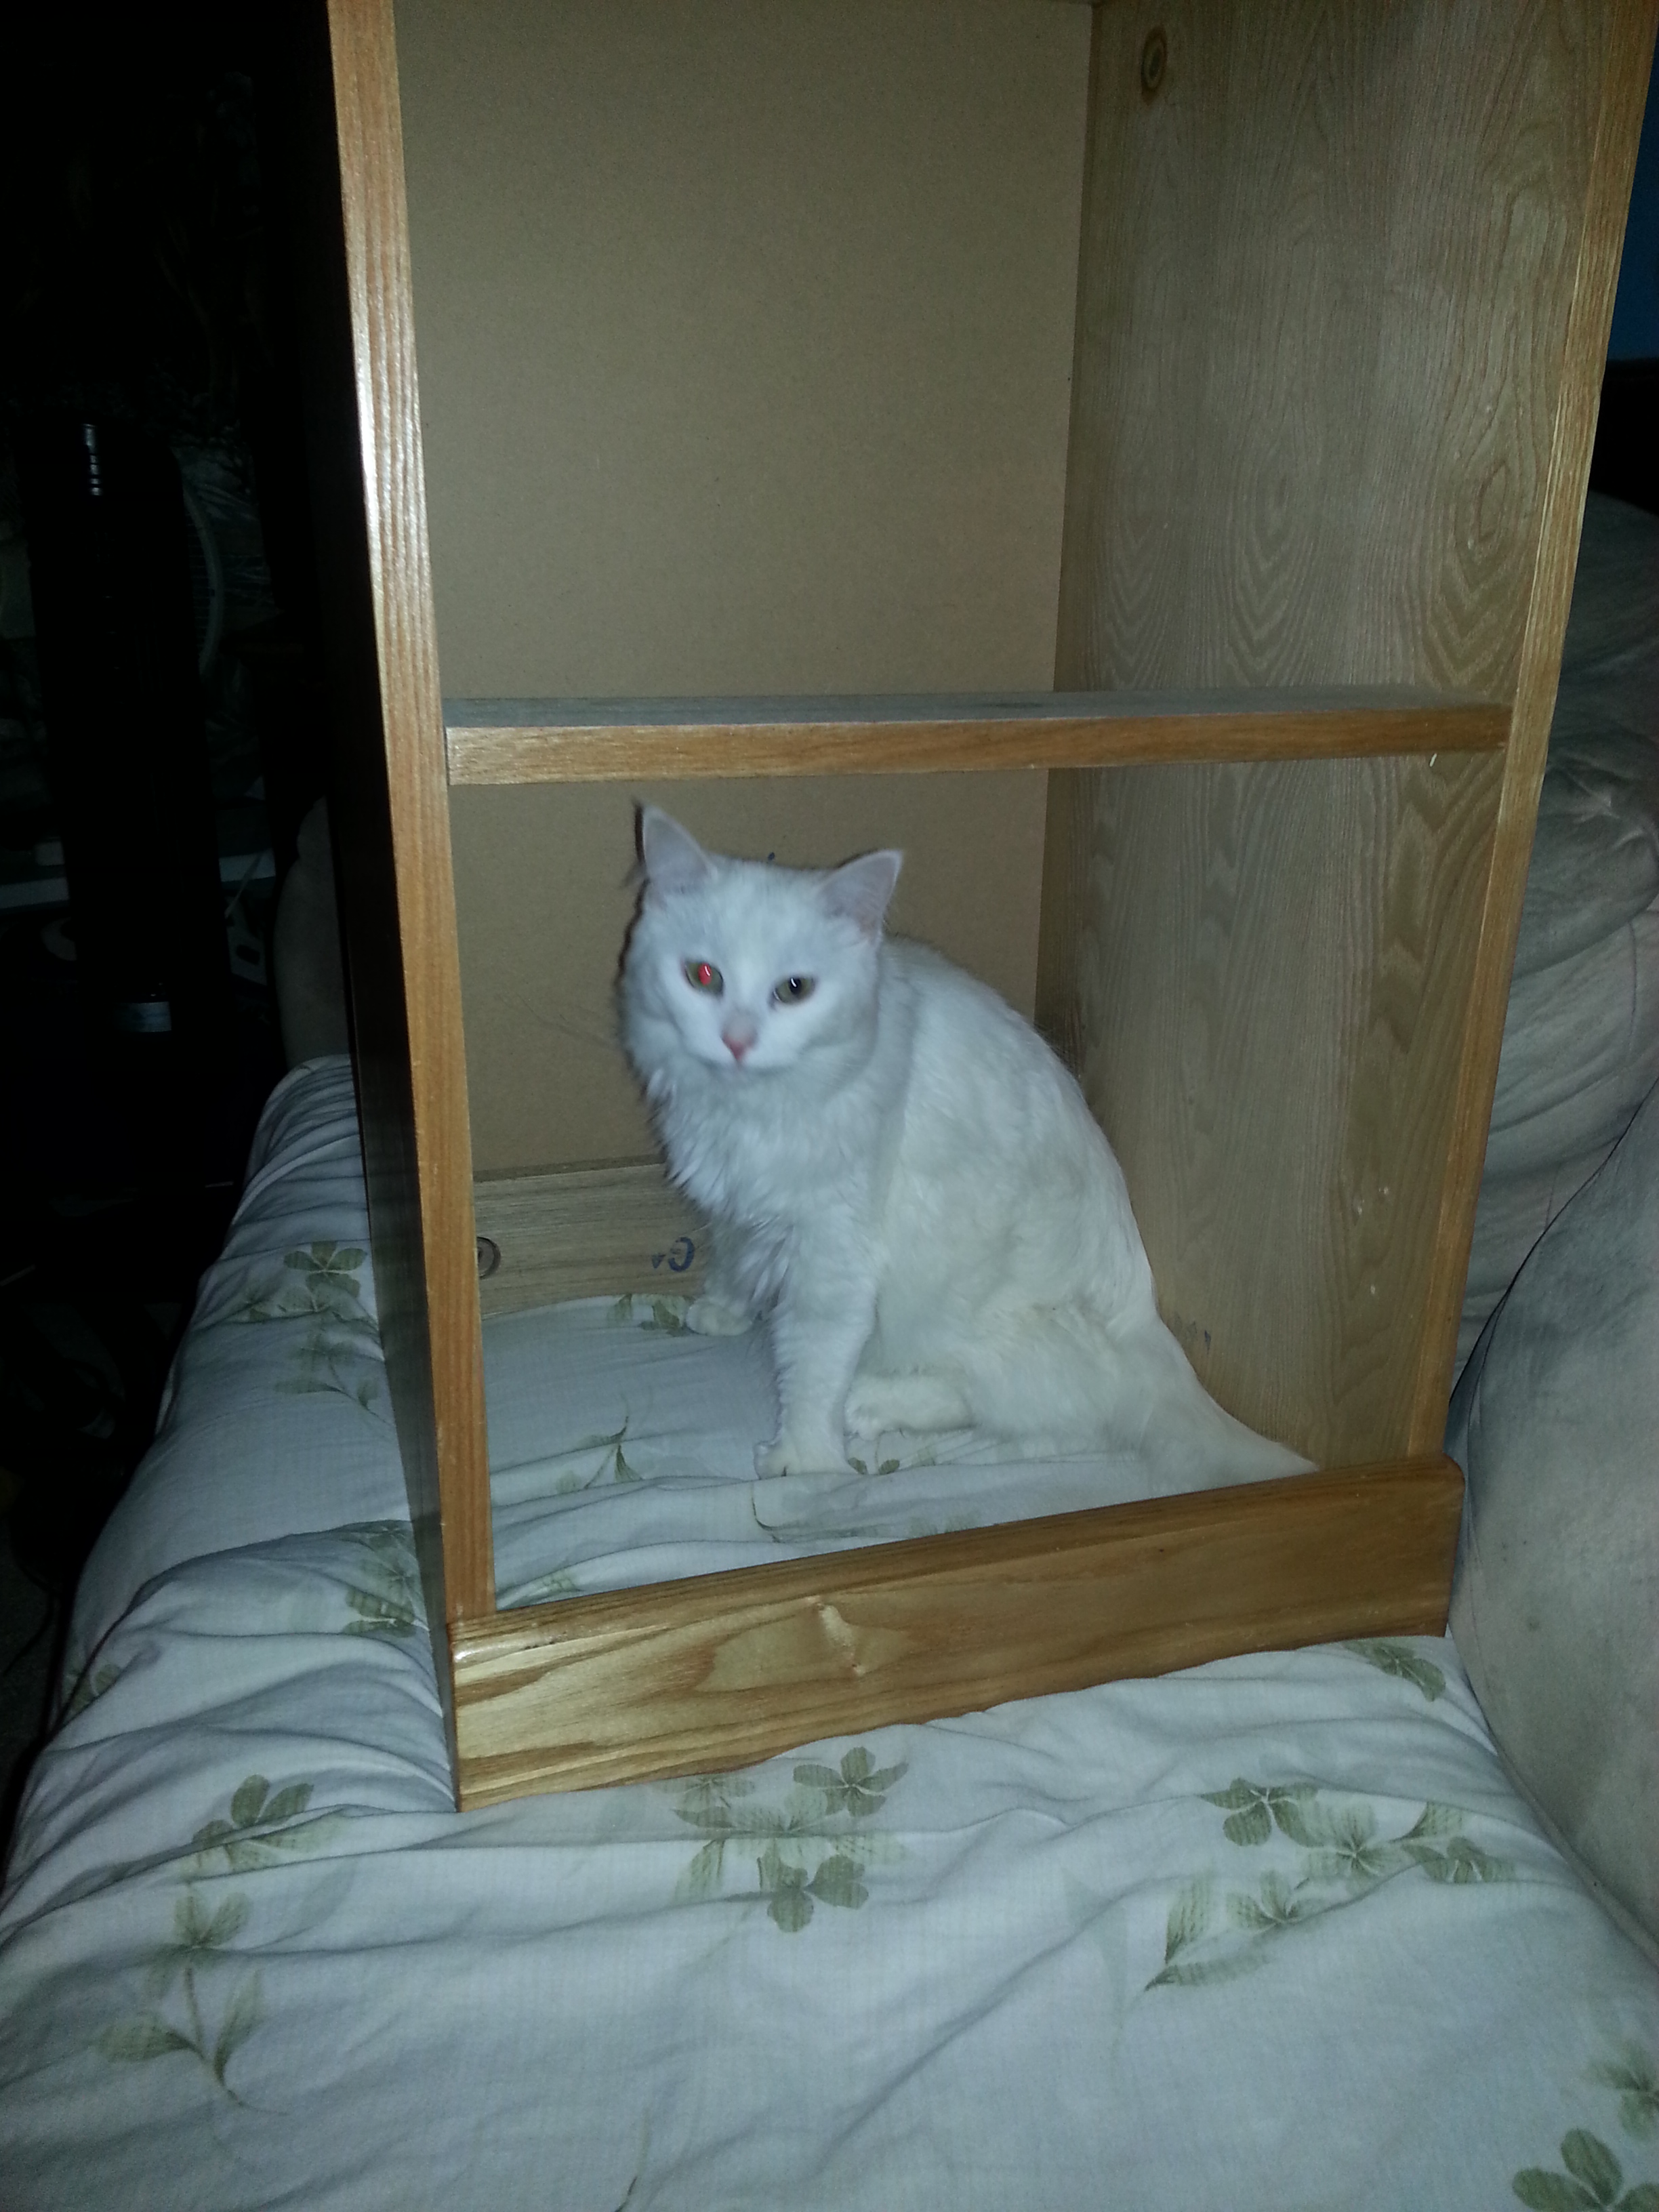
The next step was to take the drawers apart to get better angles for stripping, sanding, and staining (sound familiar?). Stripping was done in the garage, and hand-sanding was all that was needed to smooth the cabinet down. At this point, we had multiple projects going on at once, and were pretty spread out between my parent’s basement and garage. Throw in the Christmas decorations scattered around the basement, and it was safe to say there wasn’t much more room for anything. But we made it work, albeit, we also made a mess…

Staining proved to be the most difficult part of this project, because as I mentioned before, we were working with partially fabricated wood. The sides and drawers stained beautifully with Dark Walnut – really brought out the wood grain. It was the top that gave Dan troubles. A few layers of stain couldn’t cover up the uneven color, so Dan attempted to re-strip the top and start all over. The stain went on a little better, but didn’t at all match the sides or drawers that around it.
Onto plan b, which was to buy a thin piece of wood (similar to veneer) to stain and cover the top. Dan bought a larger piece and used a circular saw to cut out the exact size for the cabinet. Thankfully, staining was a breeze on this cut-out piece, and matched the rest of the cabinet perfectly.
So after that debacle and the use of some problem solving skills, Dan was able to move onto polying. He used a semi-gloss poly to give it a bit more of a shine, and then completed the look with the newly-painted black hardware.
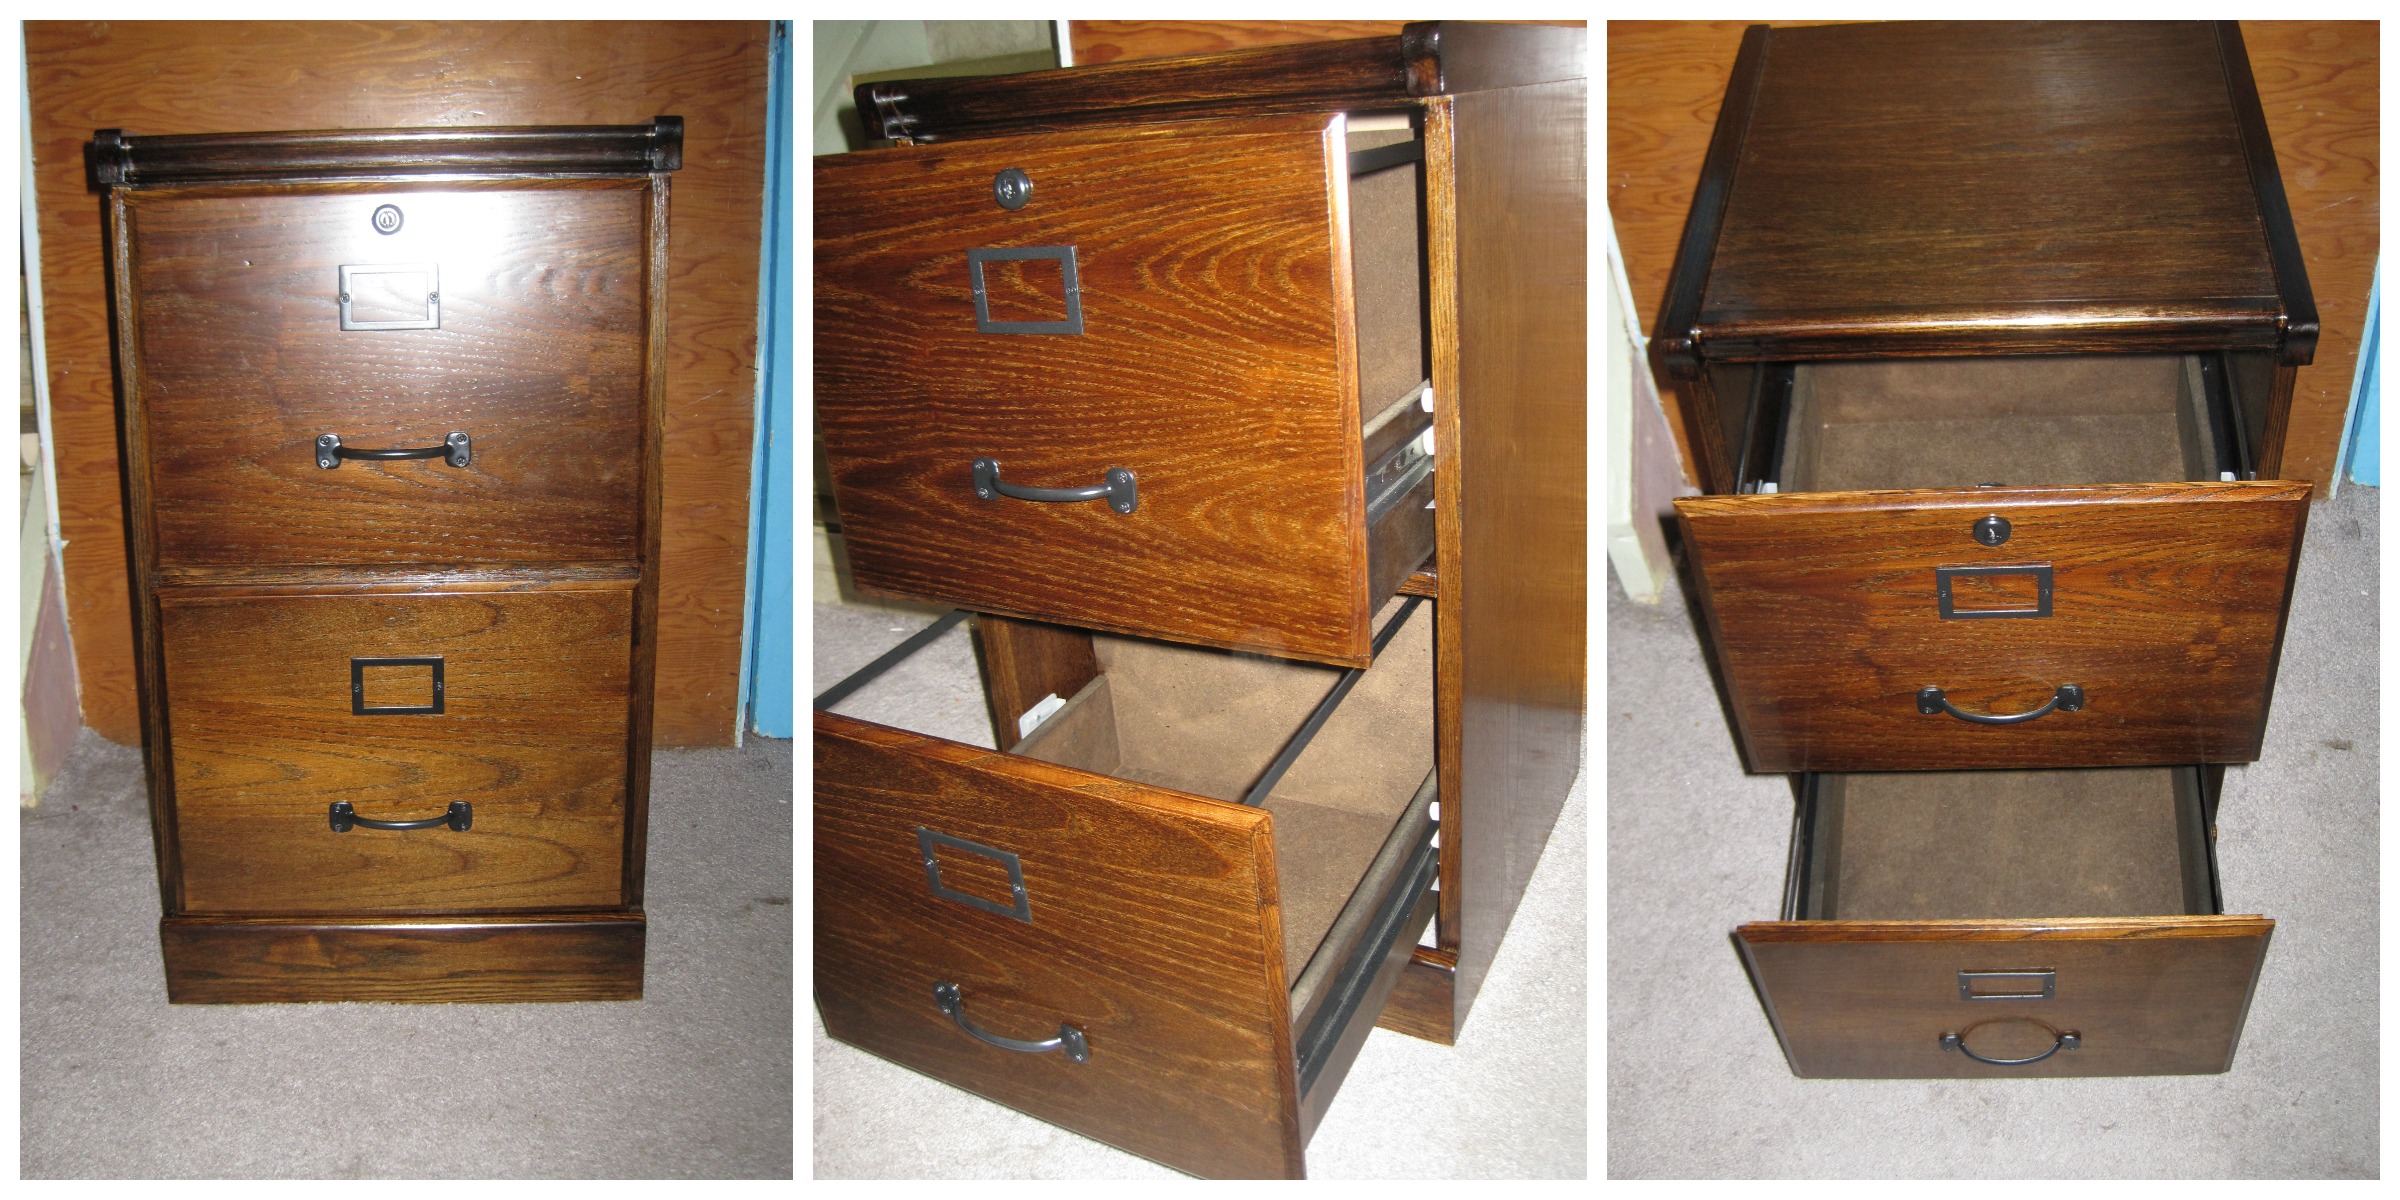
I have to admit, it turned out pretty nice for what it started as. While this cabinet wasn’t an antique to start with, a little bit of work gave it a whole new look that will match nicely with the rest of our furniture and decor.
Onto the next project, which will likely be another basement find =
