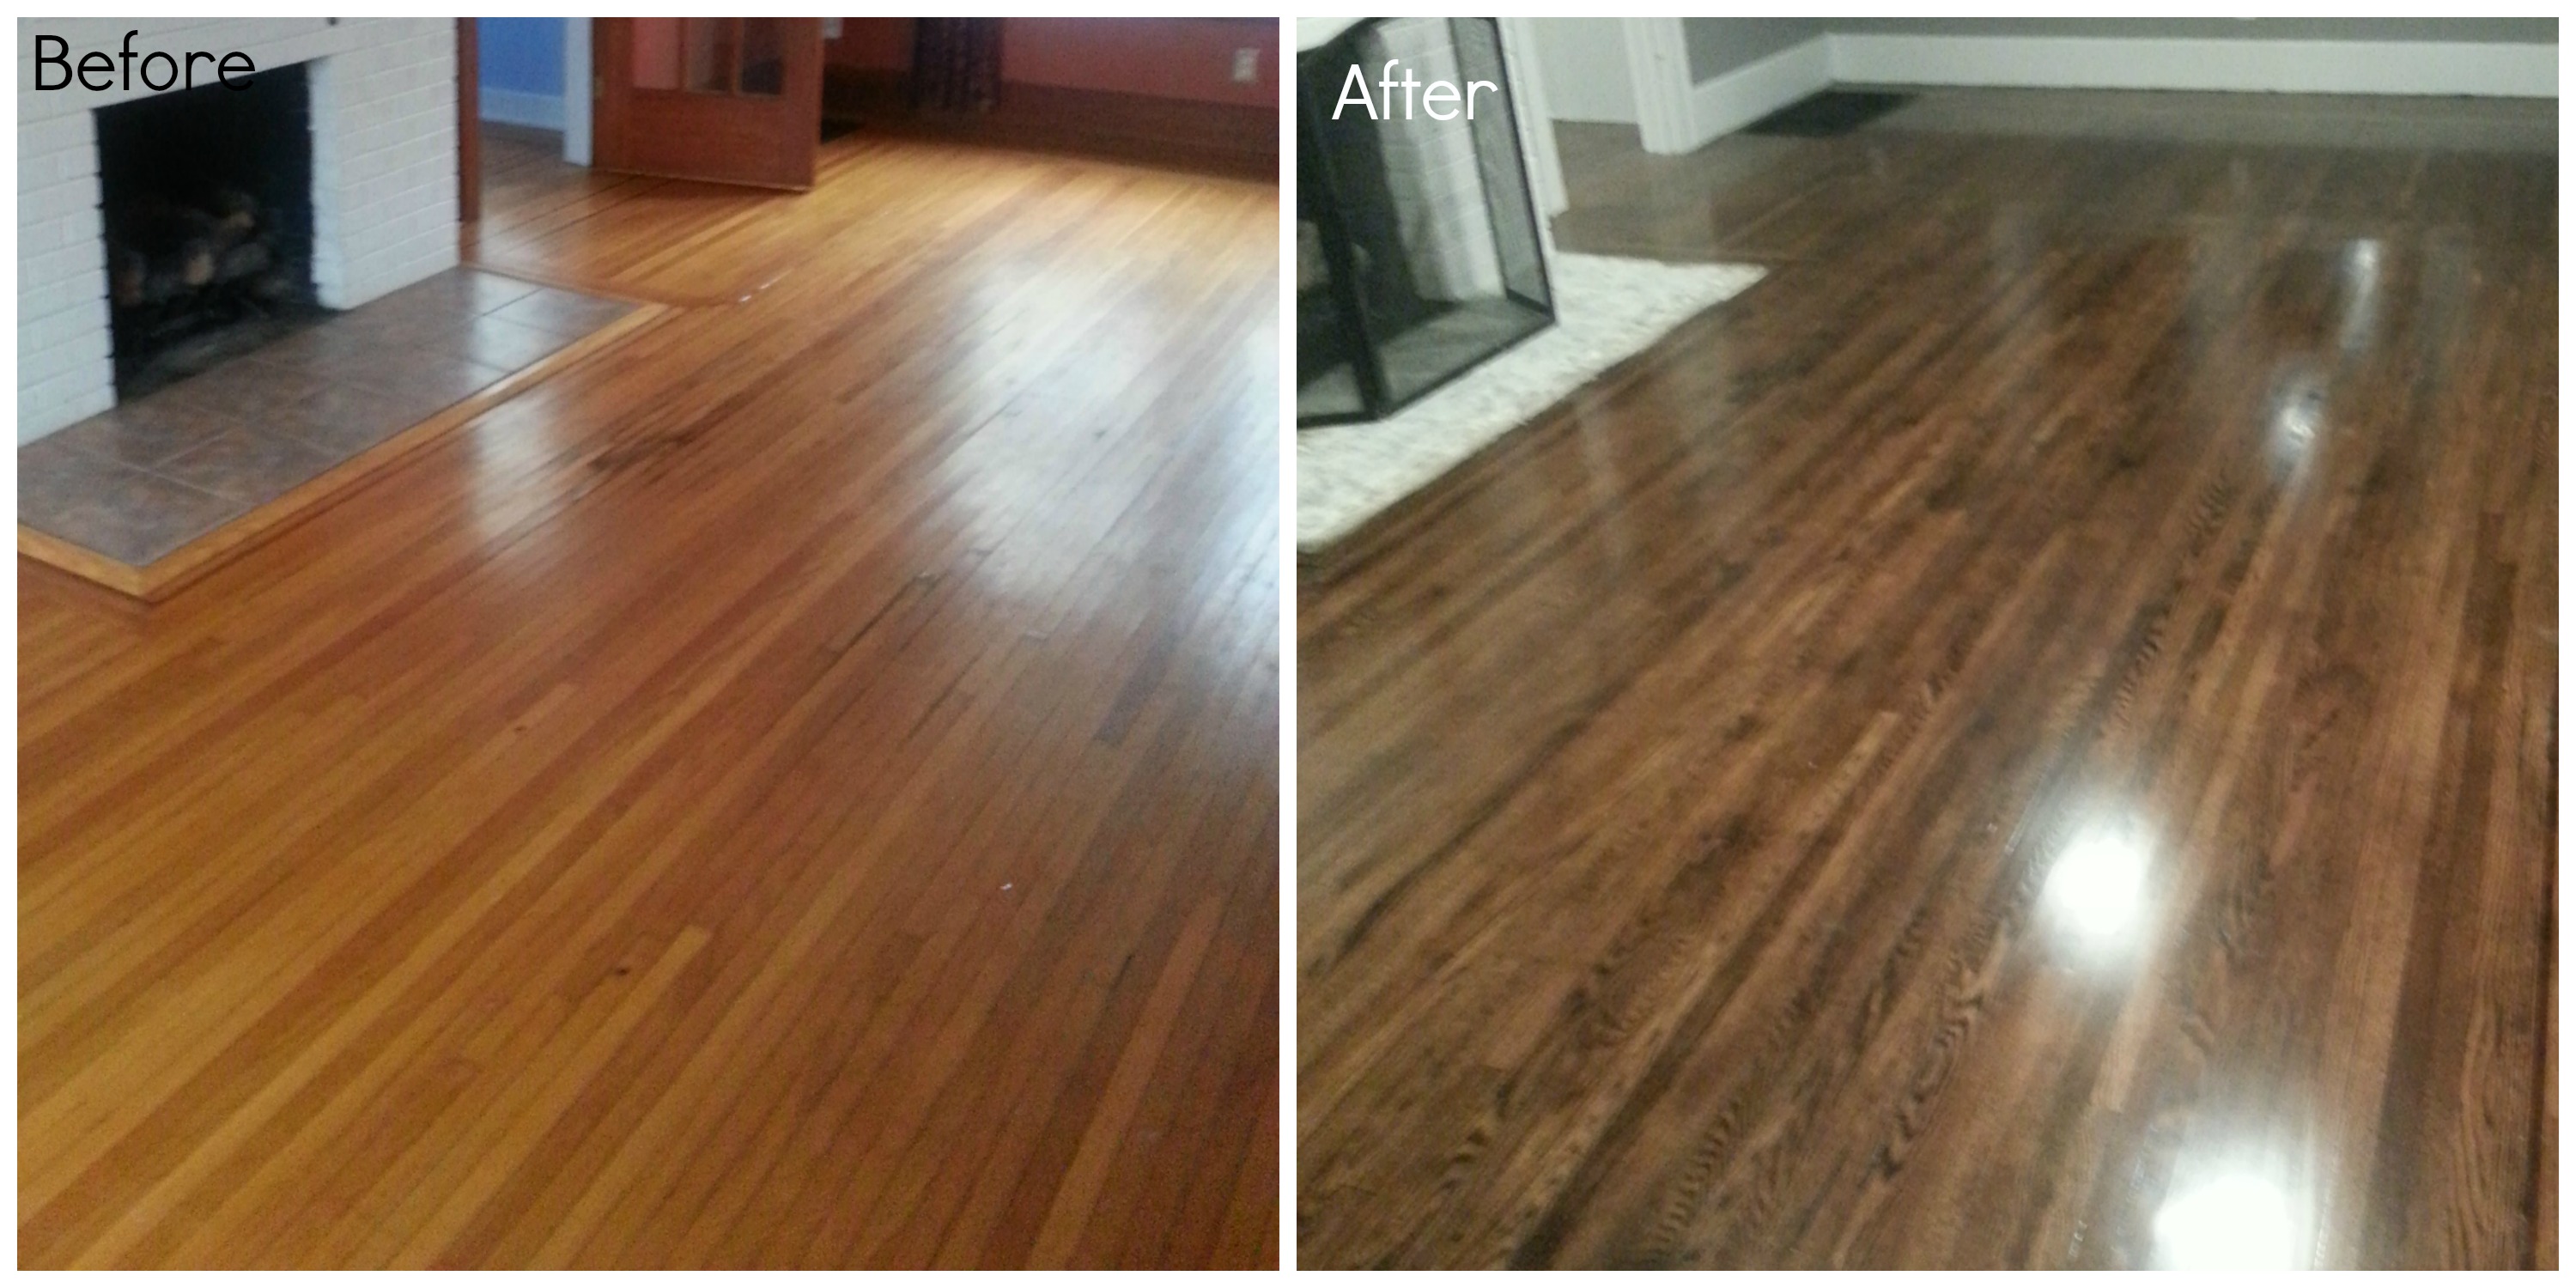
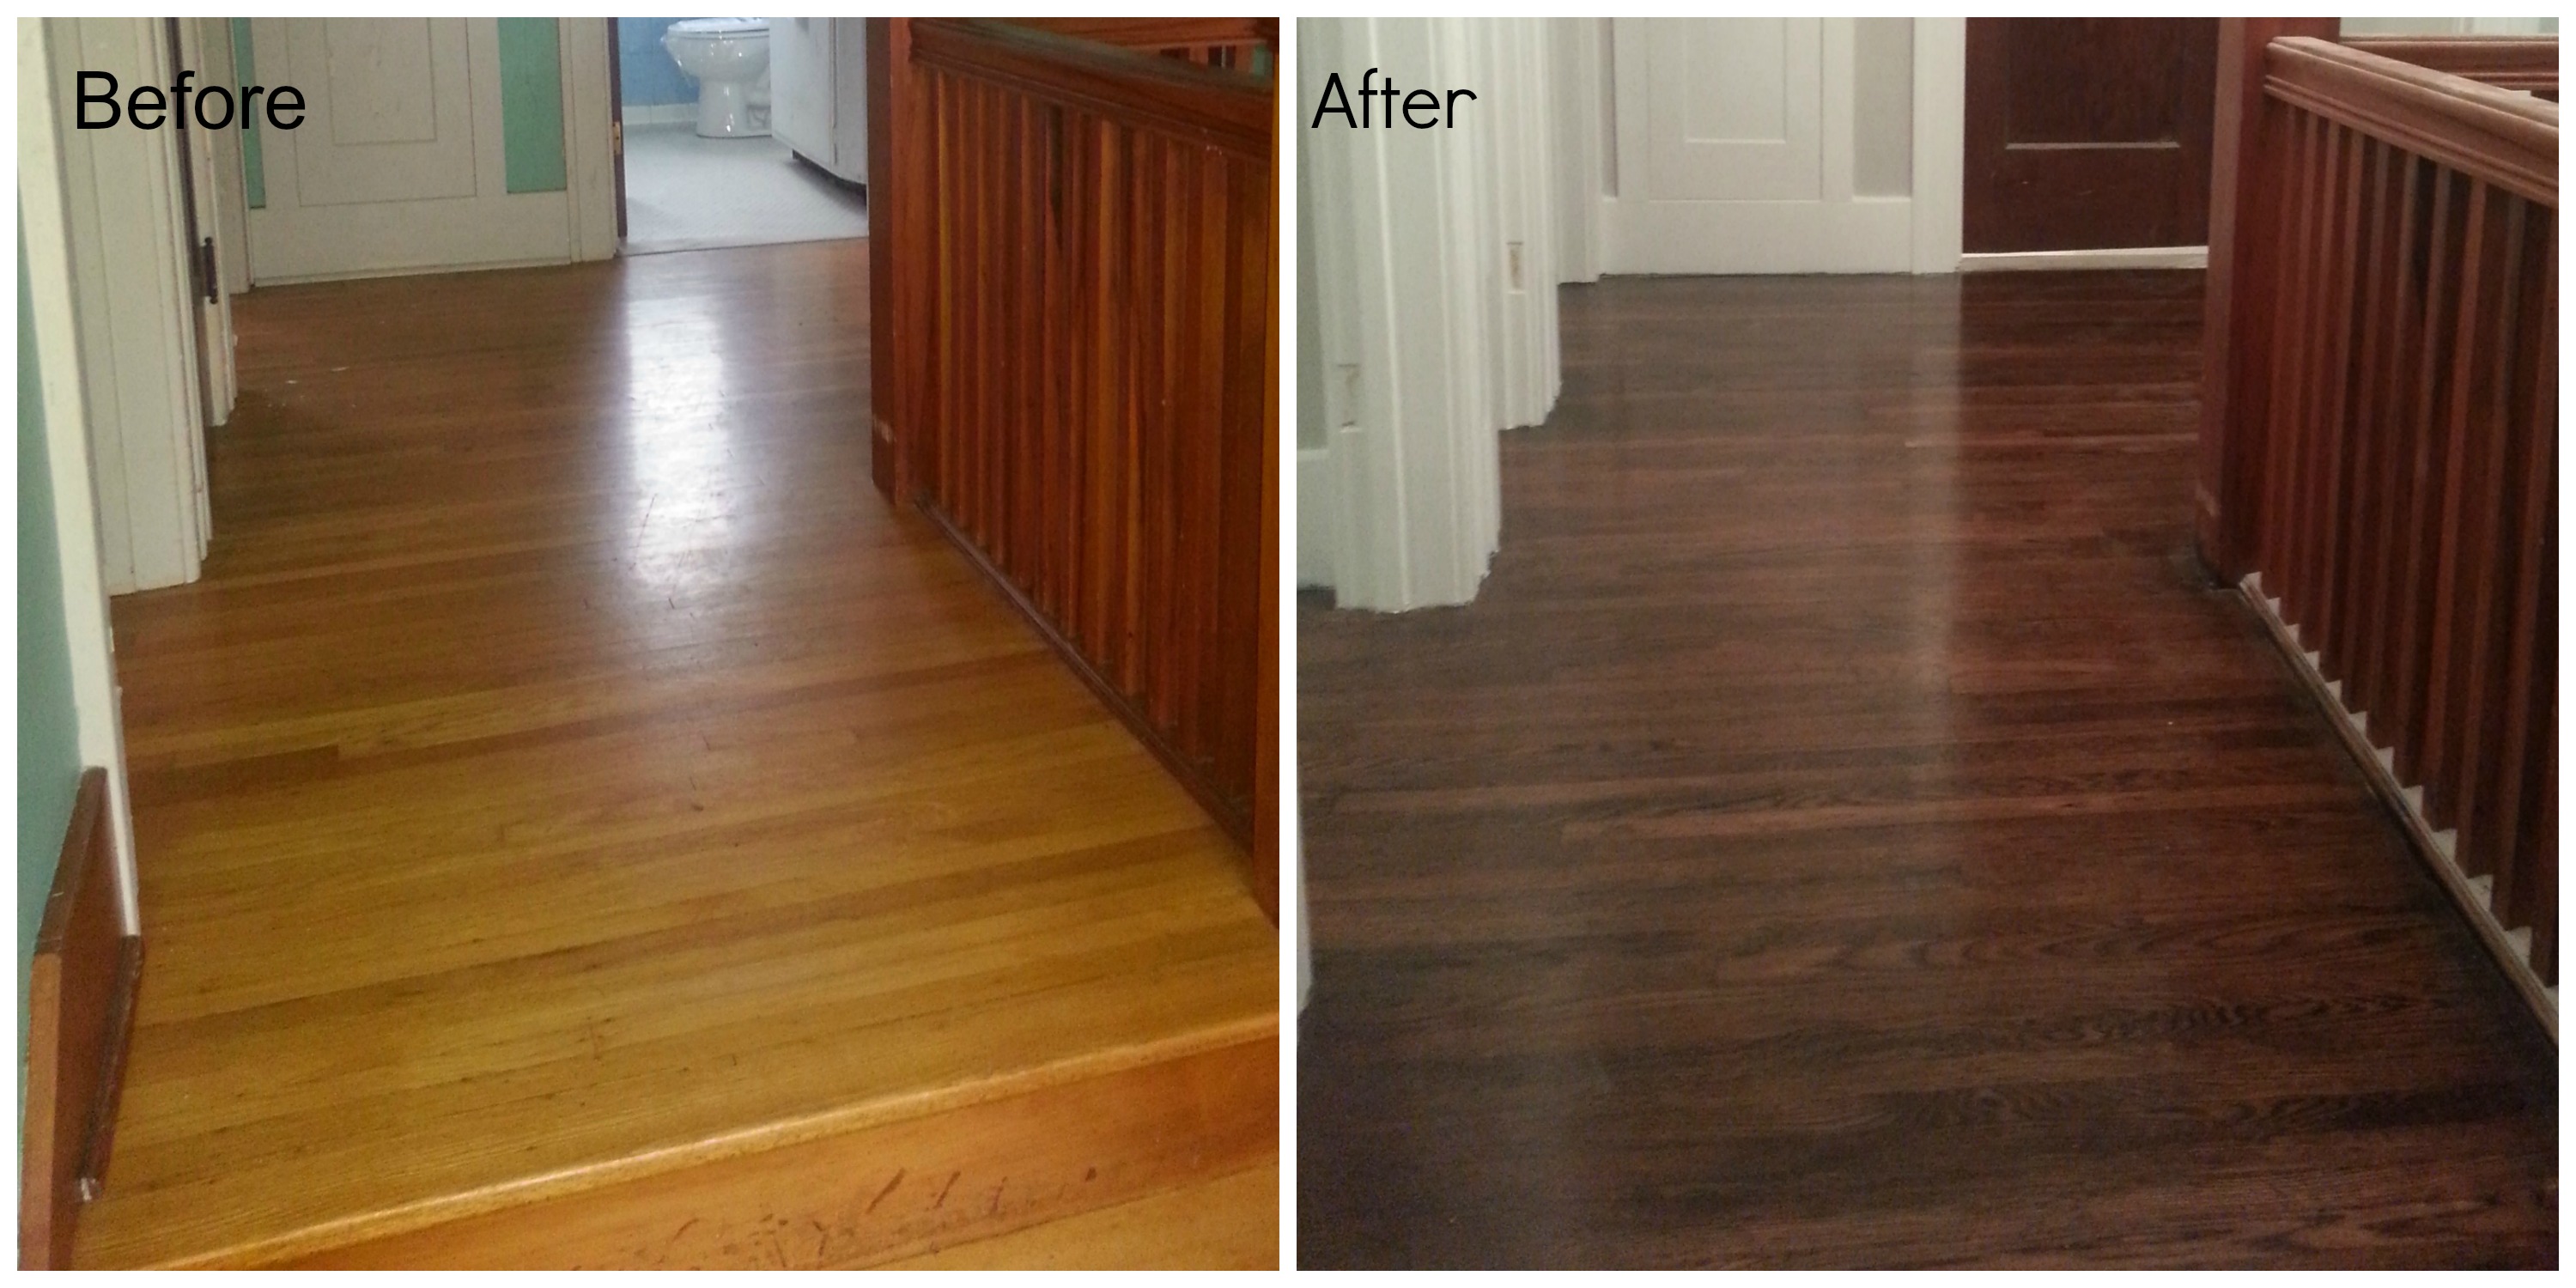
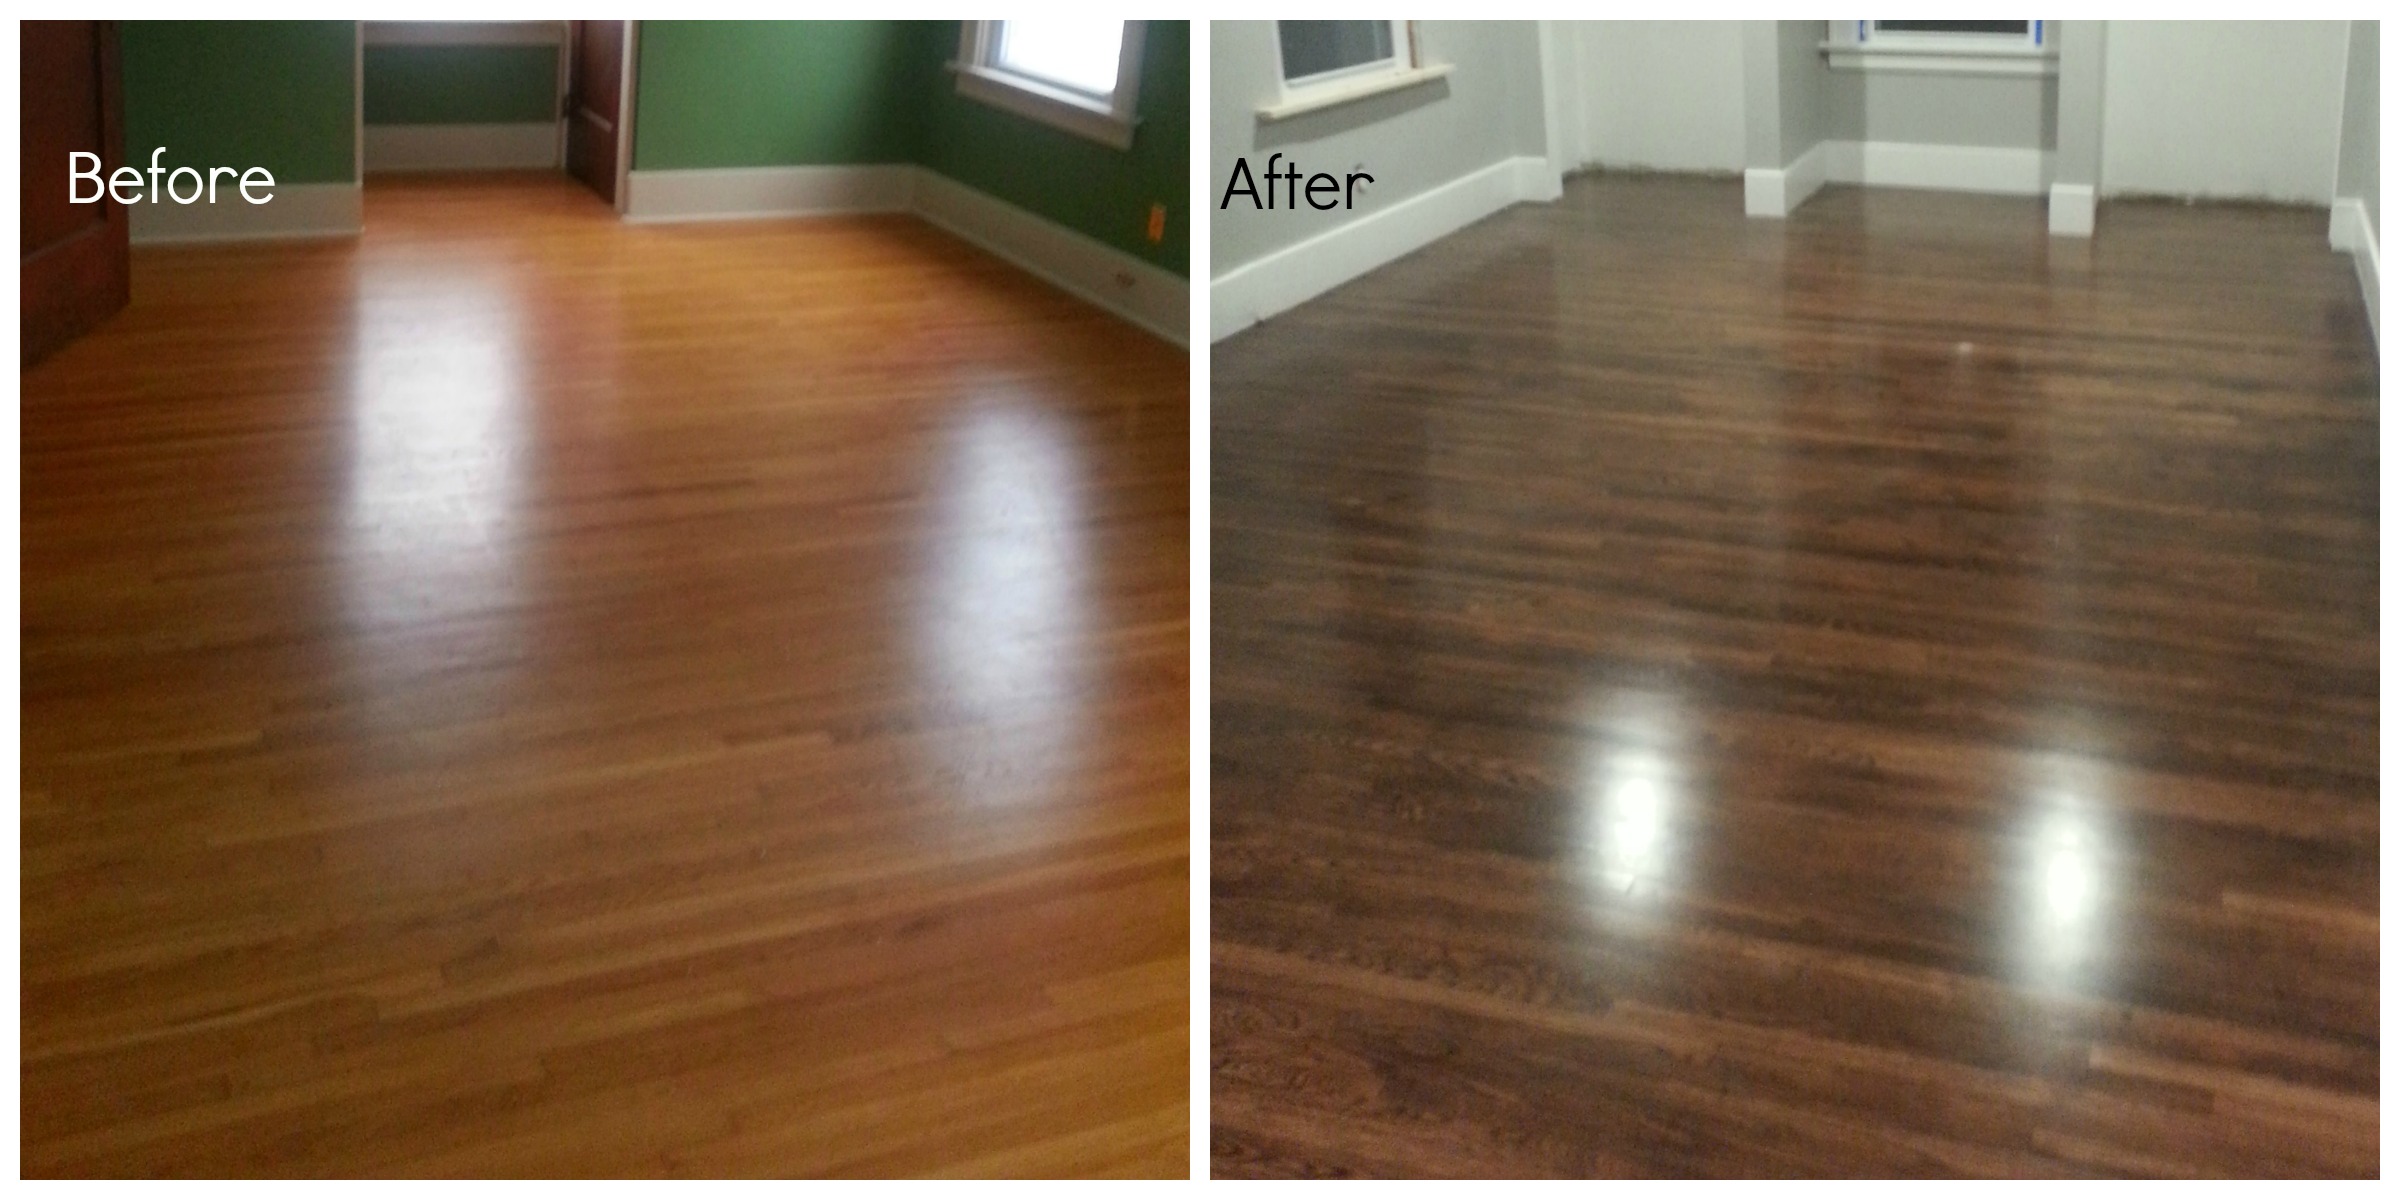
I honestly don’t even know where to begin with this write-up. Floors. Our beautiful hardwood floors. The very thing I fell in love with when first stepping into the house. Two stories of nothing but natural oak. And beautiful accent borders throughout the first floor.
From the beginning, we wanted to stain them darker. What we didn’t know was the two-month-long nightmare of a project we were getting ourselves into. All I can say is, third time’s a charm. (And that most contractors would have probably killed us for what we put our floors through.)
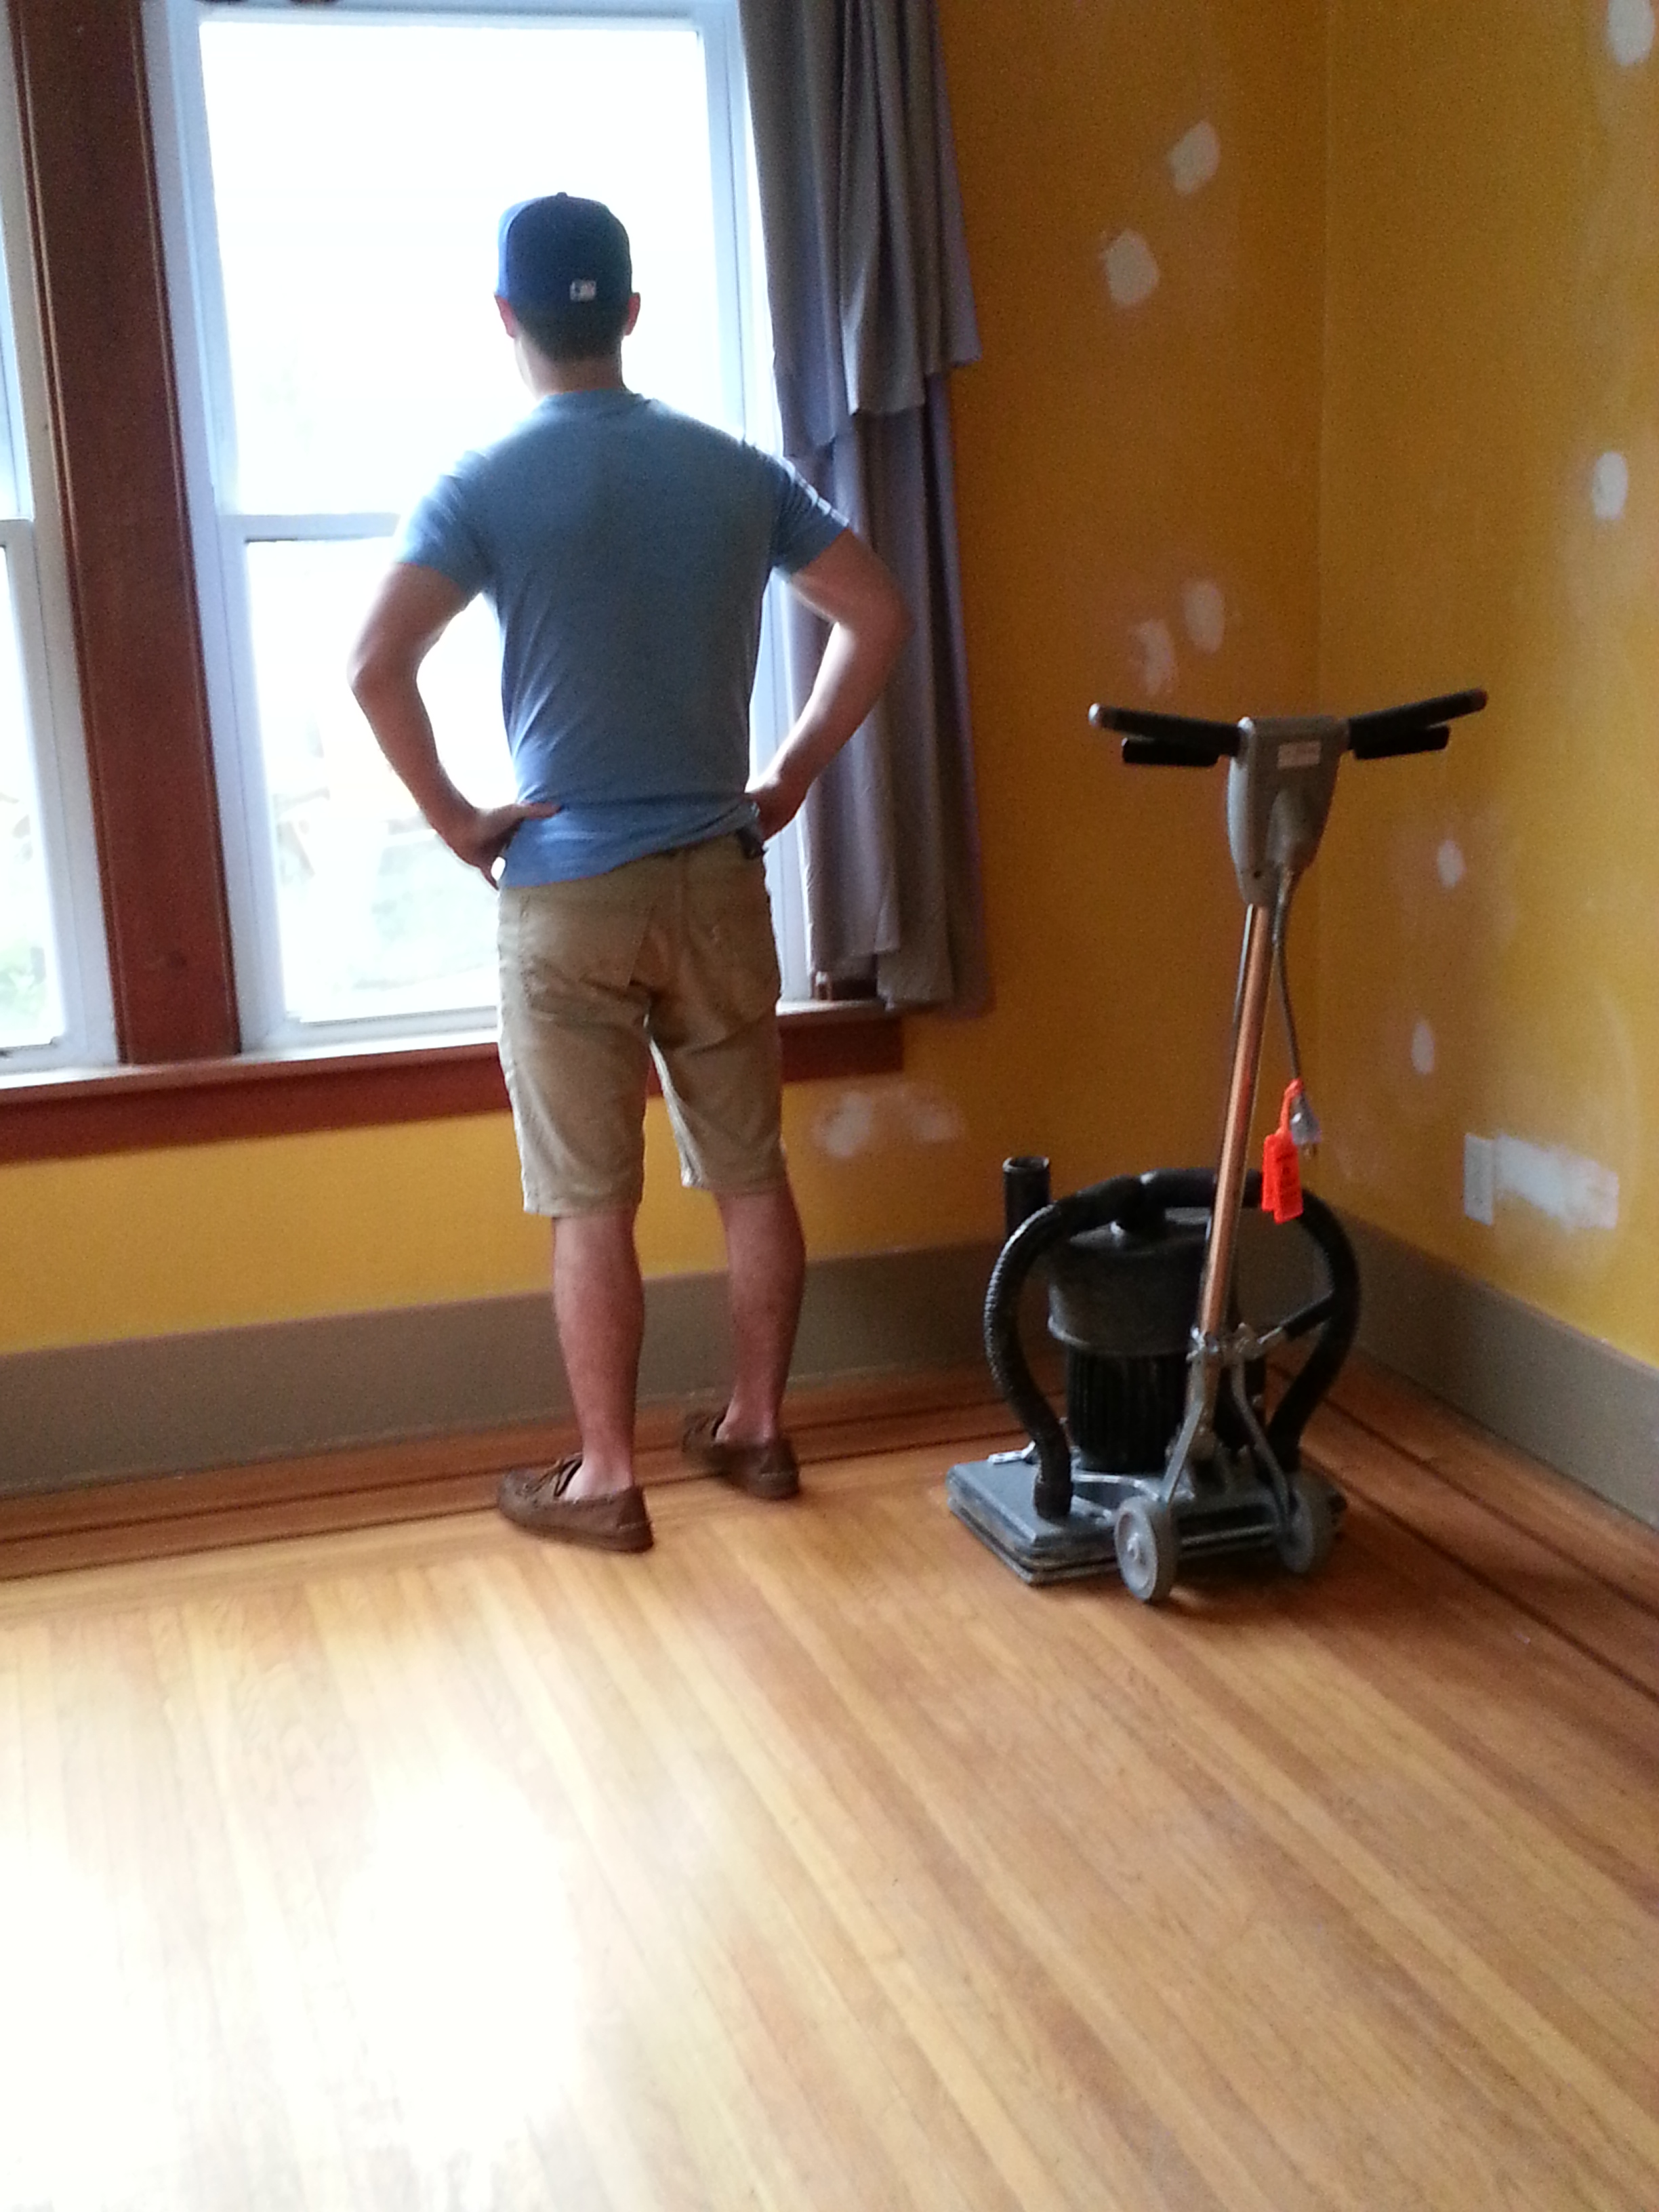
It’s like he knew what was coming before we even started
The sanding never ends
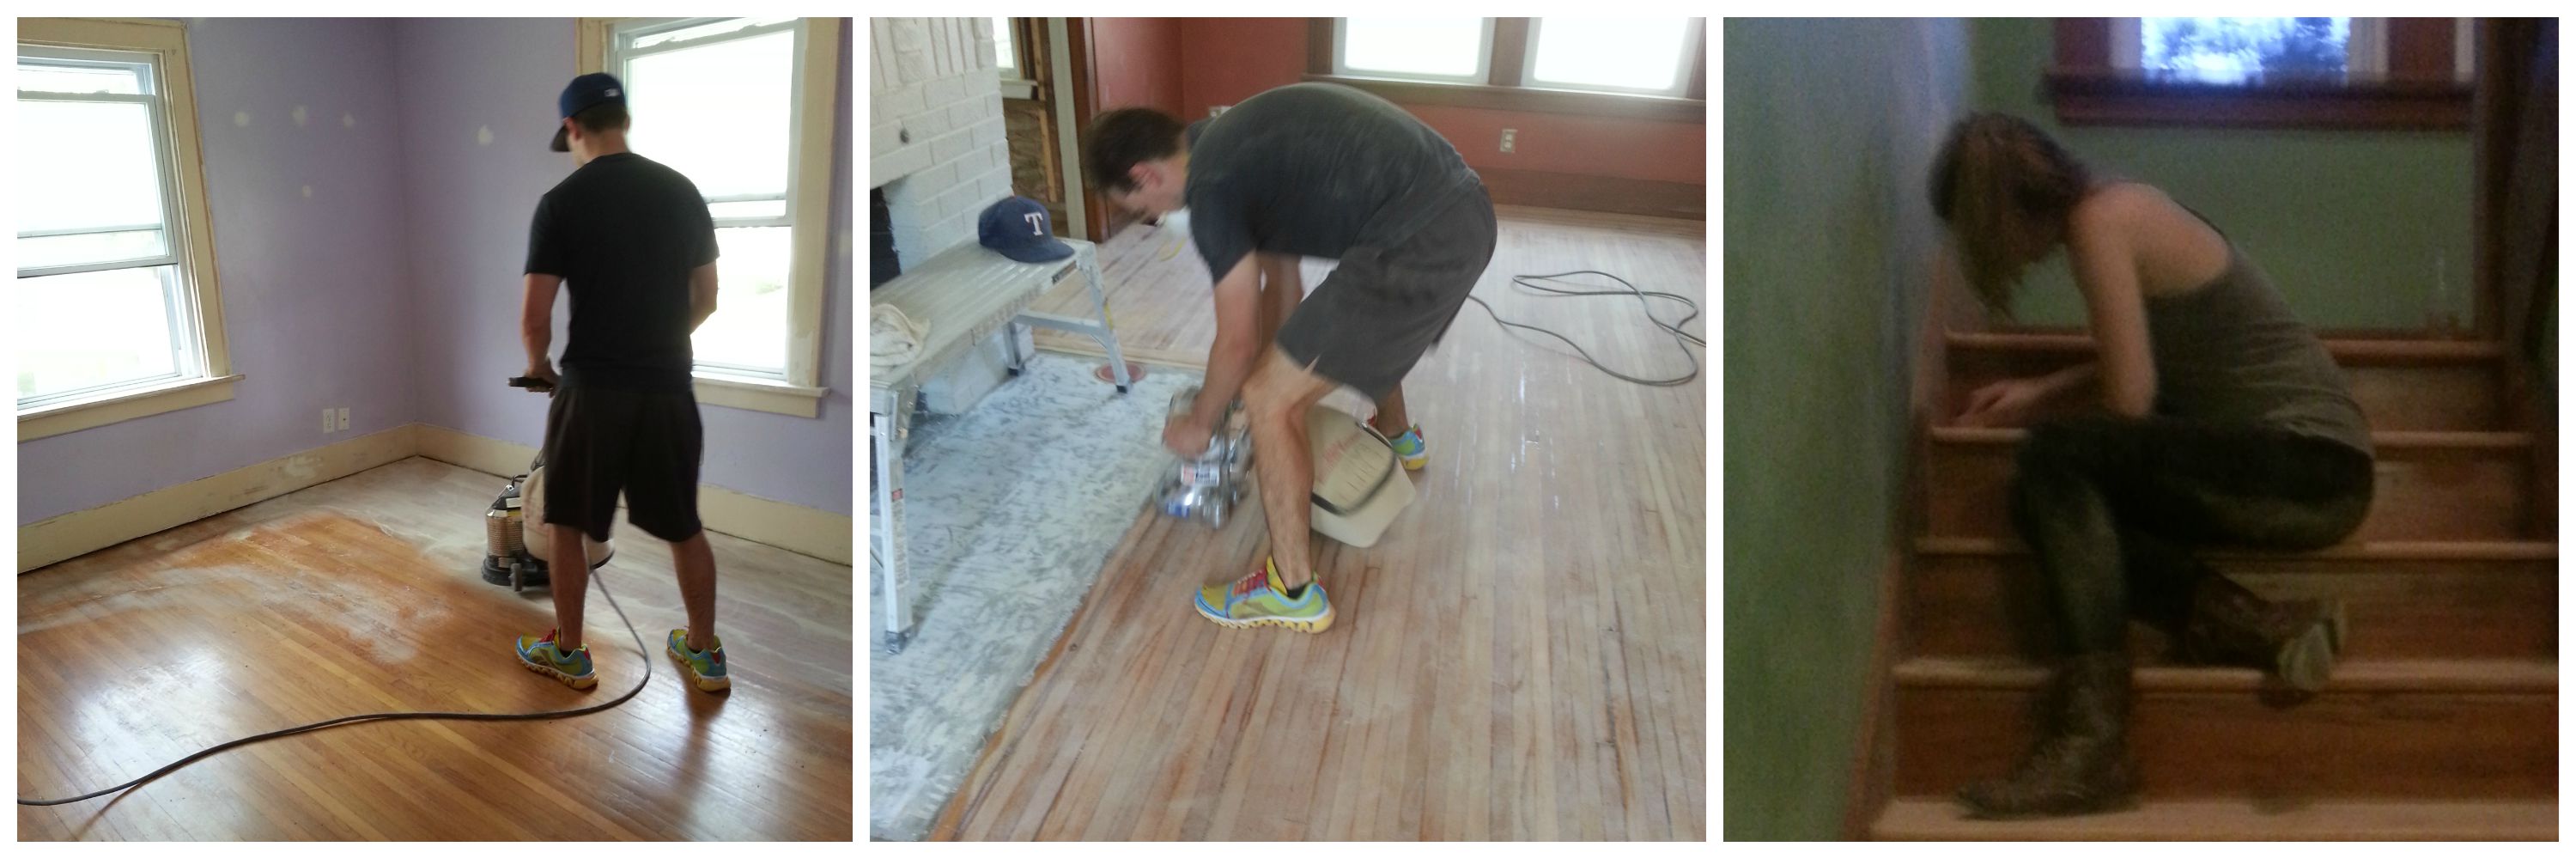
Steps in the process – sand, stain, poly. That’s all there is too it. Ha. But honestly, sanding went rather smoothly. We had a family friend over to help get us started with the circular sander we rented from Home Depot. Dan’s dad jumped in and helped with a lot of the sanding too. Took an entire weekend, but that’s not bad considering we were completely sanding two stories of a house, and had to run over it with three different grits.
Our living nightmare
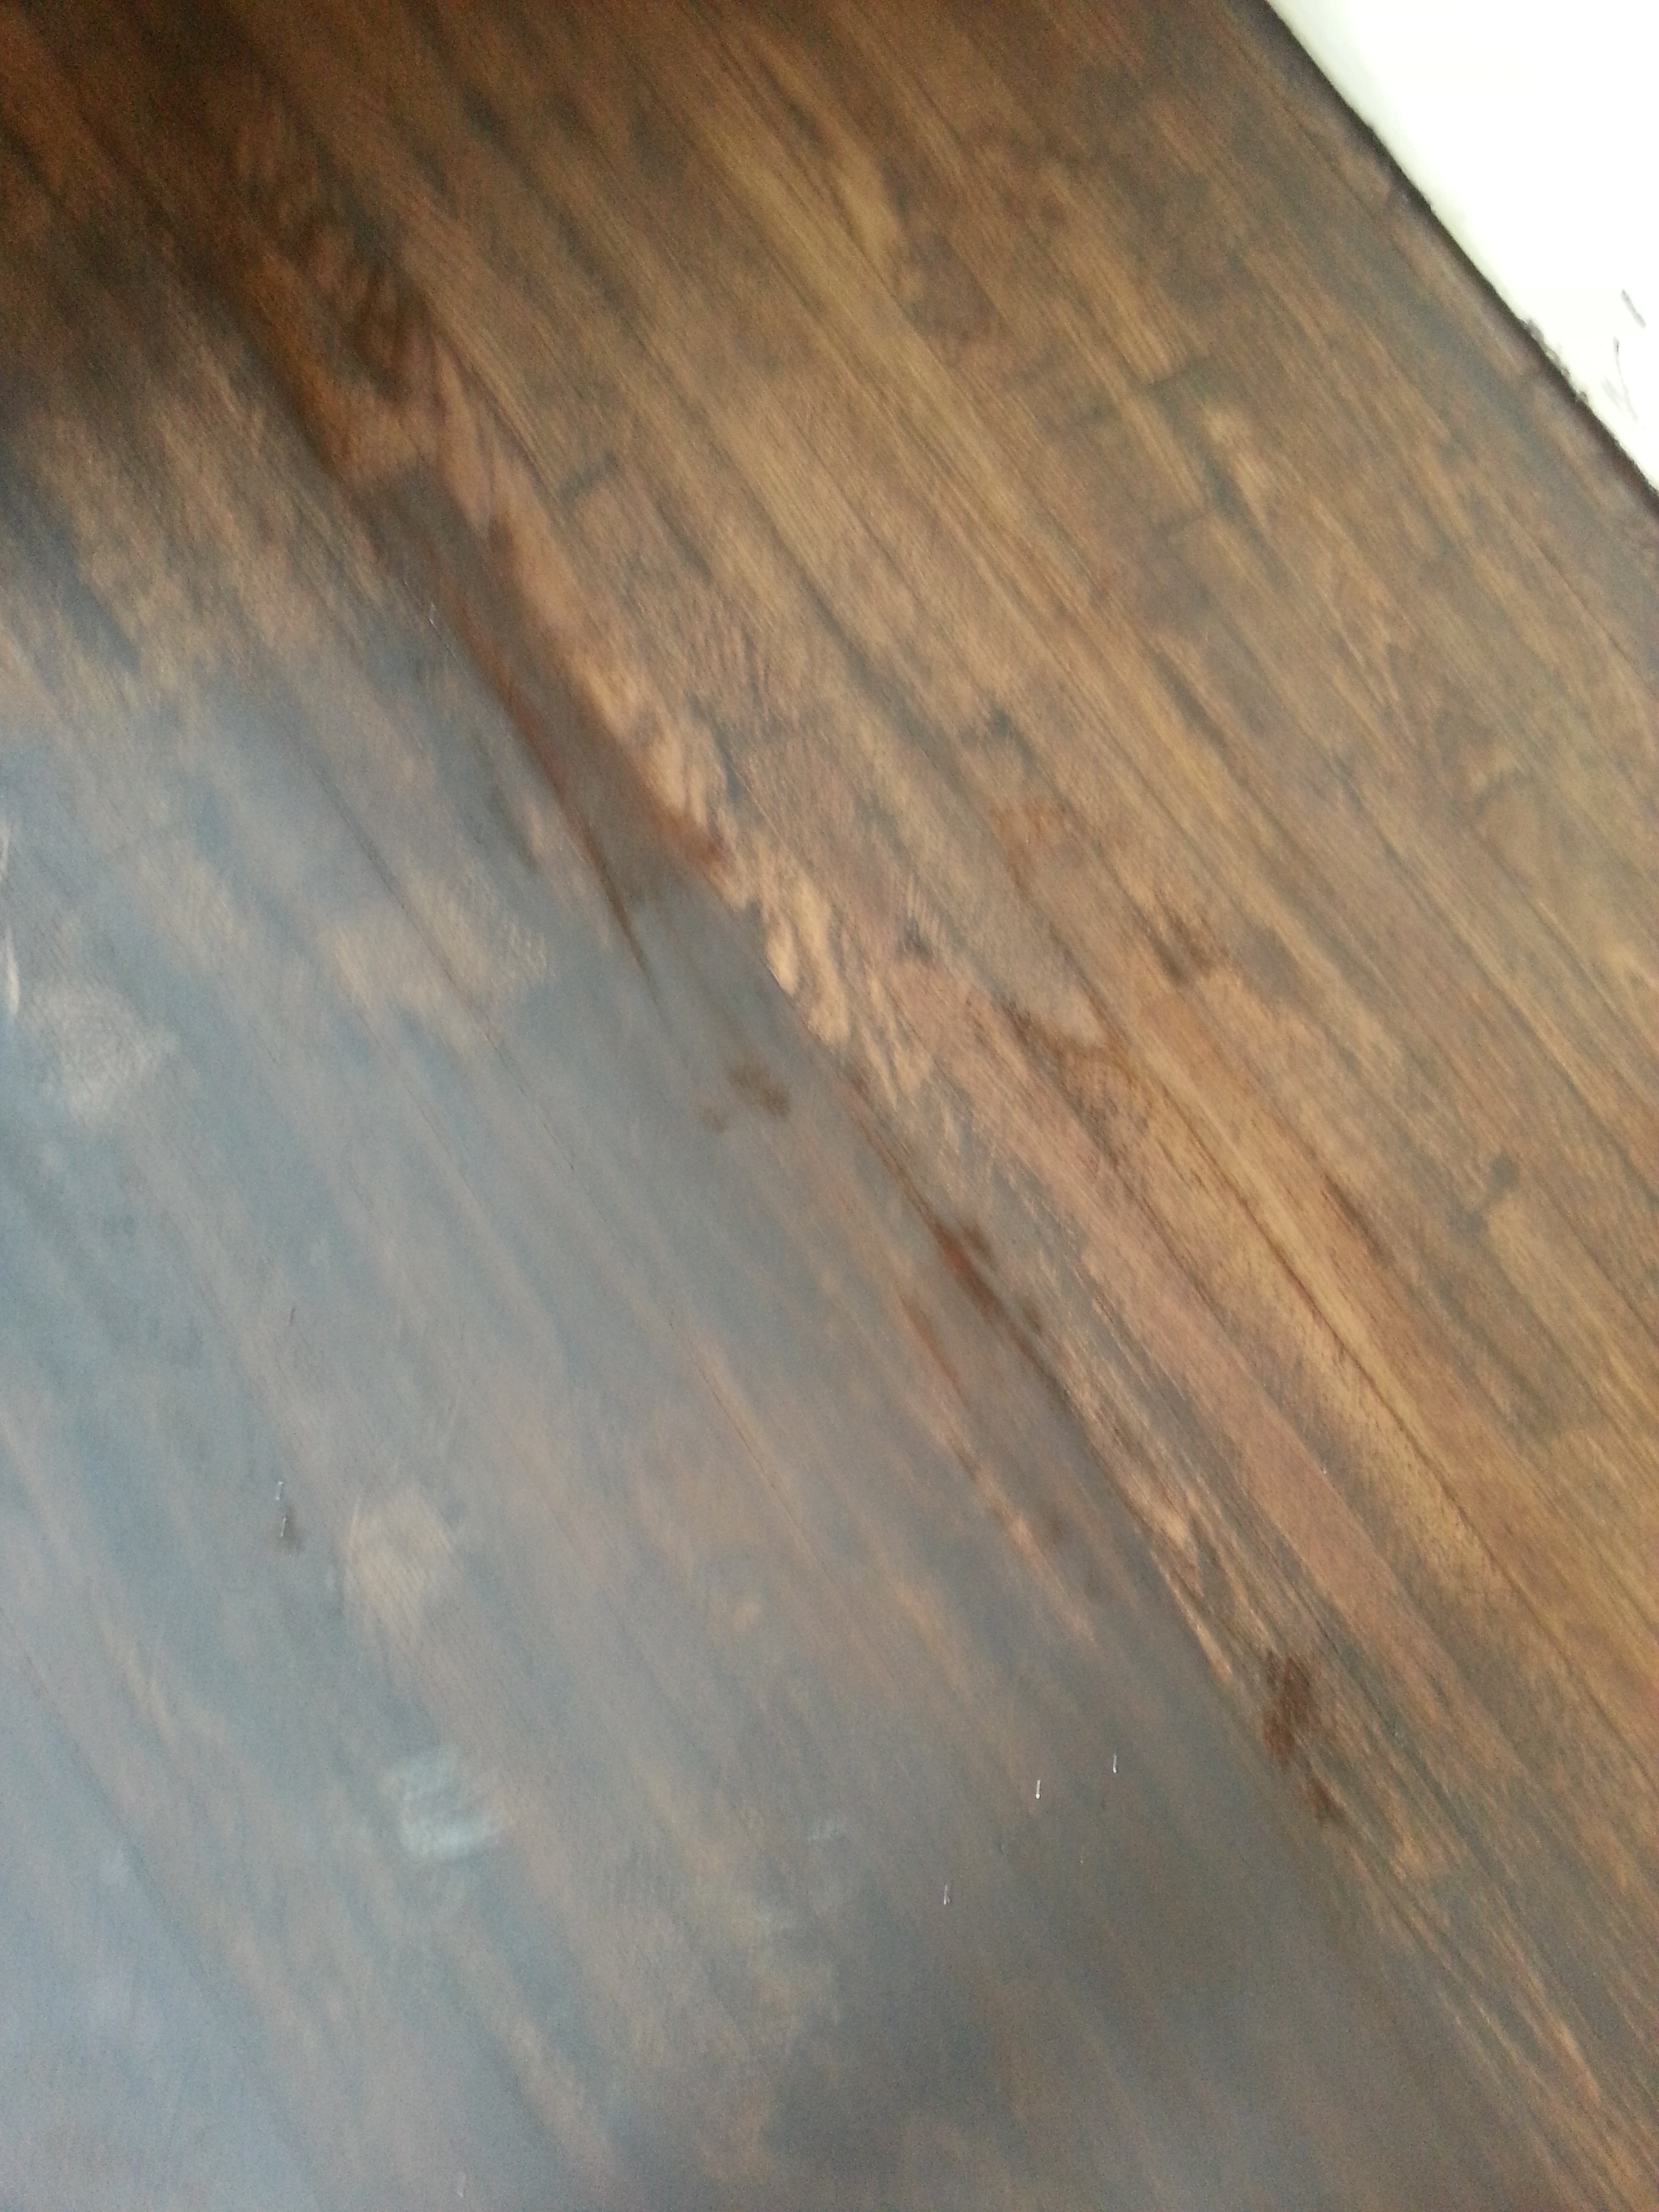
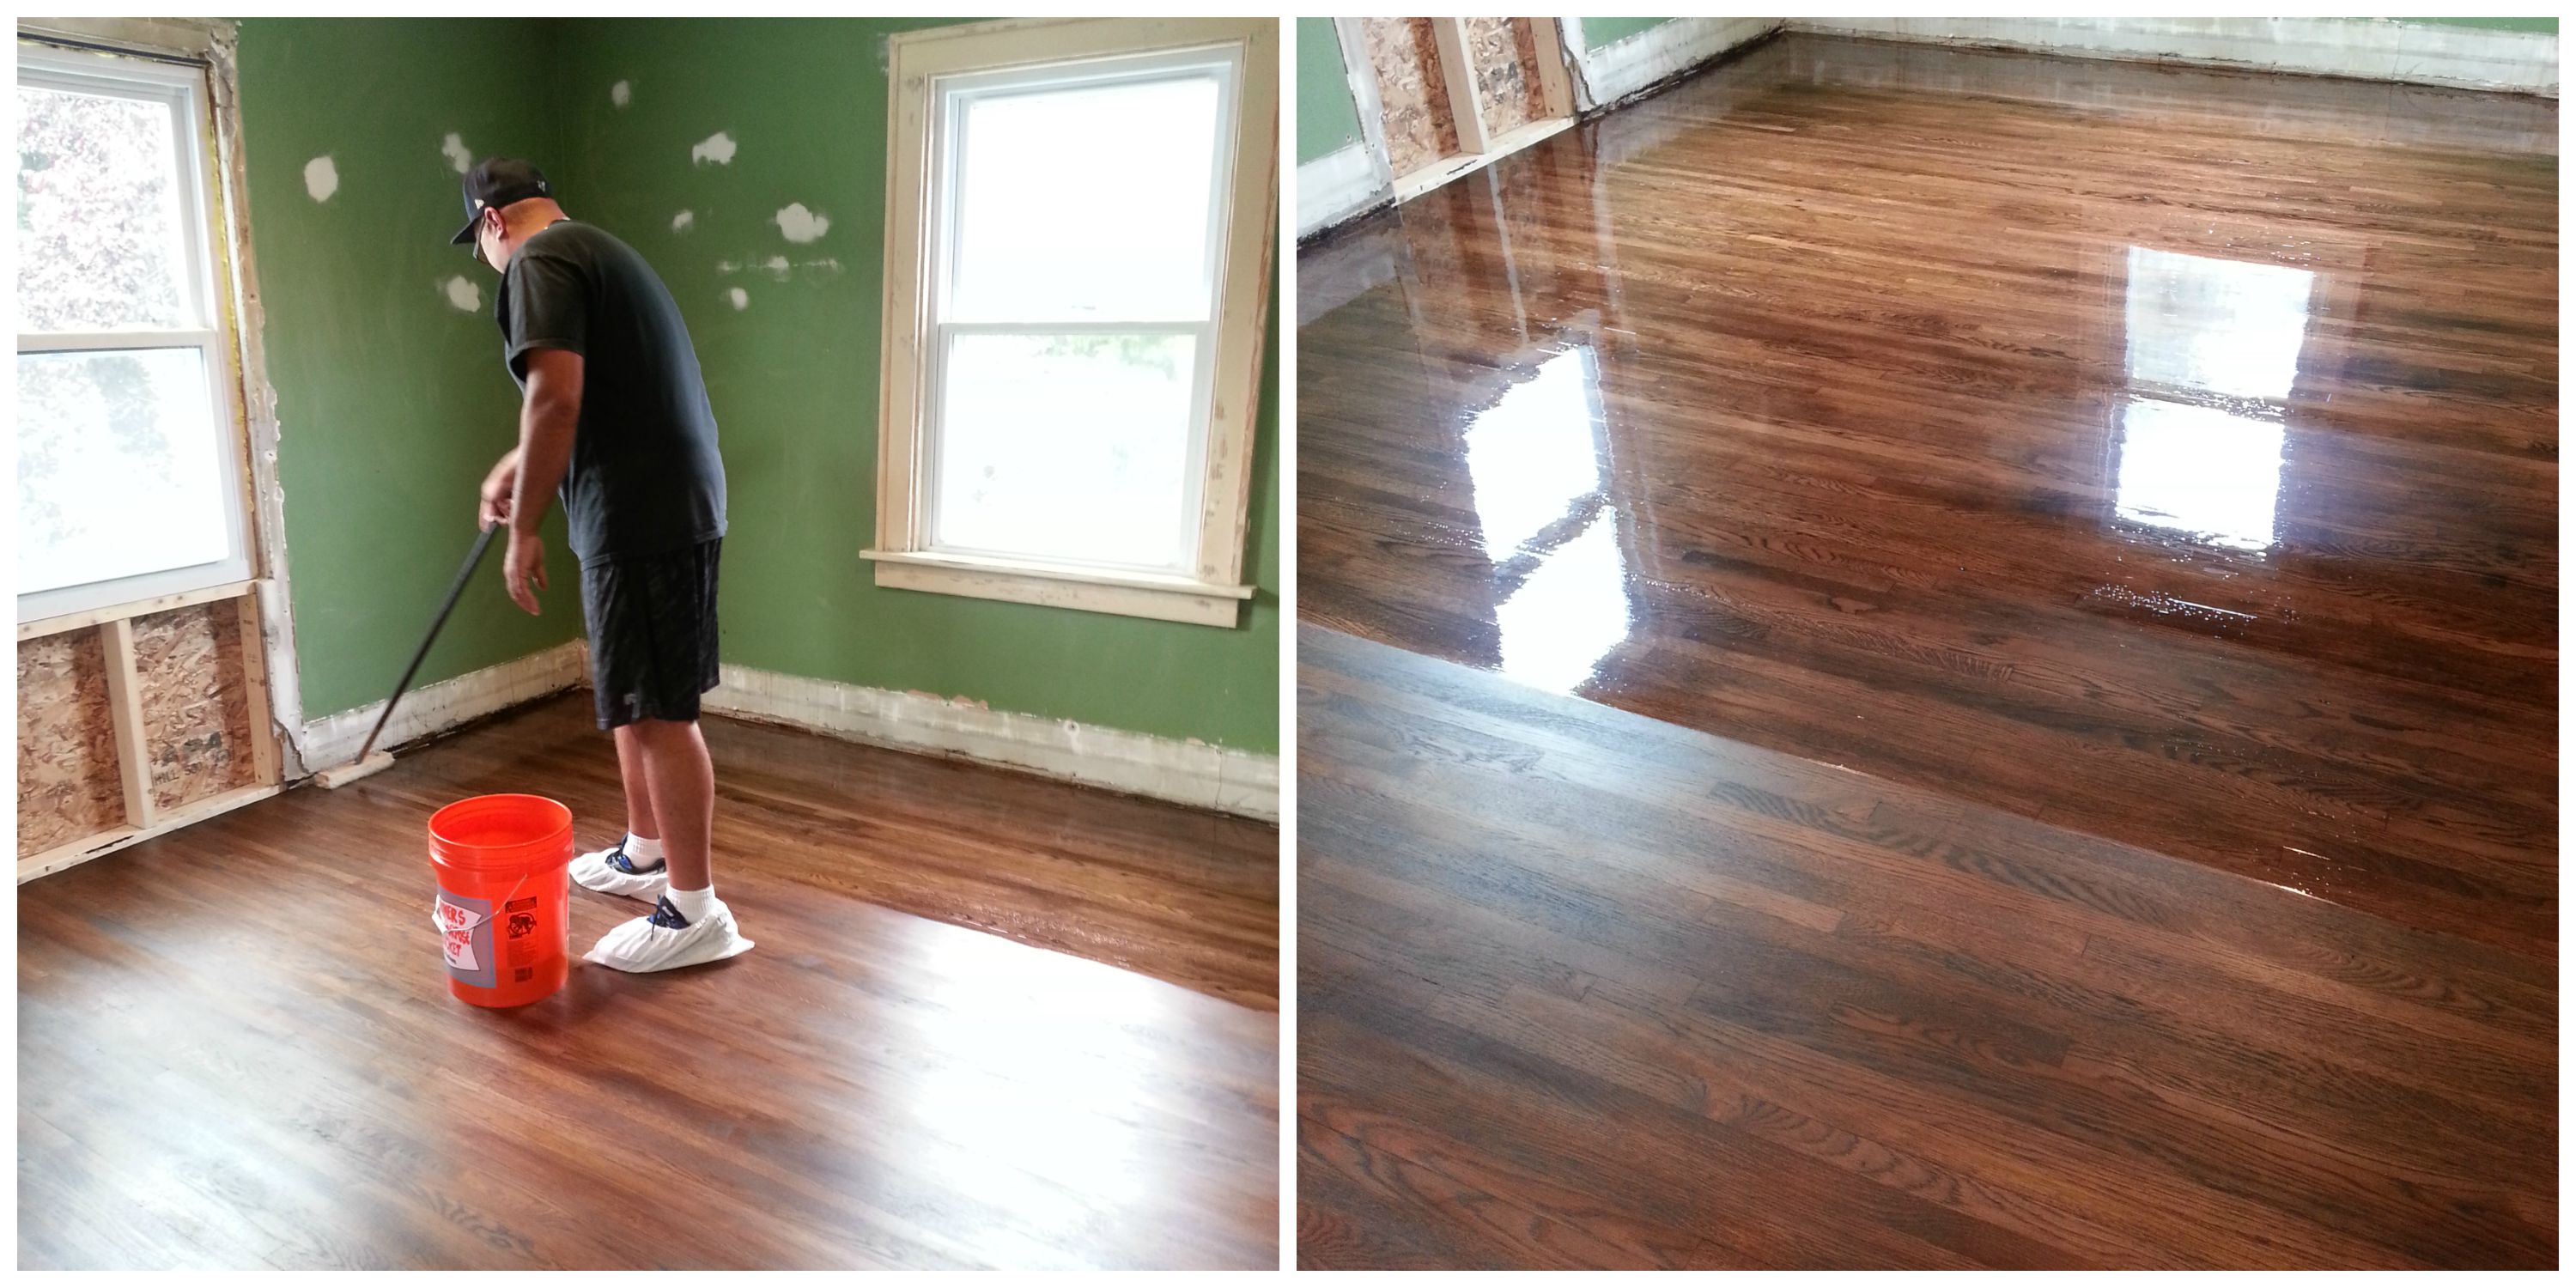
The nightmare came when we went to stain. Like I mentioned before, we were going for a darker, chocolate brown color. The stain appeared to go on exactly how we wanted it – dark, but still able to see the natural wood grain. What we caught way too late was the way the stain dried – way too quickly, and almost like paint. And yes, before you ask, we tested the stain multiple times, but there was no way to anticipate the way it would dry over such a large space (without going room by room, which we now know, we should have done). Long story short, we stained two-thirds of the house before realizing there was an issue. The build-up of stain was so bad that you could wipe the top layer off with mineral spirits and actually reveal the color we were looking for.
A lot of human error, yes, but we later learned that we were also working with an awful product.
Left side: Stain/paint/whatever you want to call it Right side: After mineral spirits. Something obviously wasn’t right here
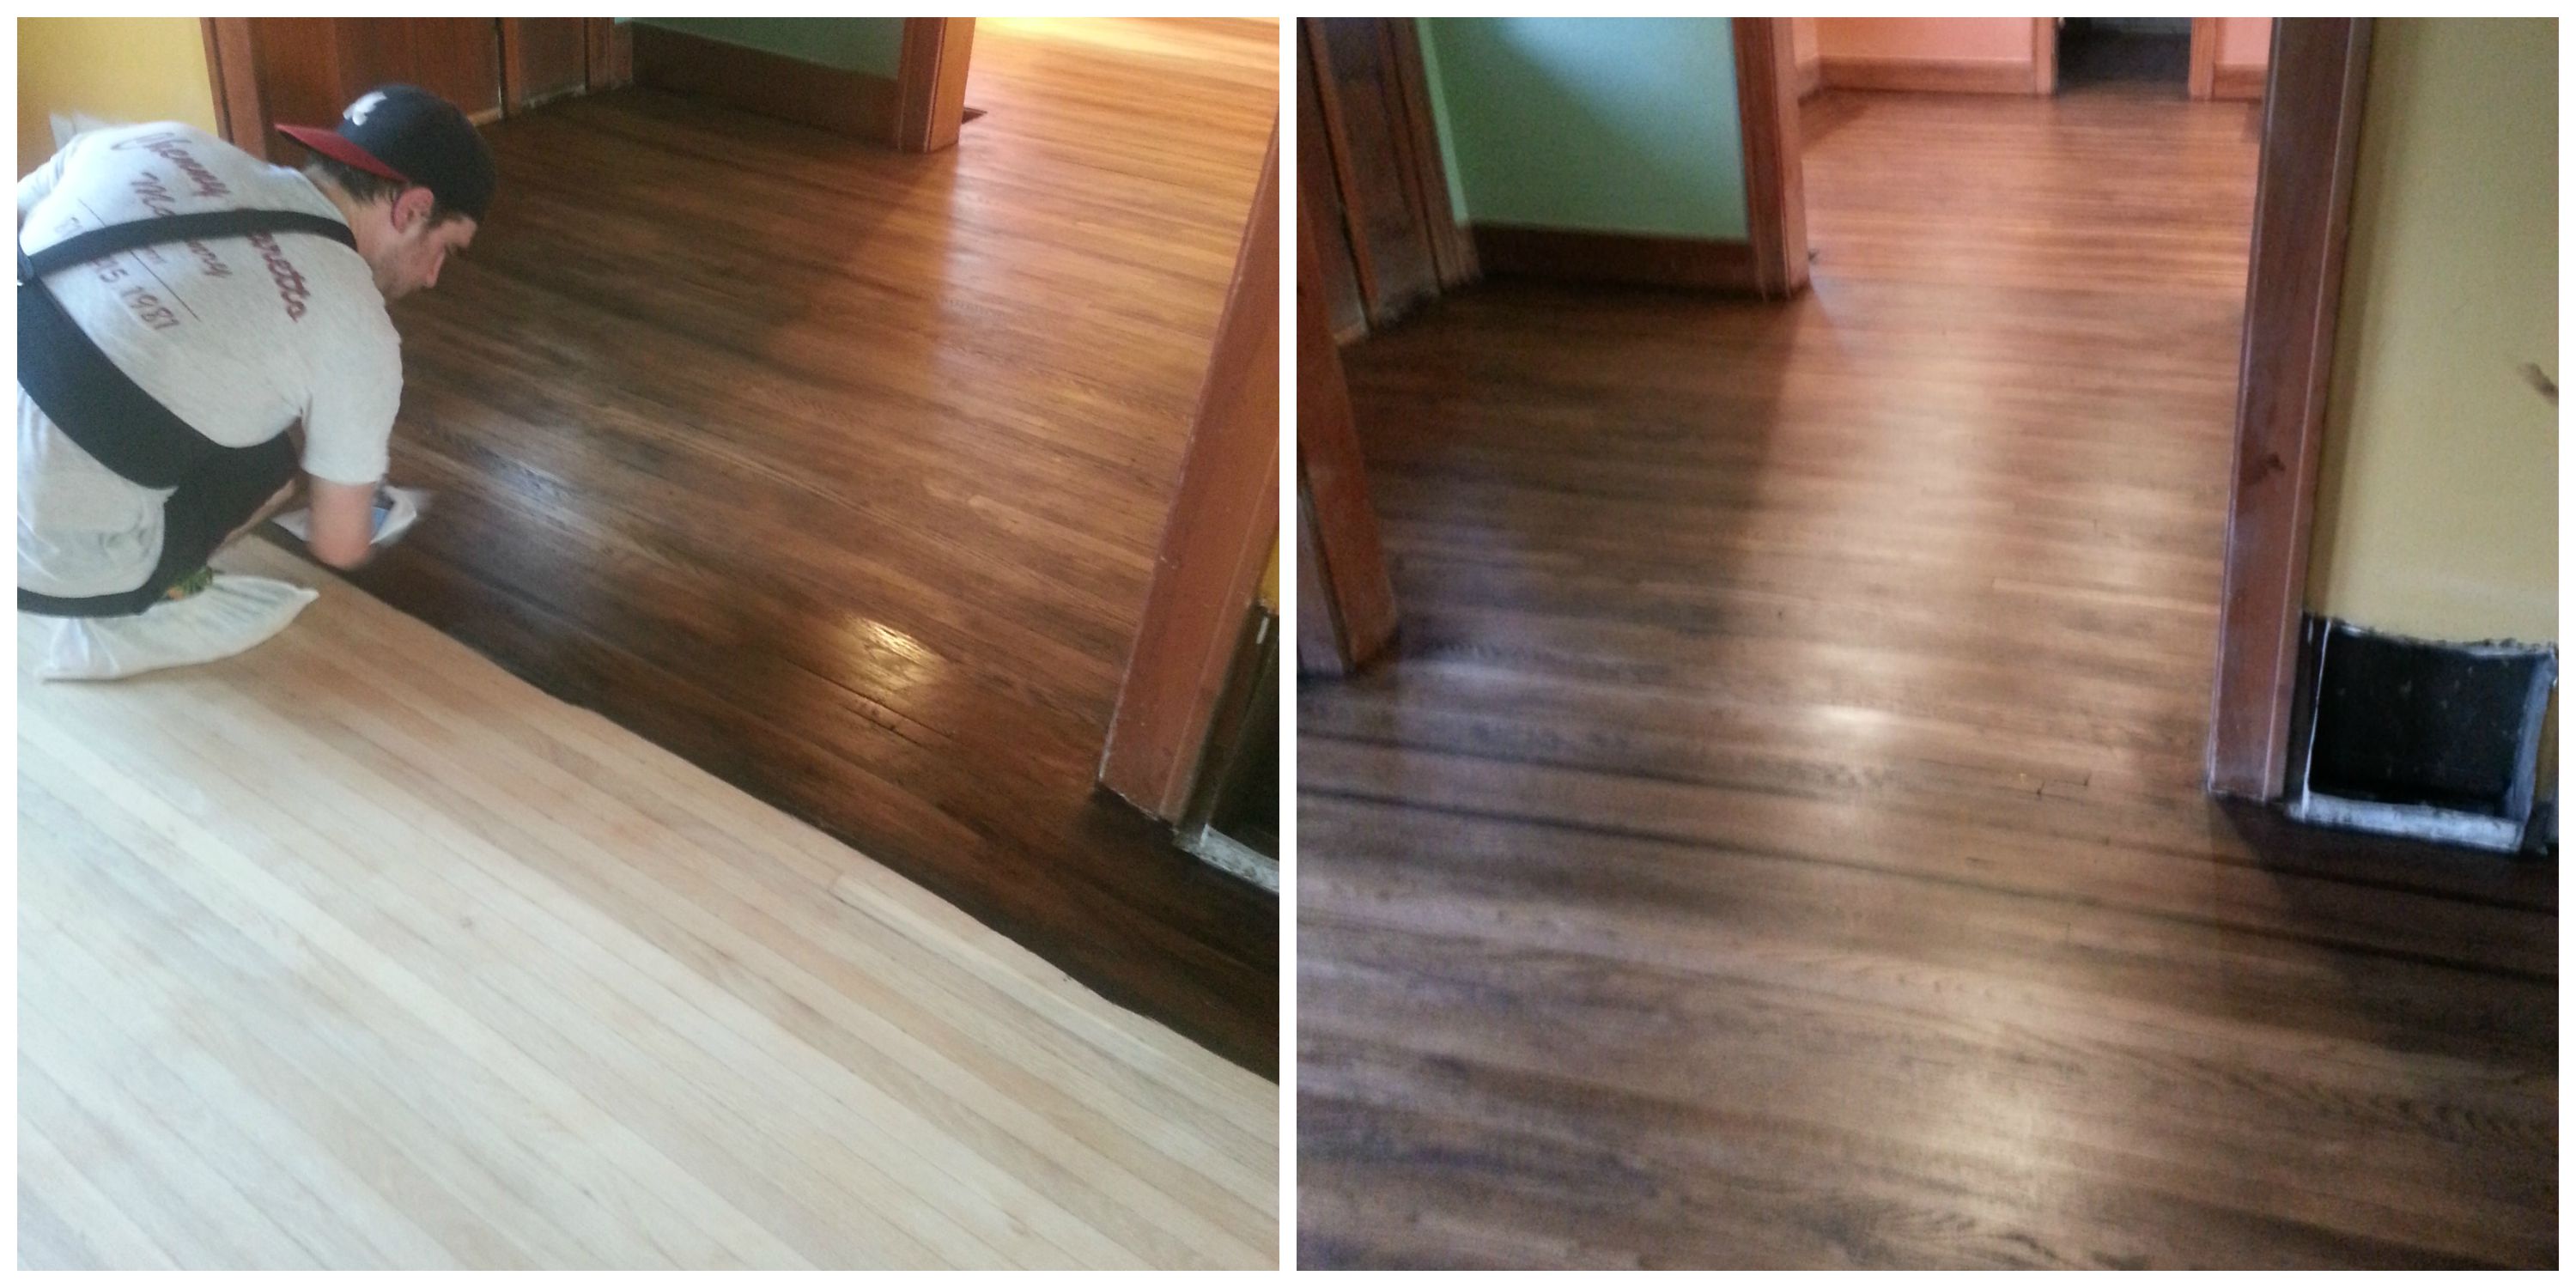
These results meant we were back to square one. Sanding all over again. Ugh. Dan’s dad stepped in to sand again, which was a huge help since Dan and I were both mentally and physically drained at this point. Once the floors were resanded, it was back to the drawing board.
Finding the right product
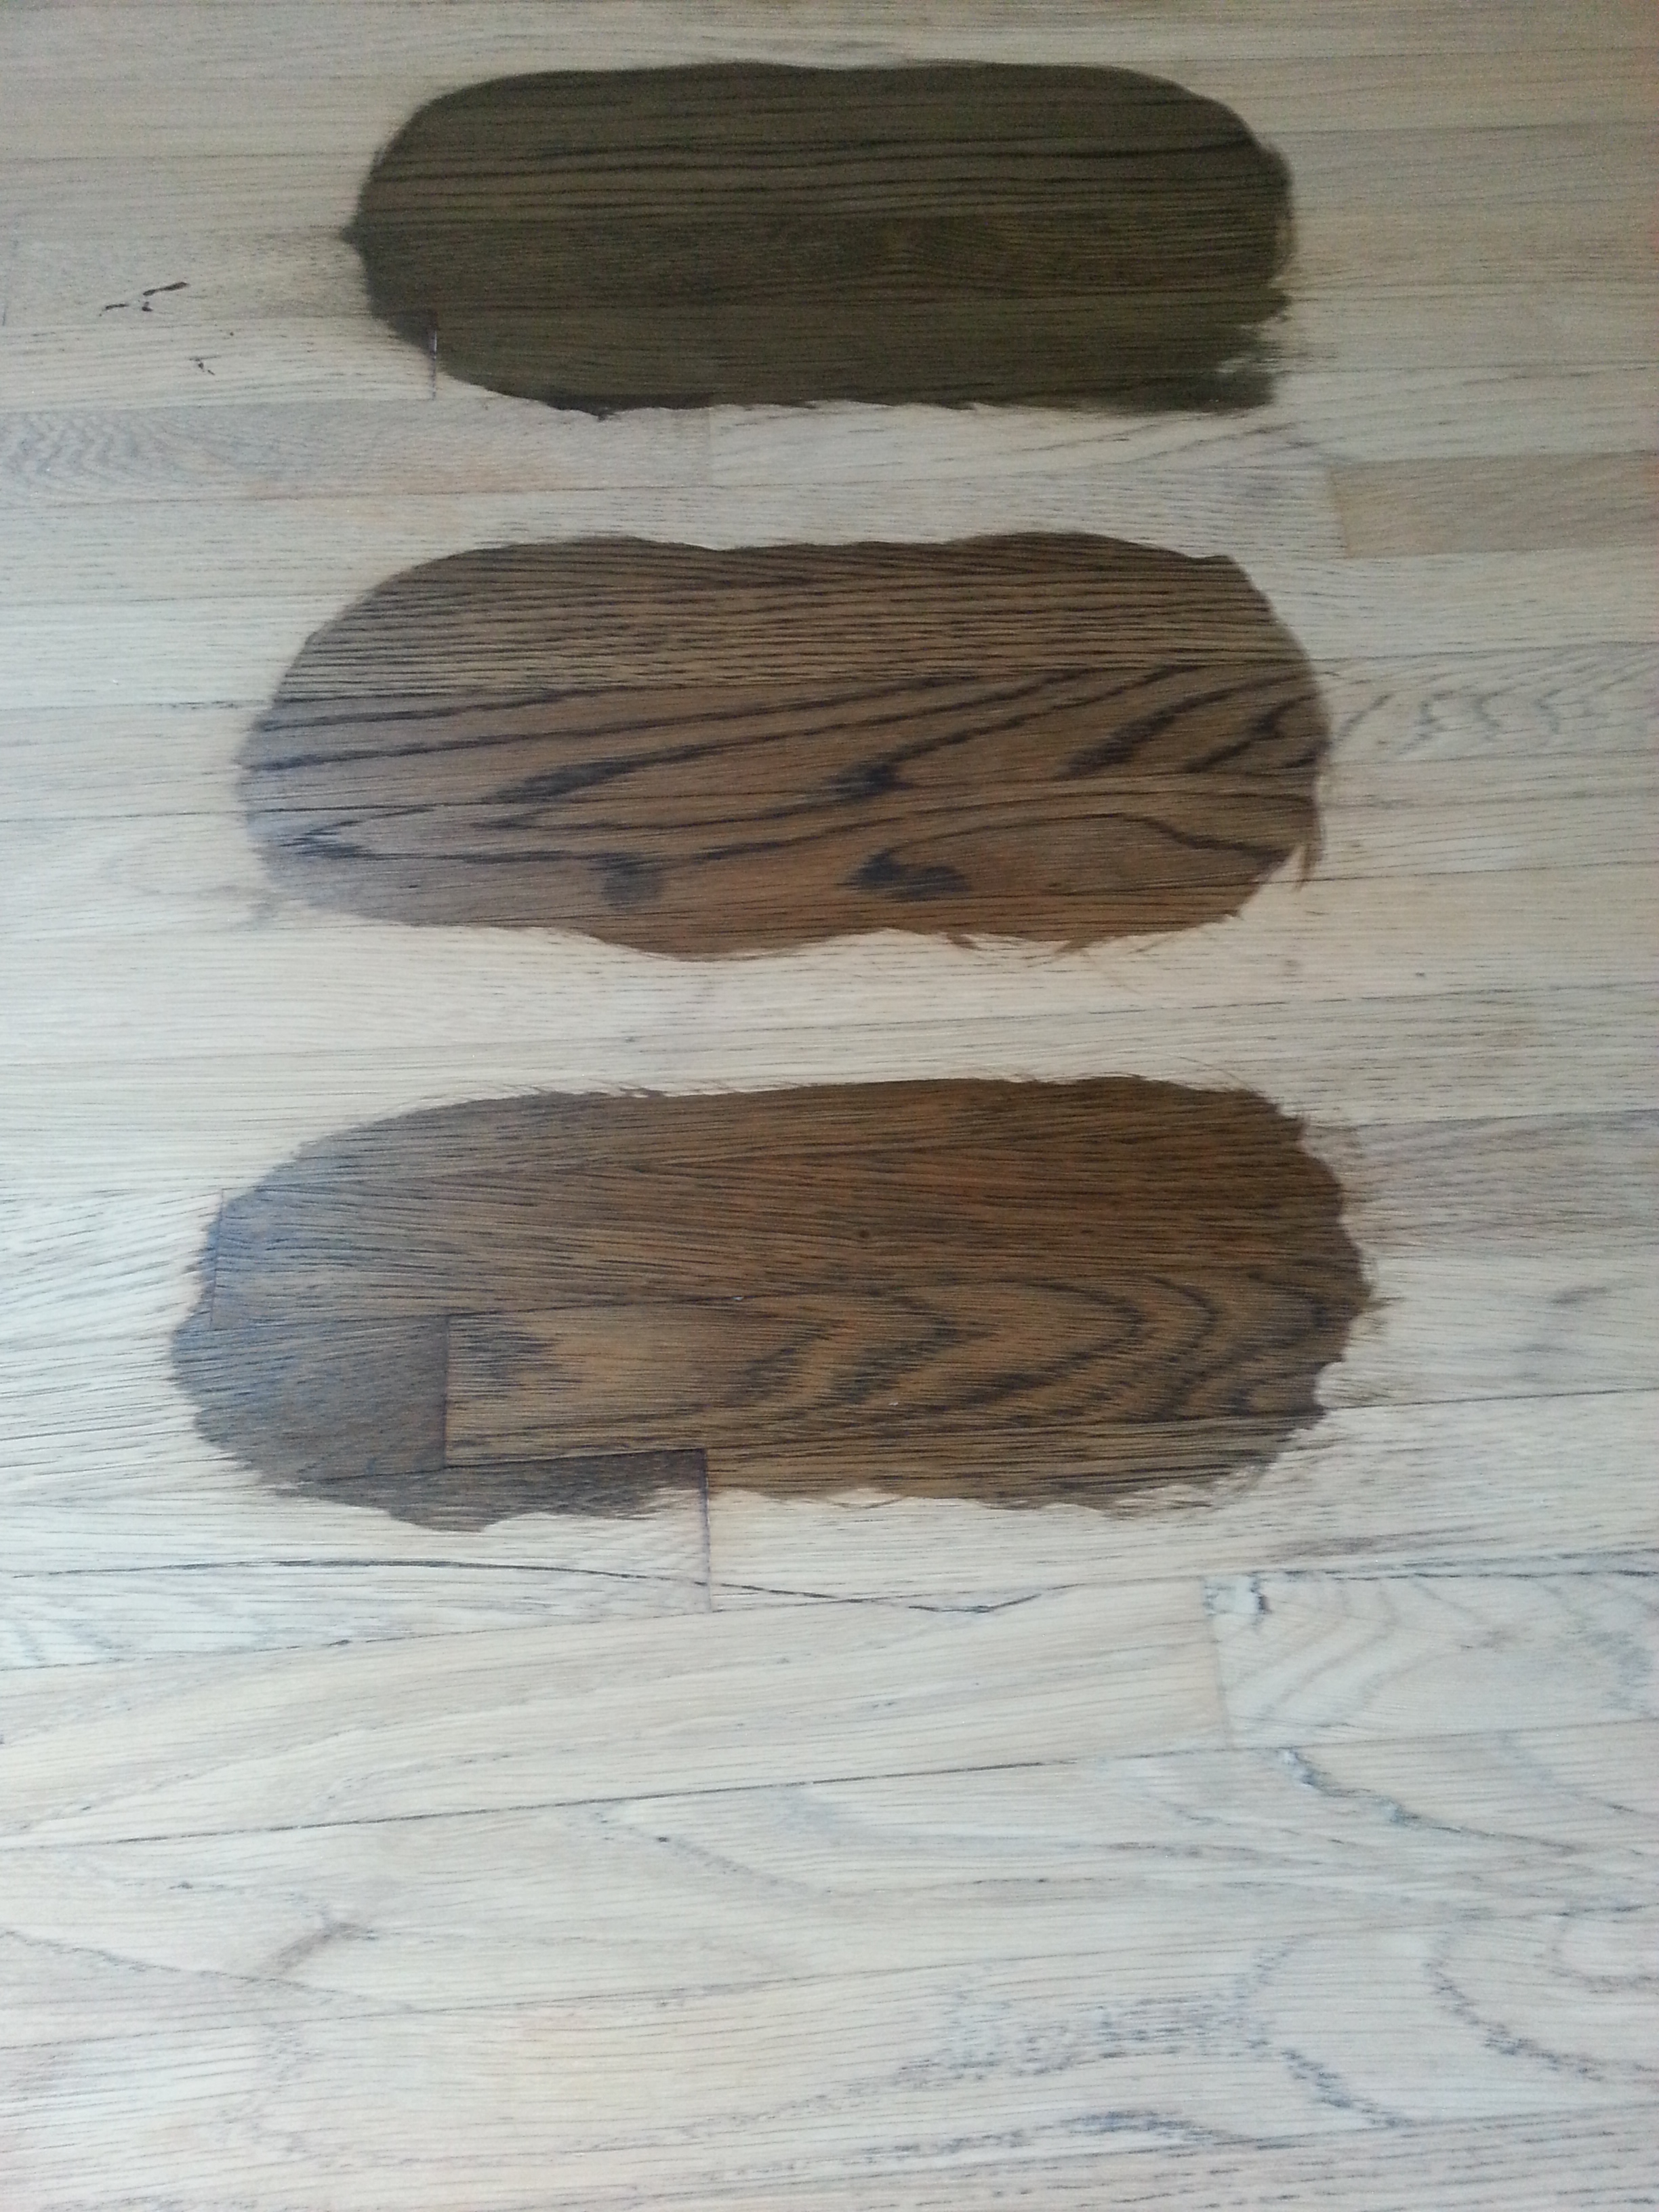
After trying everything under the sun, we finally came across DuraSeal – great to work with, and gave us the color we wanted. We ended up with a mixture of two parts Ebony, one part Red Mahogany. Sounds extremely dark, but on our hard oak floors, they actually came out a lot lighter than expected.
Testing stain. We went with the top option.
So back to staining we went. Room by room, we eventually made it through the whole house. Long story short, we were thrilled with how the upstairs turned out, but sorely disappointed by the downstairs.
Halfway there
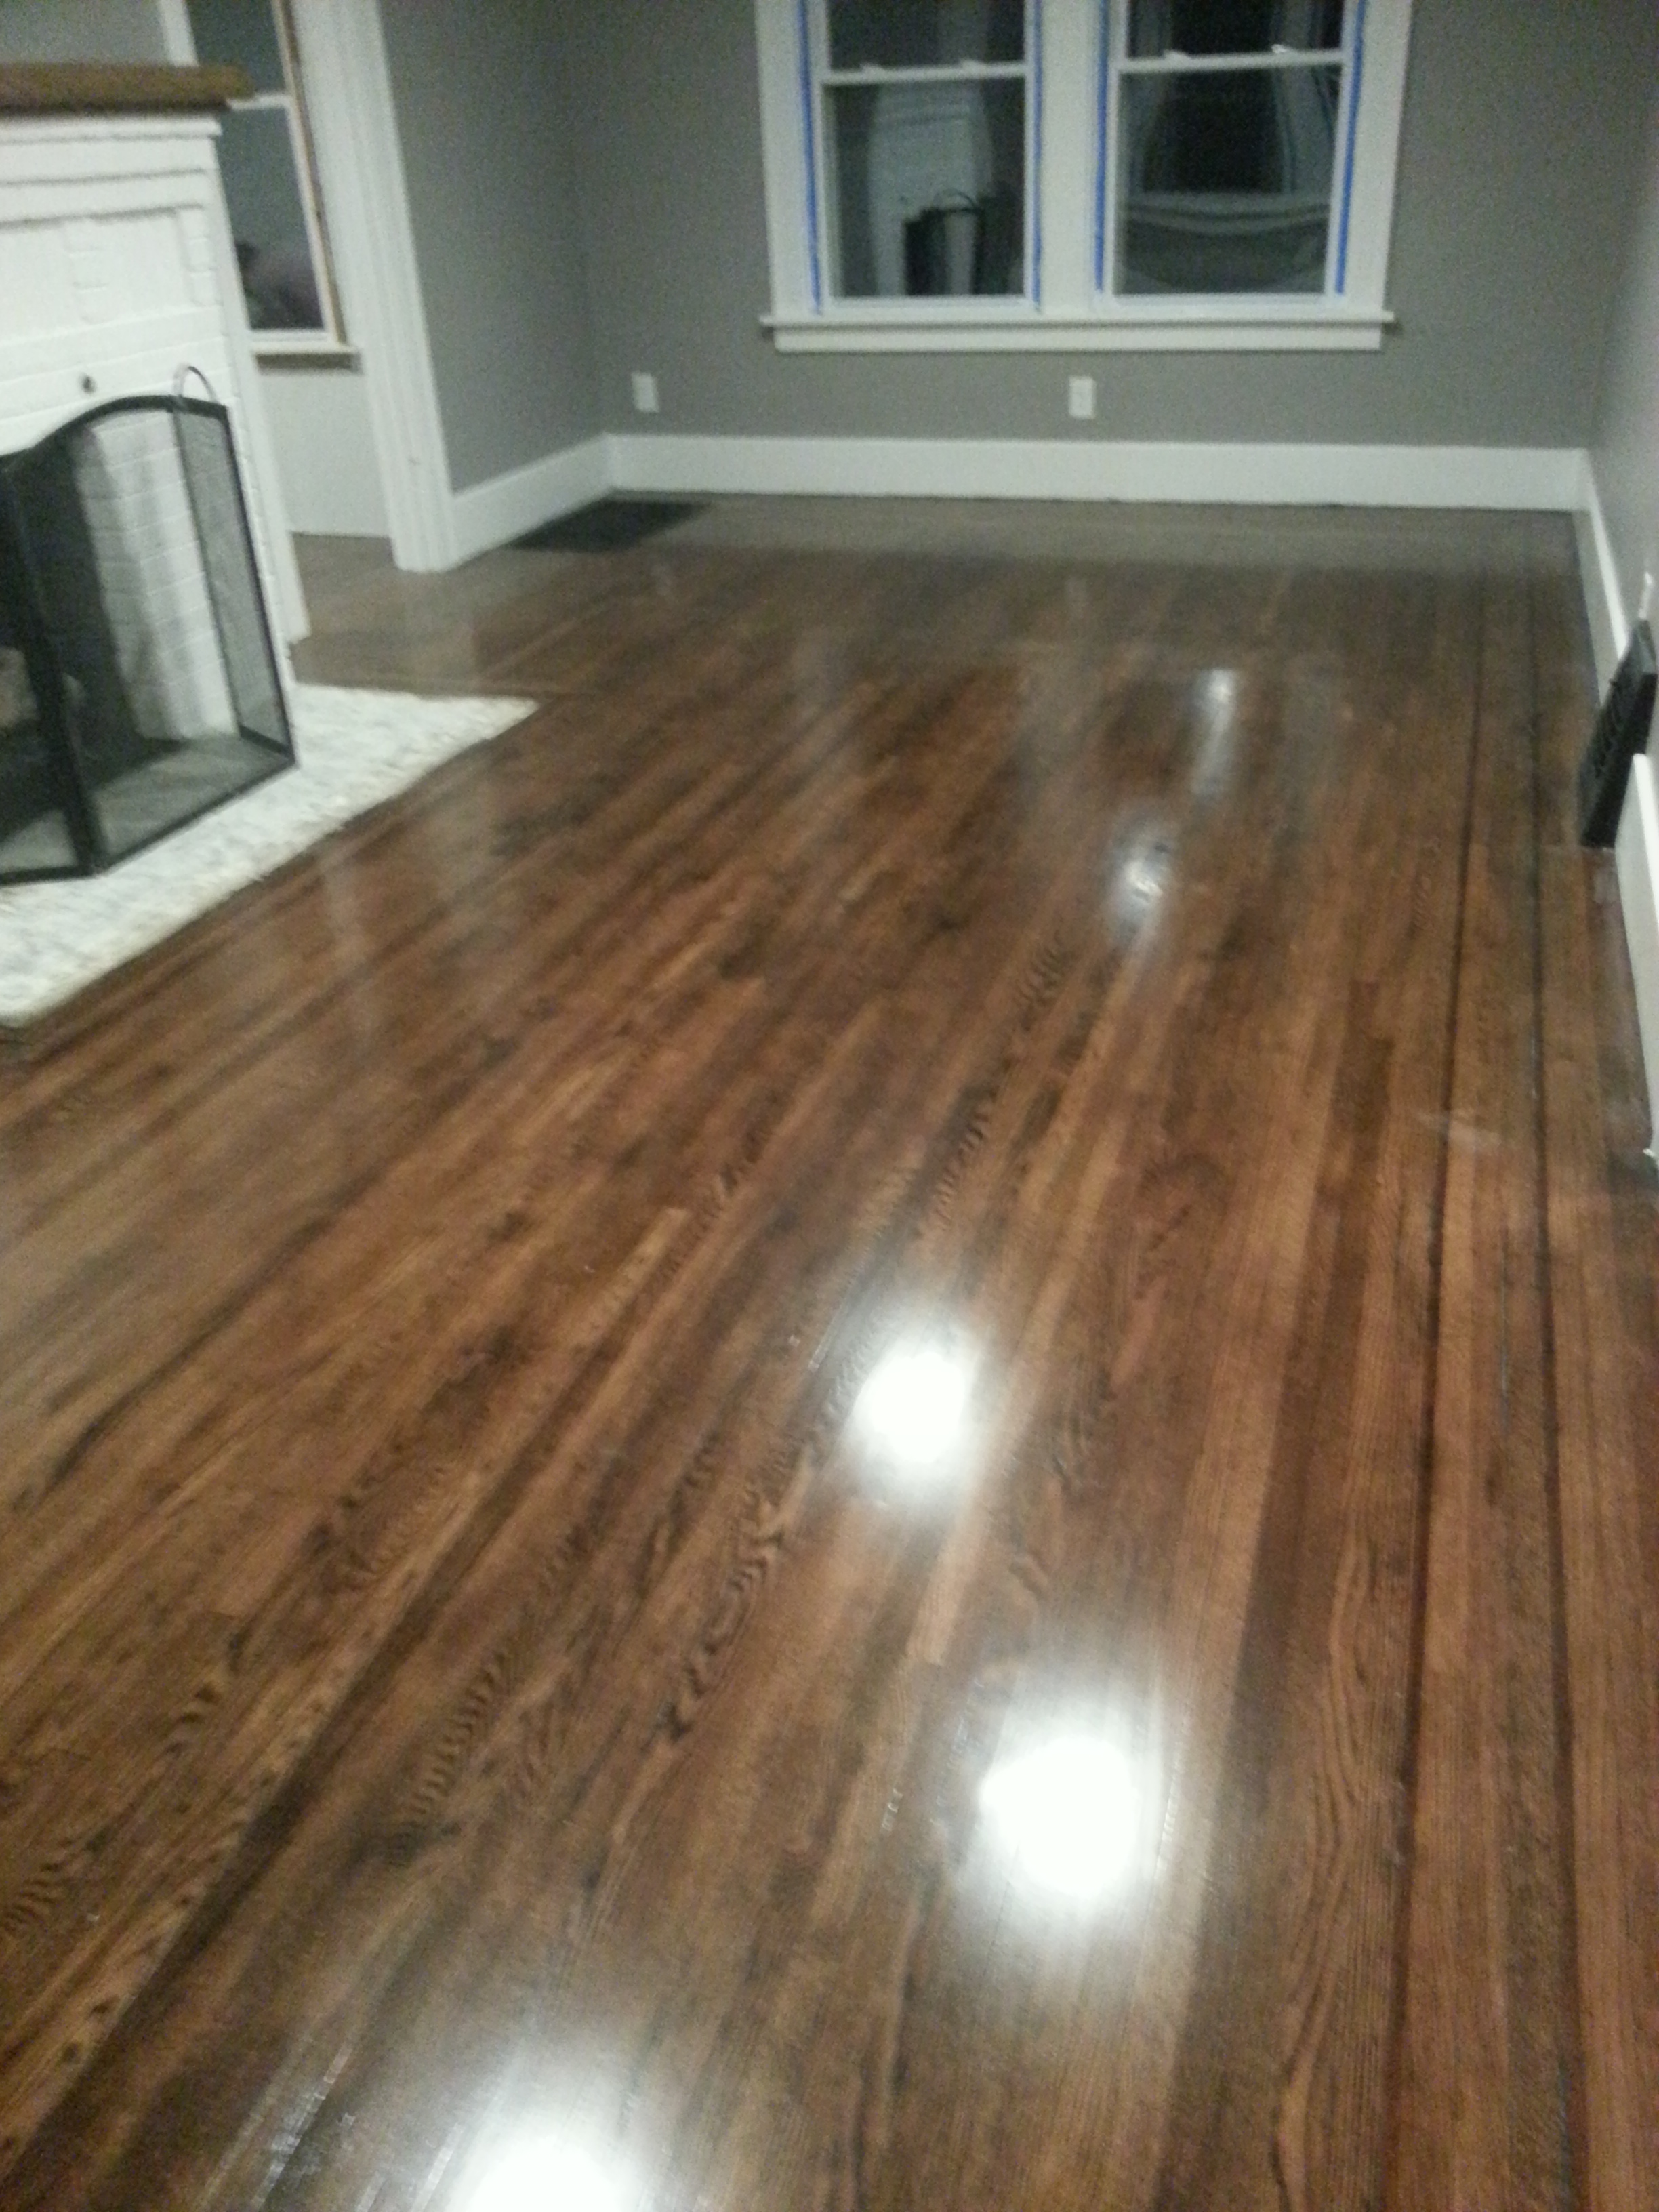
Upstairs was flawless. Okay, that’s not entirely true, but they looked amazing. Beautiful color – a little light for Dan, but nonetheless, looked gorgeous. The downstairs on the other hand, blotchy as hell. If our spirits weren’t broken yet, they certainly were now. After moping around yet again, we regrouped and decided to break our project in half. Completely finish the upstairs, three layers of poly, and be done with them. And that we did.
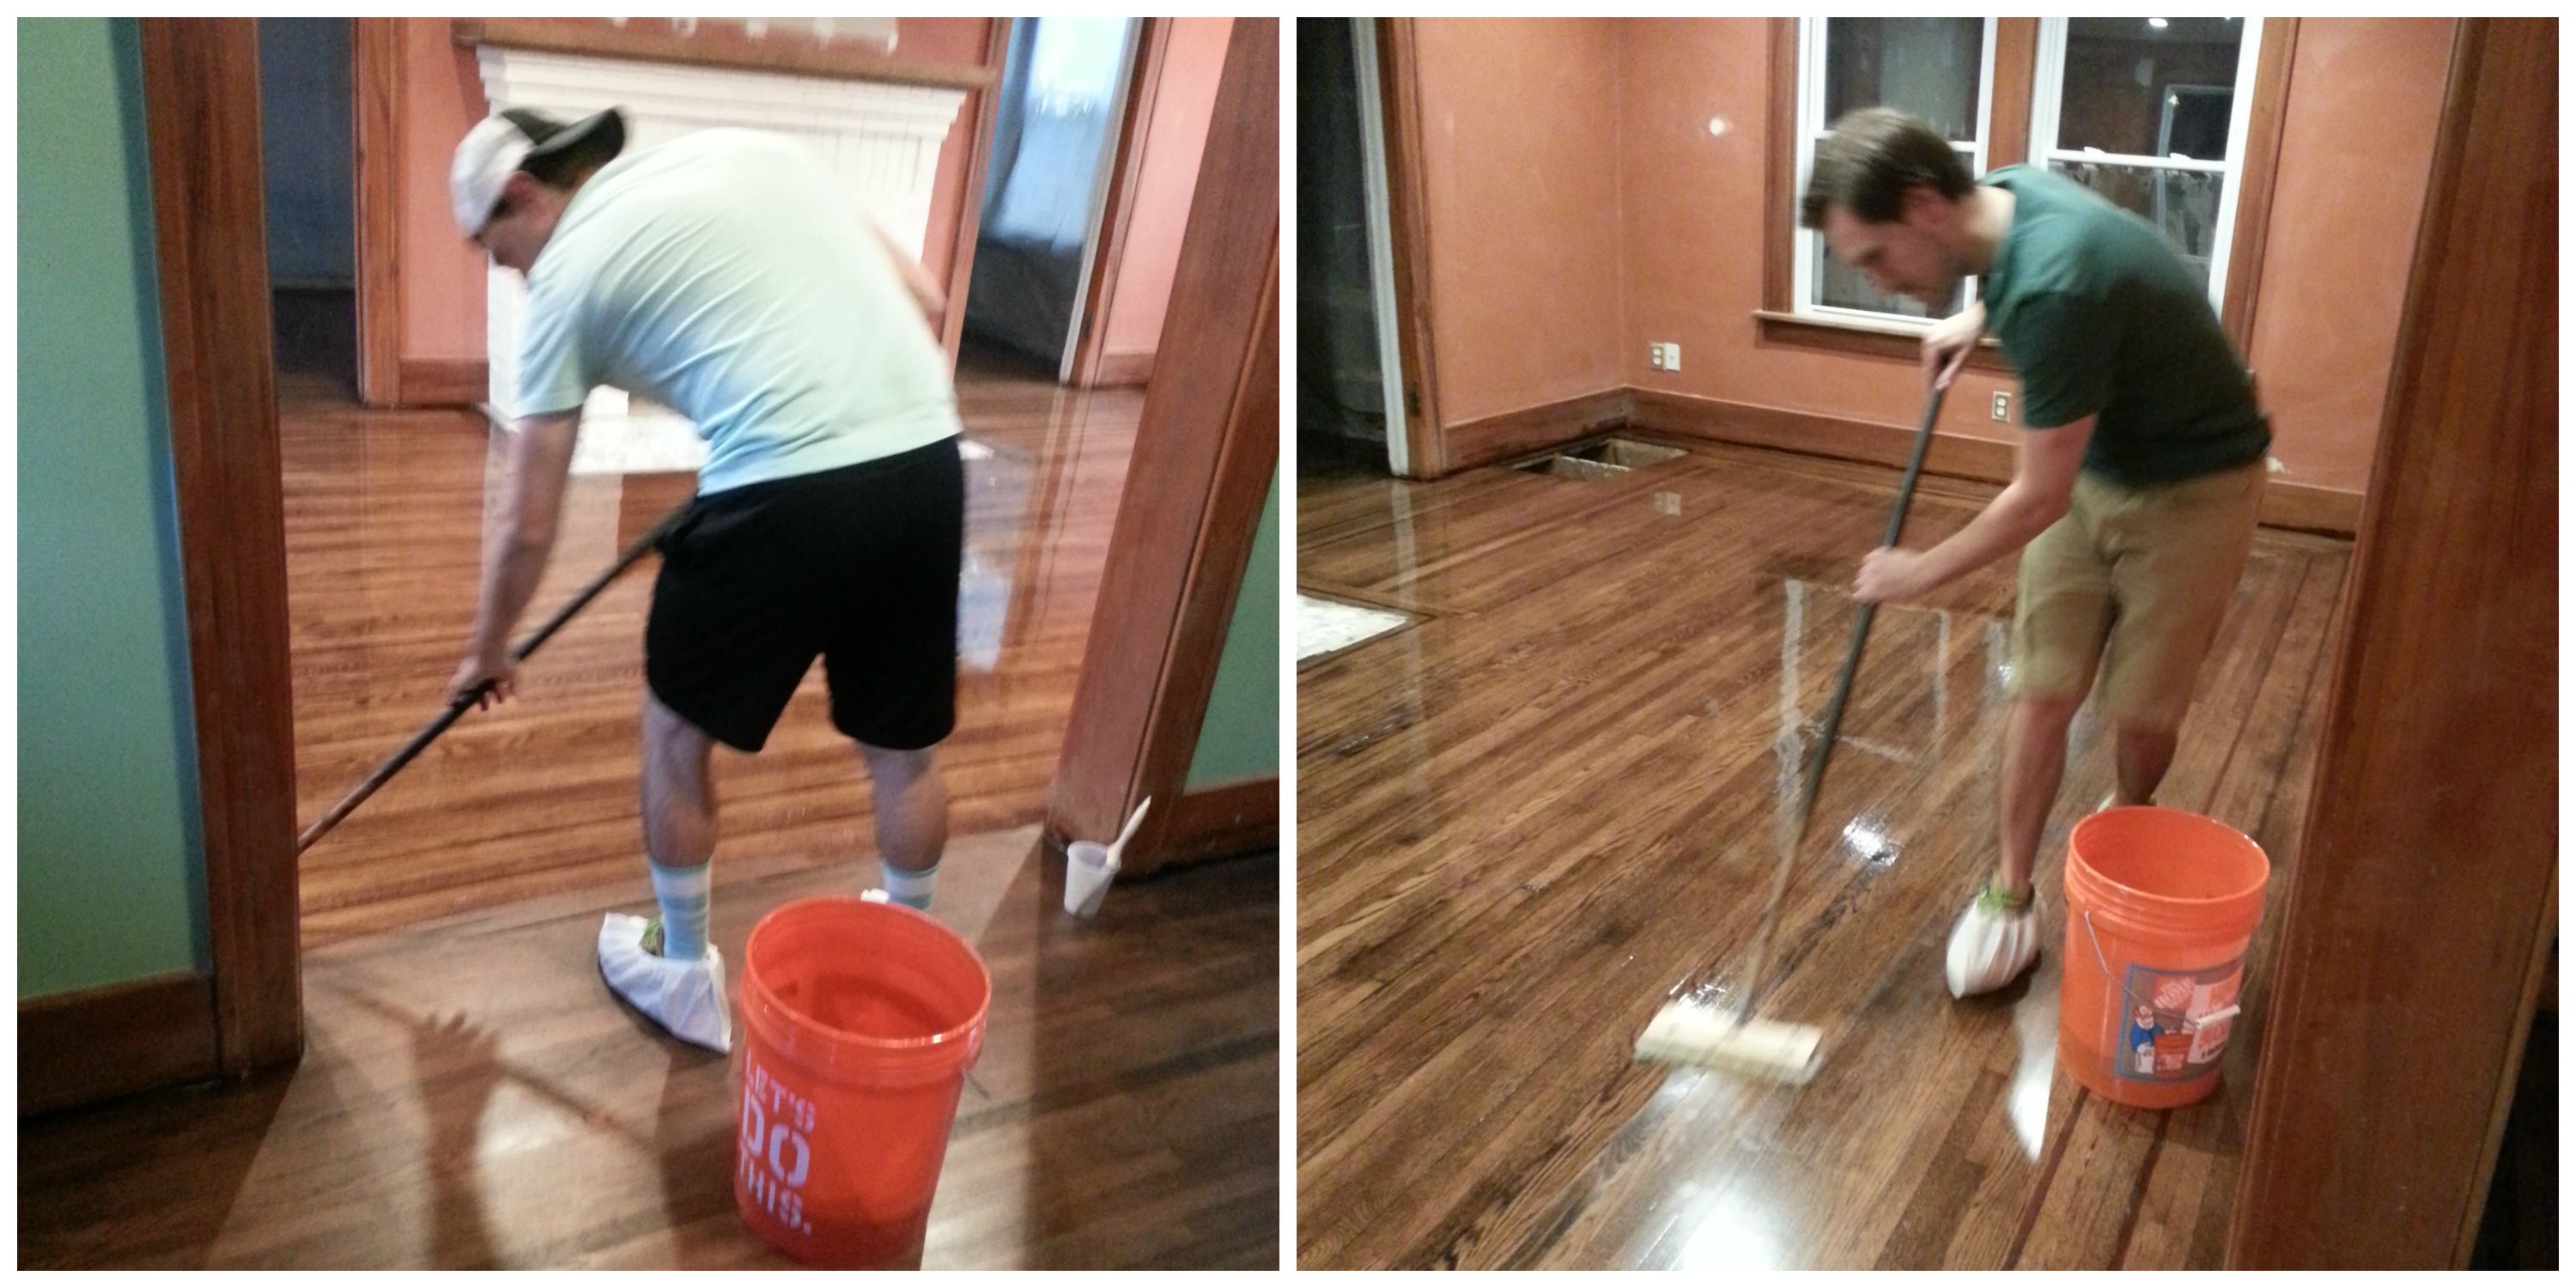
Dan’s cousin helped us lay down the first coat of poly. Good thing he was there. As bubbles came through, he assured Dan that they would smooth out as the floors dried. And that they did.
Two coats later, and they came out absolutely beautiful. I’ll wait to the end to show you all the pictures (or you can just scroll if you’re impatient like I would be).
Ohhhhhhhh halfway there….
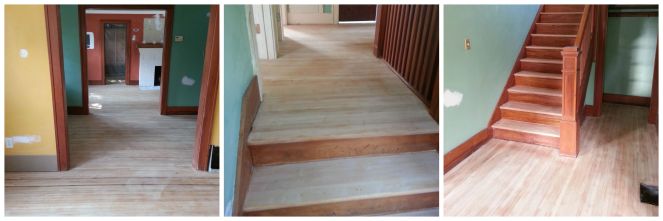
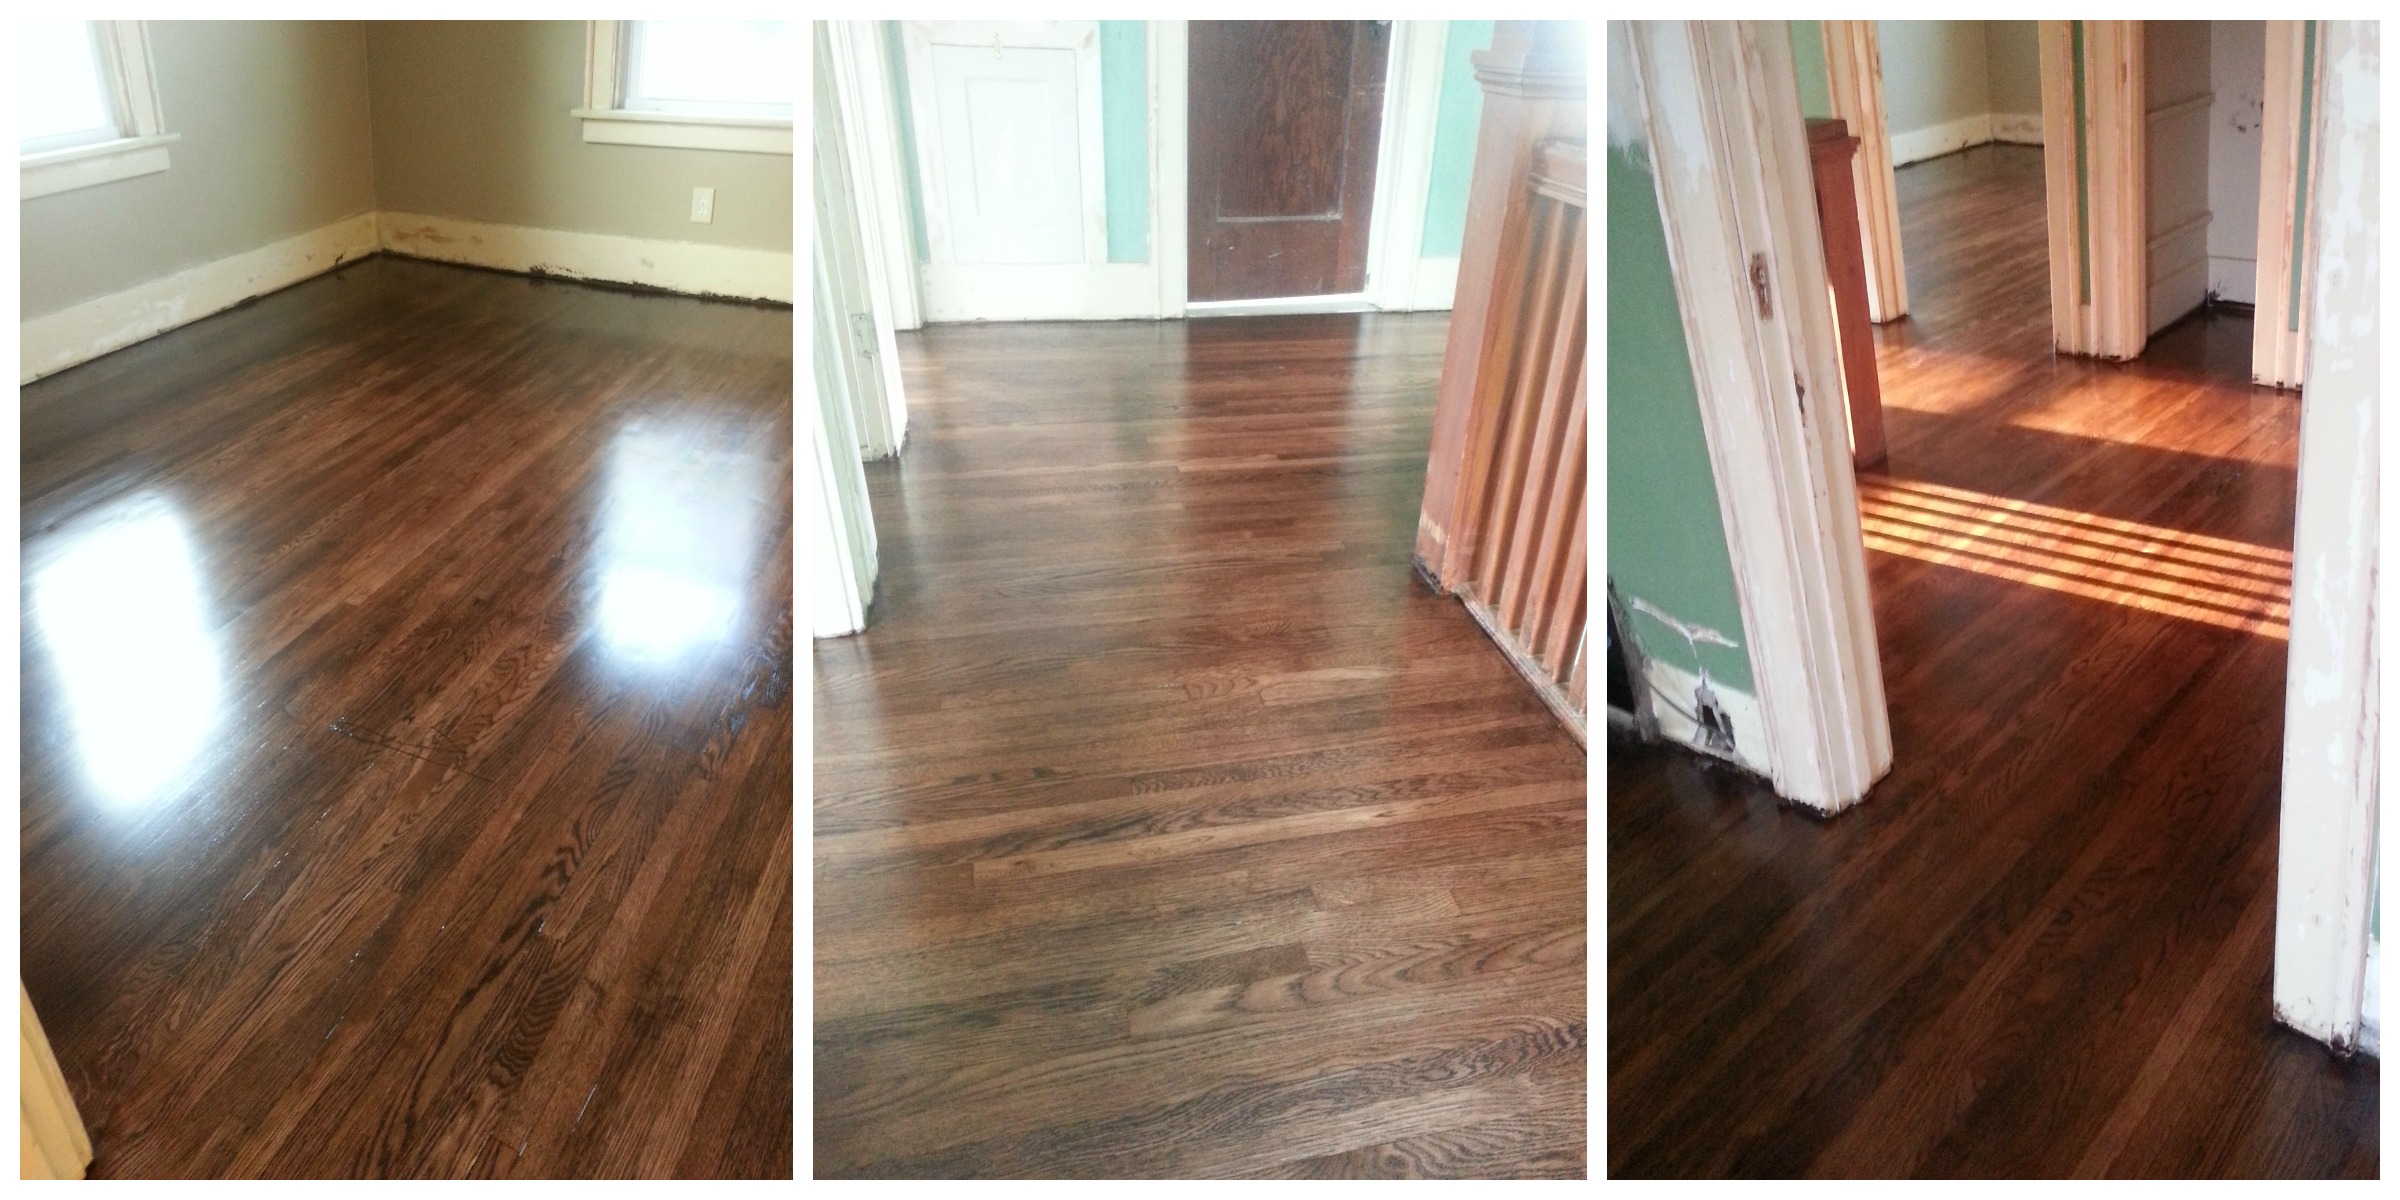
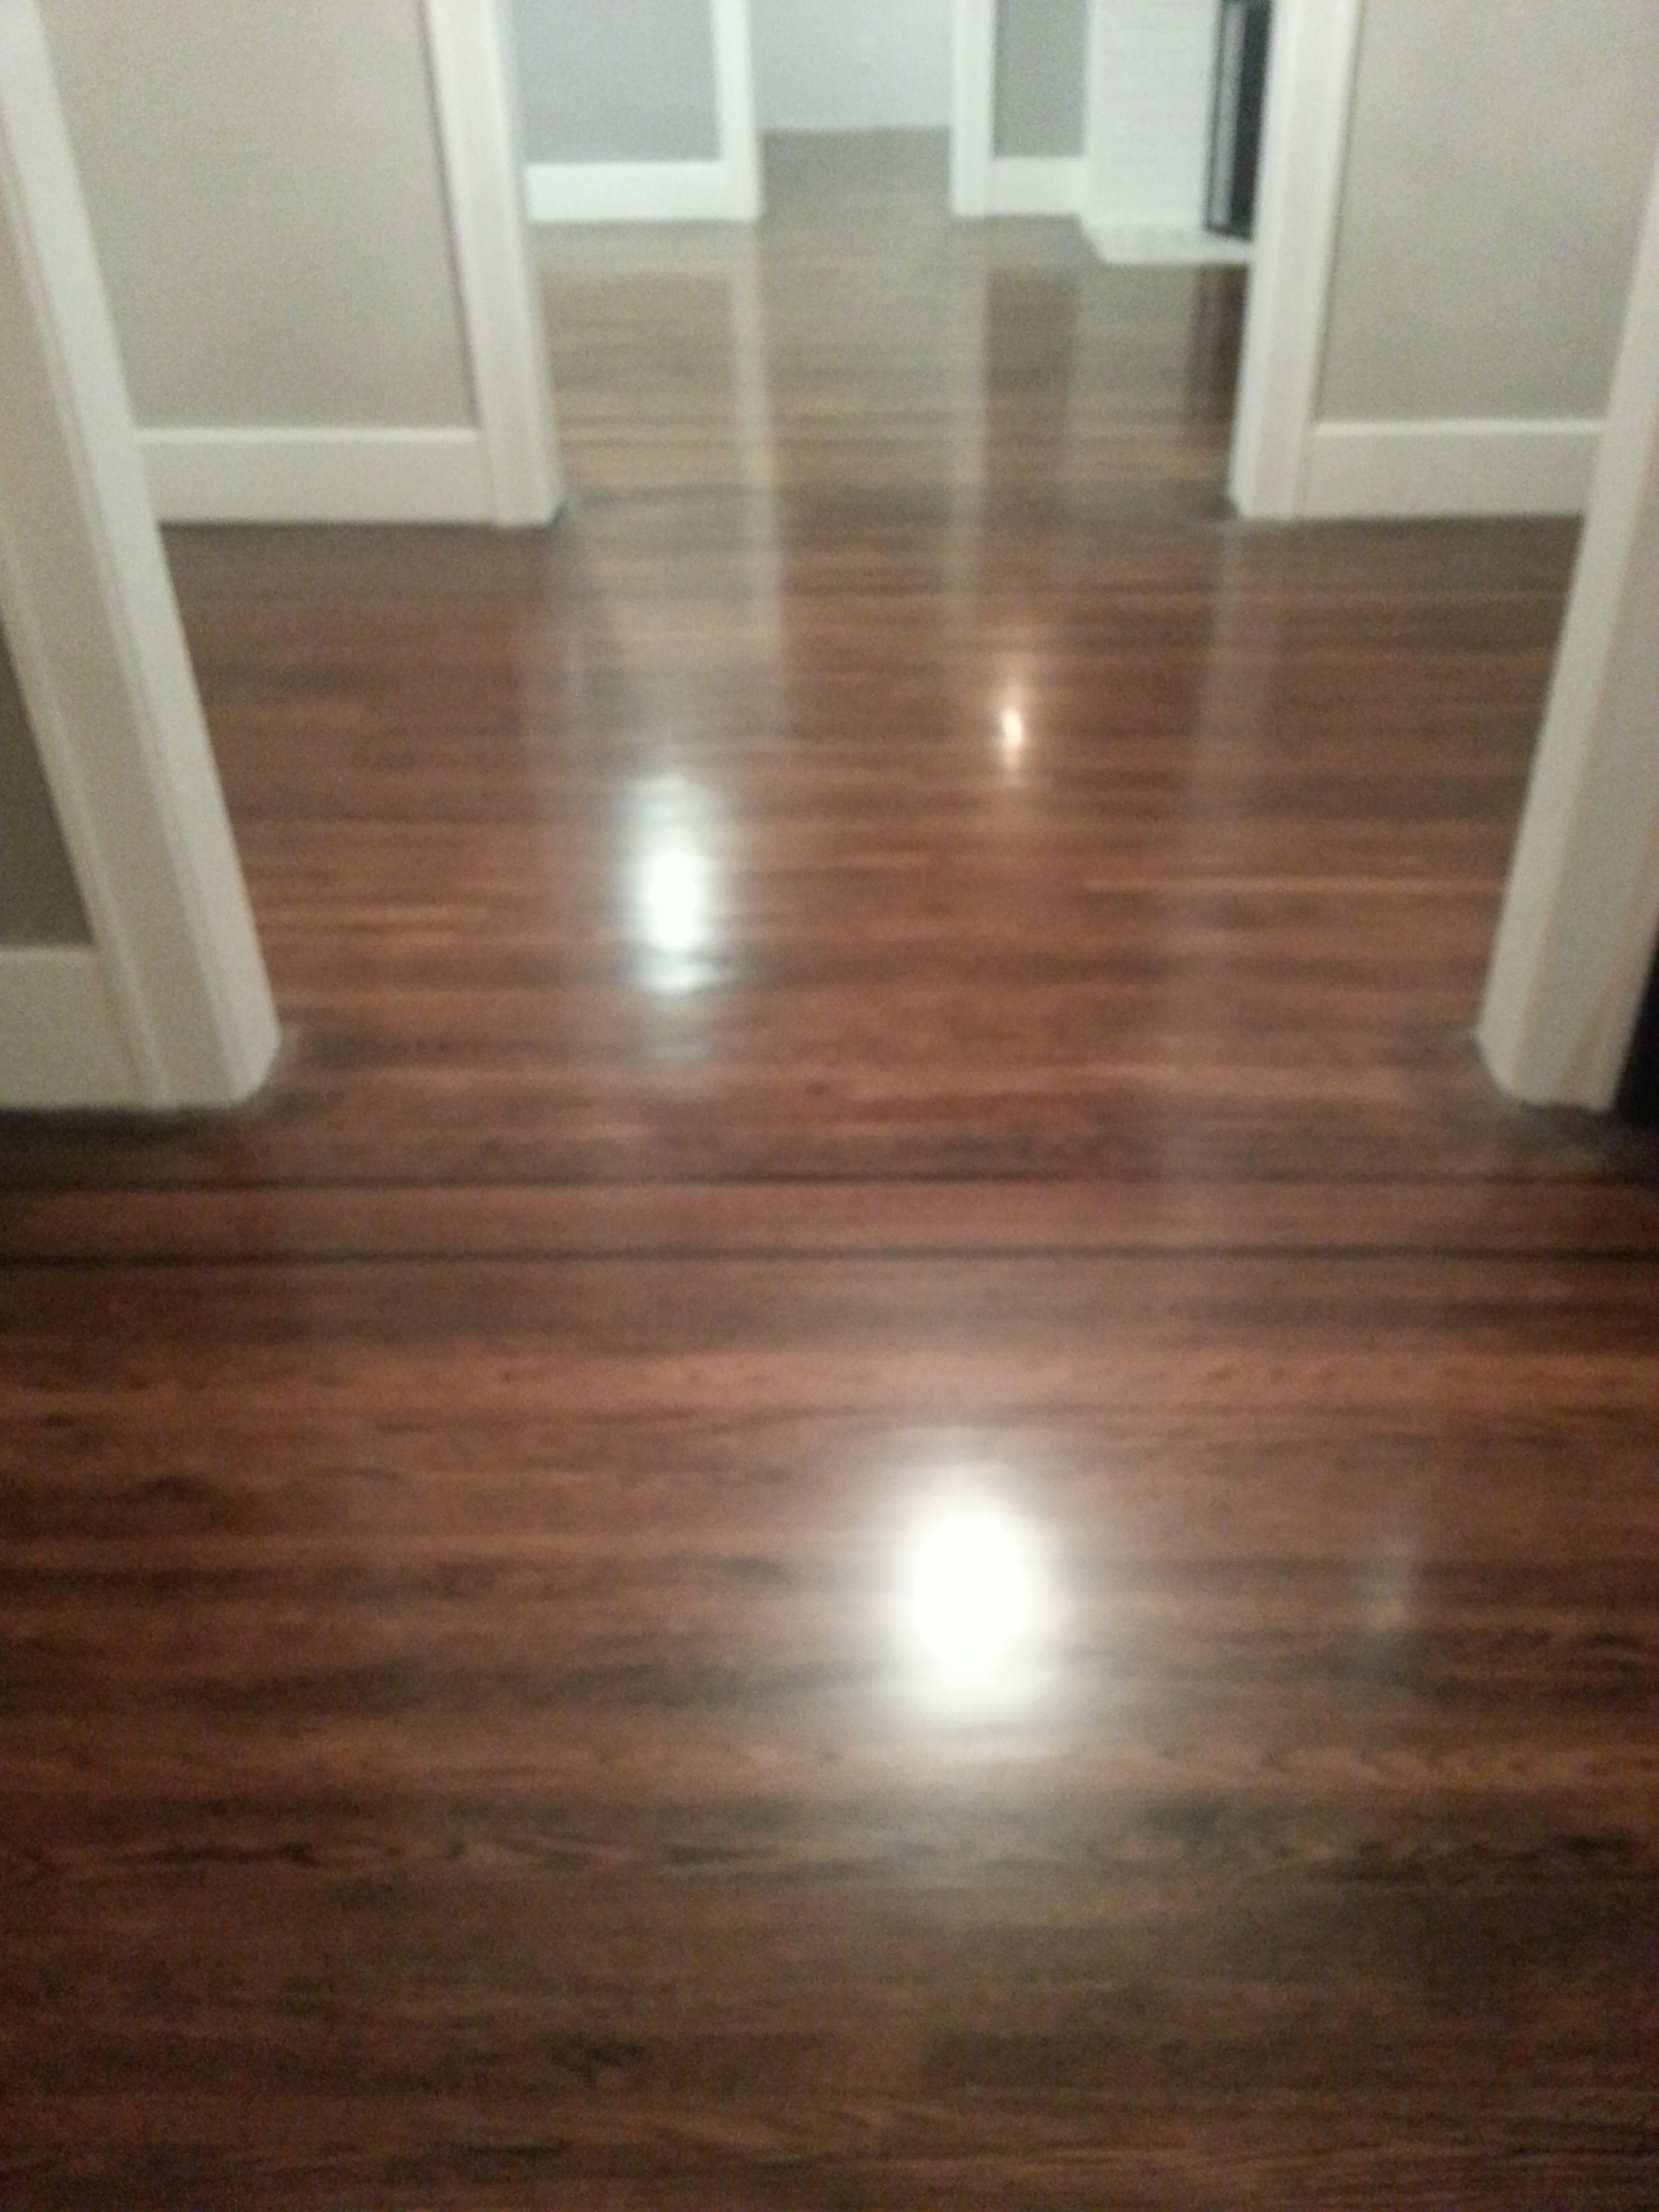
Moving on down
Now that we had the upstairs looking gorgeous, it was time to tackle the disaster that was downstairs. We found out the source of the blotches, and were able to fix that issue, but not until we resanded yet again – thankfully, for the last time (yes, I said last time – there’s a glimmer of hope in this story).
Staining finally went smoothly, and for the most part, so did the poly.
First coat Final coat
The stairs were Dan’s baby, and those probably came out the best. A bit darker than the floors, which is exactly what he wanted. The next step for the stairs will be to paint the risers white and stain the railings, giving it an updated look, while still keeping the original woodwork intact.
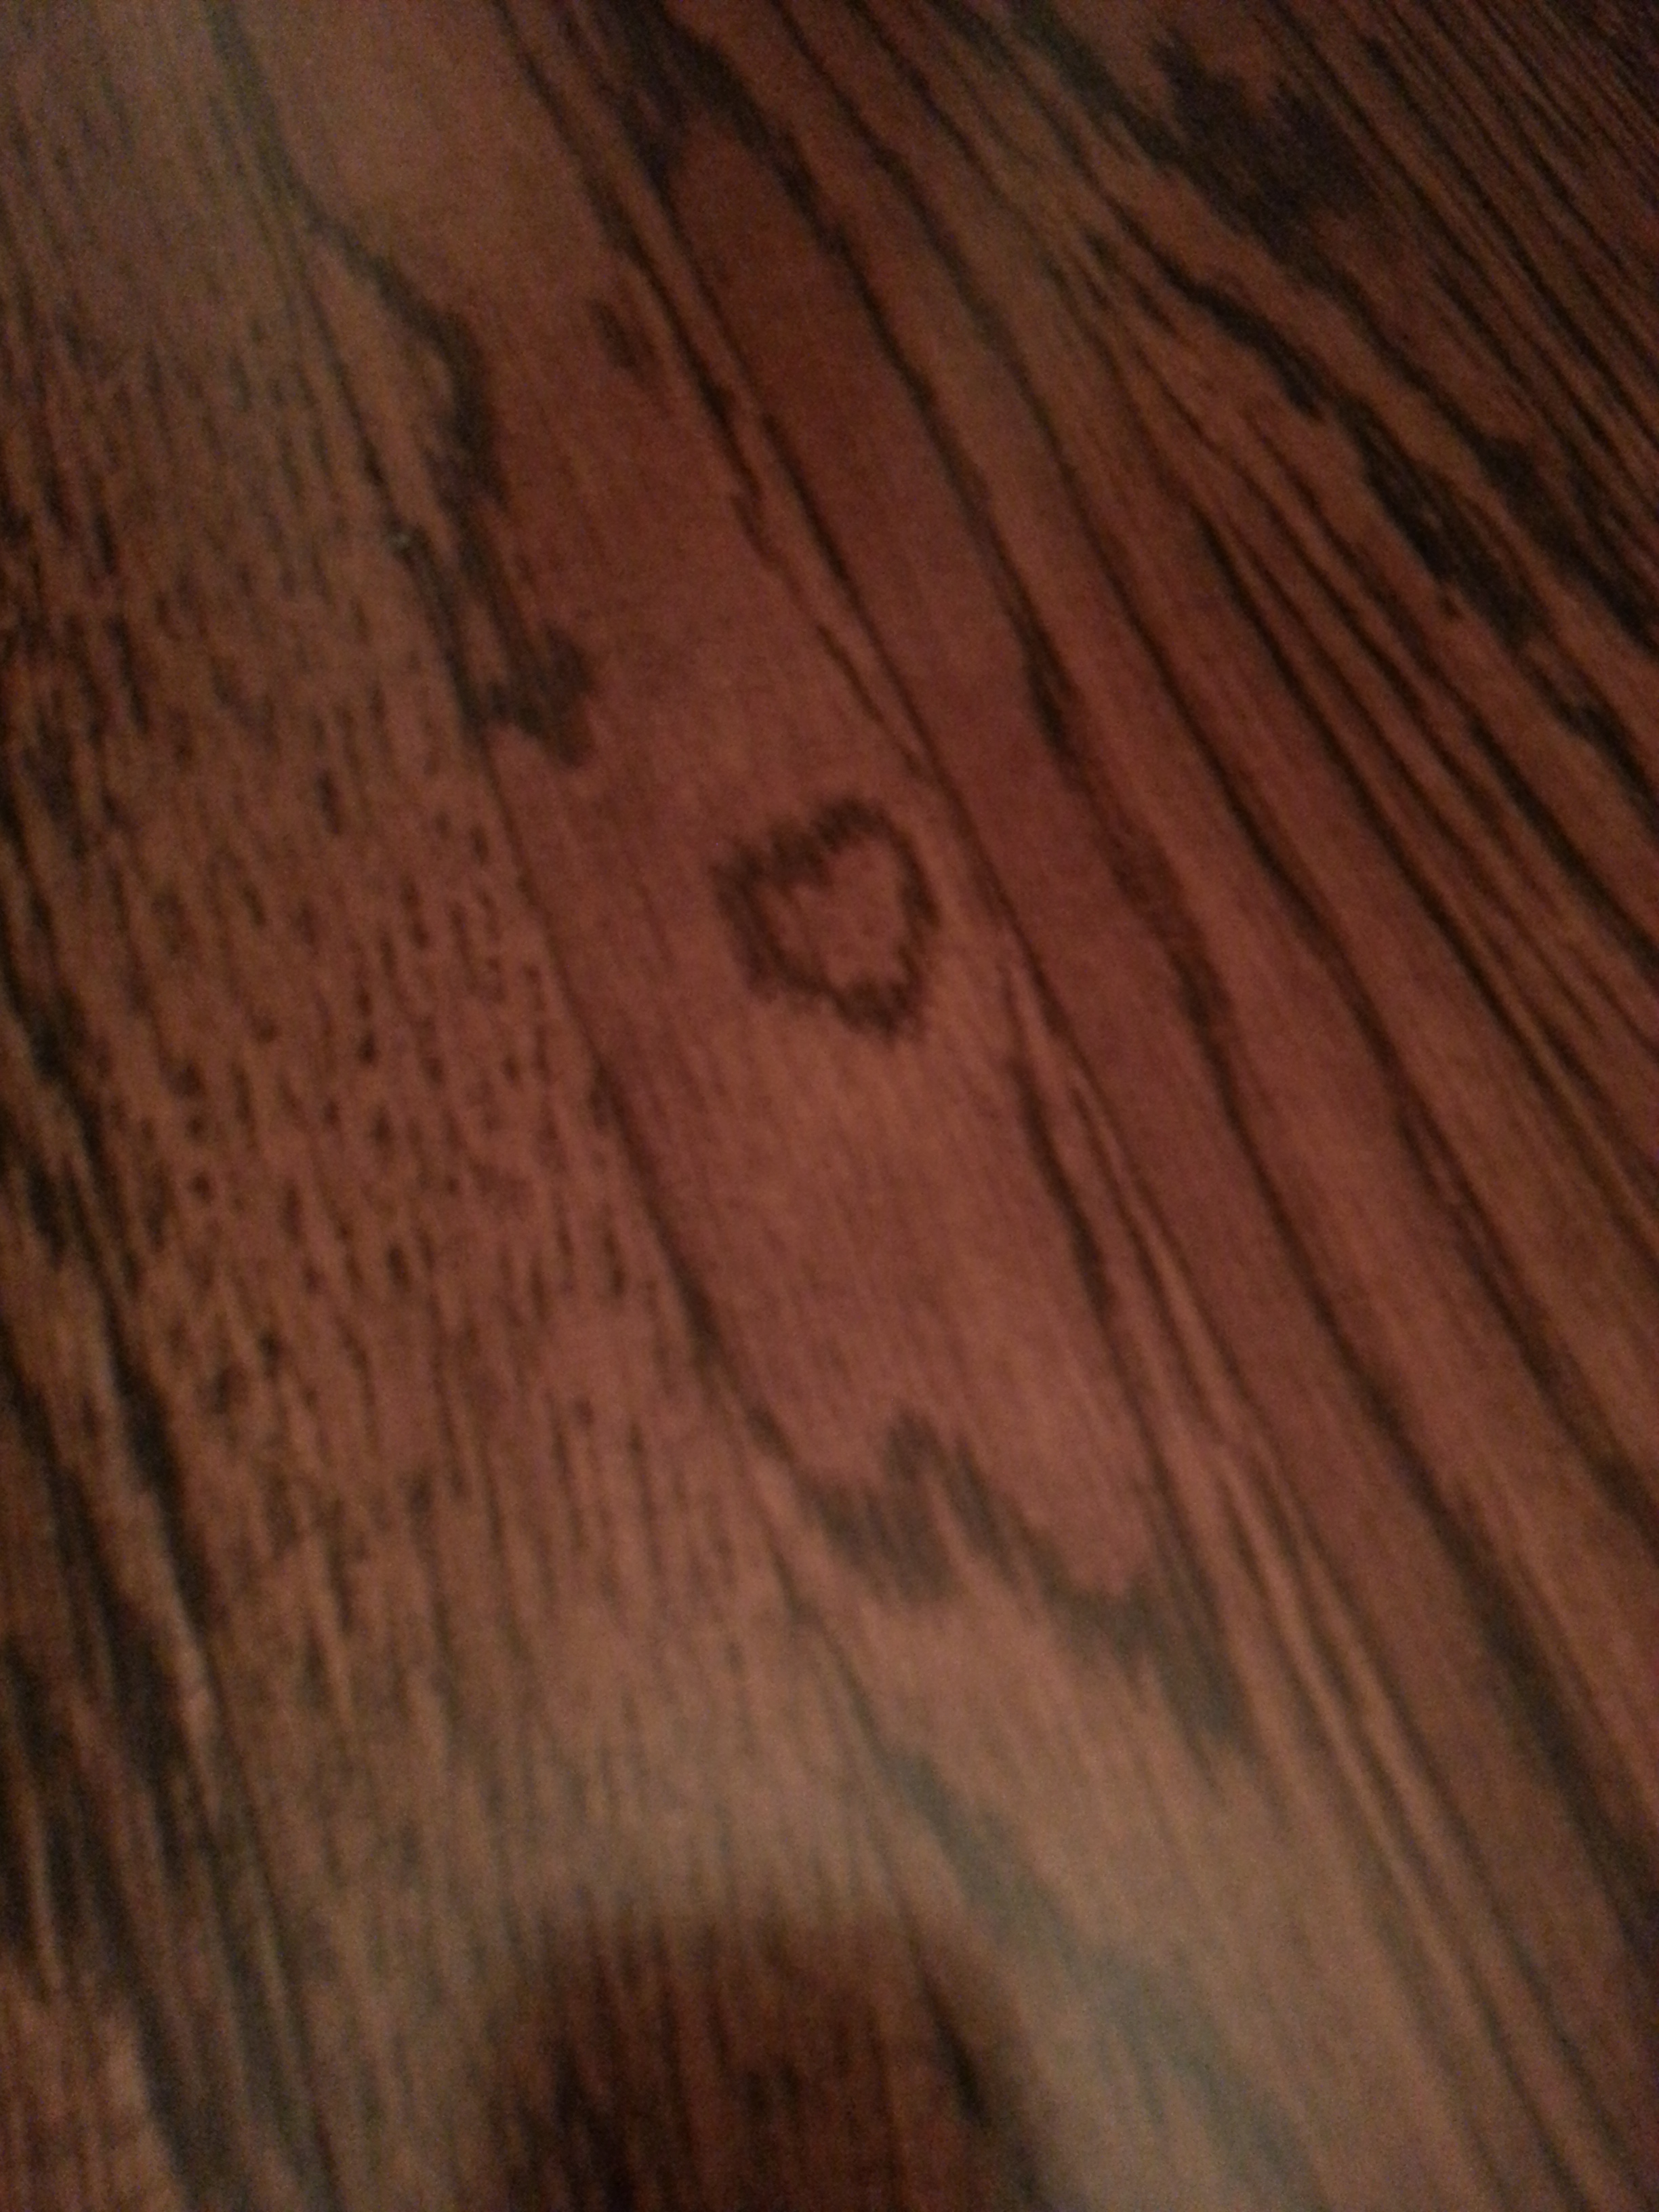
FI-NAL-LYY
Found a heart in our hardwood. A lot of love (and frustration) went into these floors.
In the end, this project was a 6-8 week nightmare that turned out beautiful. Was it worth it? Yes, absolutely. Would I do it again? Absolutely not. Okay, that may be an exaggeration. After a few months, I’ll likely forget the pain we went through, and look to tackle another floor. Already thinking about the hardwood floors in my childhood bedroom that my parents would love for me to work on.
These floors set the stage for the look of the entire house. You can see a sneak peak of the paint and trim in some of the “after” photos. Nothing will be as difficult as this. And yet, nothing will be more rewarding.
Upstairs floors. (Look past the ugly green and chipping trim. More to come on those! )
Living roomFull length. First floor. With a tease of paint color. Love.
Beautiful! Refinishing our hardwoods is the one part of our remodel that we are going to hire out…even though hubby is still not 100% sold on the idea! Ha!
Hi Betty – Sherwin Williams has a line of stains, and also makes custom stains to match any woodwork in your house. We attempted the custom-stain route, but had poor results with the product itself (the tint that they added to the stain separated and rose to the surface of our floors, rather than soaking into the wood itself). This may not be everyone’s experience with the product, but we didn’t have luck with it.
Hope this helps!
We have oak hardwood floors throughout the house. (mostly covered by carpet). We pulled the carpet out of my daughter’s room & have sanded…. however, there are several stains that won’t come off with the sander. Any suggestions? Also terrified to start the stain process. When you had to resend was it hard to get the color out or was it pretty much the same process as the 1st time you sanded? By the way my husband was out of town & couldn’t help with this project. So it’s been mom & daughter working on it & I can’t begin to tell you about the ups & downs (mostly downs) we’ve had. I’ve been ready to “light a match” several times. Thank you for your article it has made the stain process less scary knowing that we will not be stuck with a color if she ends up not liking it.
Hi Jenny,
Thanks for reaching out! I’m glad you found our experience helpful.
Dark stains in the wood typically come from moisture, and unfortunately aren’t easy to get out. Do you plan on using a darker stain? That may help to blend in the stain a bit. Depending on where the stain is, you could always arrange furniture rugs to cover it, but it may also just add to the character of the floors themselves!
I wouldn’t suggest resanding the entire space if you can help it. While in our case it worked out, it was definitely more difficult to get the darker stain back out. Instead, I’d suggest testing the stain colors in an inconspicuous spot, like a closet or a place where you know the floor will be covered with furniture.
Let me know if you have any other questions or if I can help in any other way, and good luck to you! I’m sure the floors will turn out beautifully!


It all looks just beautiful! Lots of hard work, but in the end, you got what you wanted!
LikeLiked by 1 person
Beautiful! Refinishing our hardwoods is the one part of our remodel that we are going to hire out…even though hubby is still not 100% sold on the idea! Ha!
LikeLike
Thanks! It was definitely worth it in the end, but it seemed like there was no end in sight when we were in the thick of it haha.
LikeLiked by 1 person
Did you use satin or high gloss polly?
LikeLike
Hi Jessie – We used semi-gloss poly. Still gives the floor a great shine, but also helps with traction on the stairs.
LikeLike
what stain did you use initially that you didn’t like?
LikeLike
Hi Betty – Sherwin Williams has a line of stains, and also makes custom stains to match any woodwork in your house. We attempted the custom-stain route, but had poor results with the product itself (the tint that they added to the stain separated and rose to the surface of our floors, rather than soaking into the wood itself). This may not be everyone’s experience with the product, but we didn’t have luck with it.
Hope this helps!
LikeLike
We have oak hardwood floors throughout the house. (mostly covered by carpet). We pulled the carpet out of my daughter’s room & have sanded…. however, there are several stains that won’t come off with the sander. Any suggestions? Also terrified to start the stain process. When you had to resend was it hard to get the color out or was it pretty much the same process as the 1st time you sanded? By the way my husband was out of town & couldn’t help with this project. So it’s been mom & daughter working on it & I can’t begin to tell you about the ups & downs (mostly downs) we’ve had. I’ve been ready to “light a match” several times. Thank you for your article it has made the stain process less scary knowing that we will not be stuck with a color if she ends up not liking it.
LikeLike
Hi Jenny,
Thanks for reaching out! I’m glad you found our experience helpful.
Dark stains in the wood typically come from moisture, and unfortunately aren’t easy to get out. Do you plan on using a darker stain? That may help to blend in the stain a bit. Depending on where the stain is, you could always arrange furniture rugs to cover it, but it may also just add to the character of the floors themselves!
I wouldn’t suggest resanding the entire space if you can help it. While in our case it worked out, it was definitely more difficult to get the darker stain back out. Instead, I’d suggest testing the stain colors in an inconspicuous spot, like a closet or a place where you know the floor will be covered with furniture.
Let me know if you have any other questions or if I can help in any other way, and good luck to you! I’m sure the floors will turn out beautifully!
LikeLike