Now that Dan has discovered how to distress wood by burning it to a torch (aka. became a pyro), it would be fitting that he continue the tradition into the next project. Just can’t get enough.
Back when we had the garage door installed, Dan took a saw-zaw and cut a hole in the wall to make a doorway from one section of the garage to another. That way, when you entered the storage door on the left, you’d be able to access the rest of the garage to the right. Why wasn’t it there before? Well, because there was a bar against that wall and a set of french doors instead of a garage door, so technically, there wasn’t a need for it. Now that we’ve reconfigured the space to a more practical layout, the entryway was needed.


But it couldn’t be any entryway. Oh, no. That’s not how our creative minds work. And because we’ve always wanted a sliding barn door, but it wouldn’t fit into the look of the rest of the house, the garage was the perfect place to test it out.
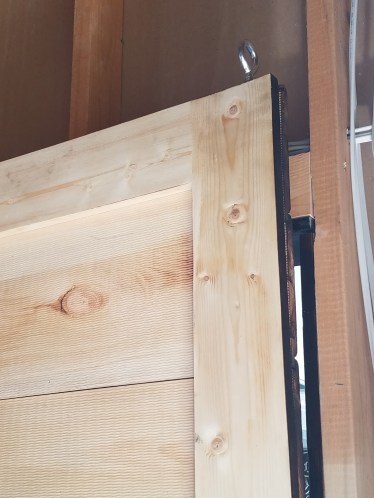
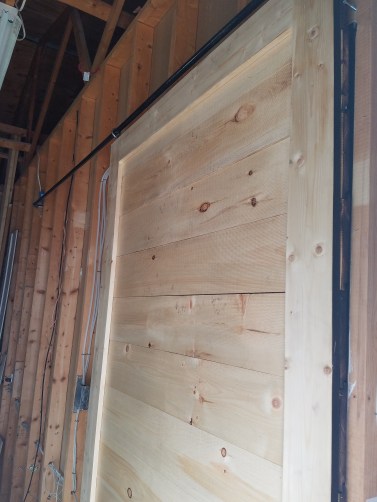
And so we (Dan) got to work, using cedar planks for the door itself. We went horizontal on the planks, so we ended up with 14 boards stacked on top of each other – about 8 feet tall, 5 feet wide (he cut a big opening). Dan also created a frame for the back of the door, so we had something to nail all the planks to.


And then the fun began. Again.

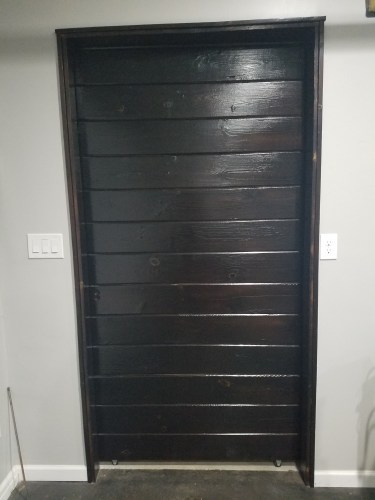
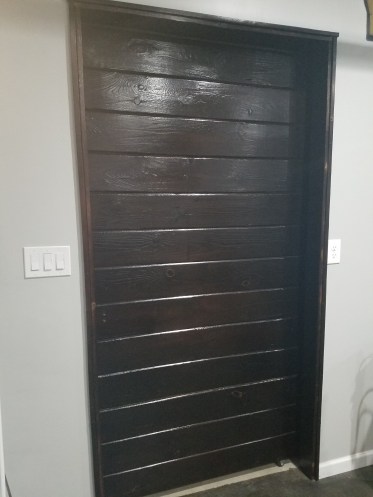
Once charcoaled, all that was needed was a few layers of poly, and the door itself was good to go. Dan also added a few notches to act as a “handle,” or a way to get the door open at least.

But how do you get the sliding door itself to work? Dan secured black pipe to the backside of the entryway. The door itself then had eye hooks large enough for the beam to slide through (after a few trips to Home Depot to get the right size, of course). To get the door moving, he added two wheels to the bottom of the door, allowing it to easily slide back and forth on the top pipe. And that’s really all that was needed to get this barn door up and running.
Another garage project. And another bit of wood and iron to match the look of the rest of the space.