What’s a bar without cool lighting? I know I know, we’re back to this again. “I thought you guys were done with the bar!” No no no. We’re just getting started.
Back in the winter, Dan stumbled across a Wooden Beam Pendant Light on Etsy.

With our eight foot bar, we’d want a six foot beam. Well guess what, that’d cost us a cool $630 if we bought it online. So of course, we decided to make our own.
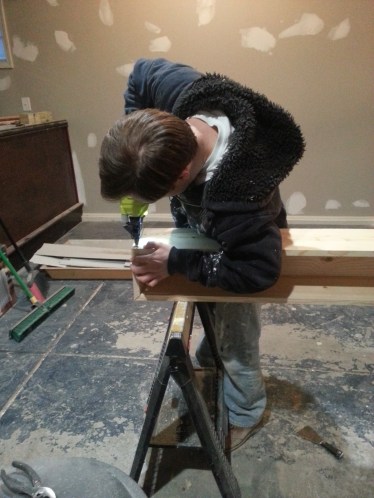
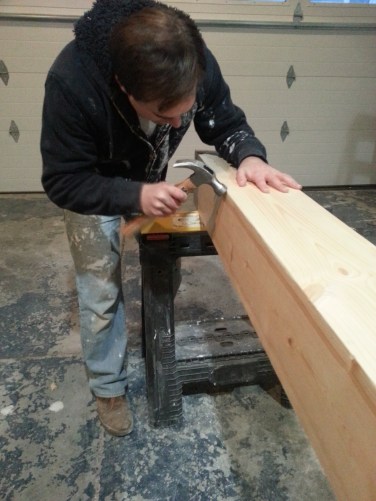
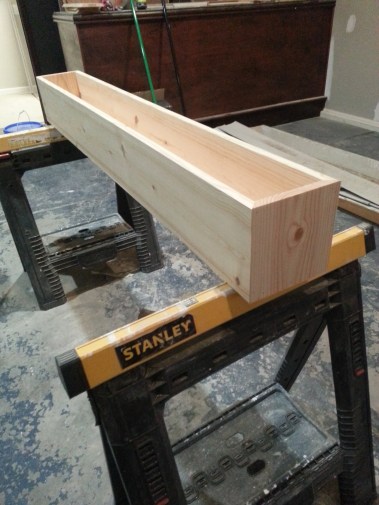
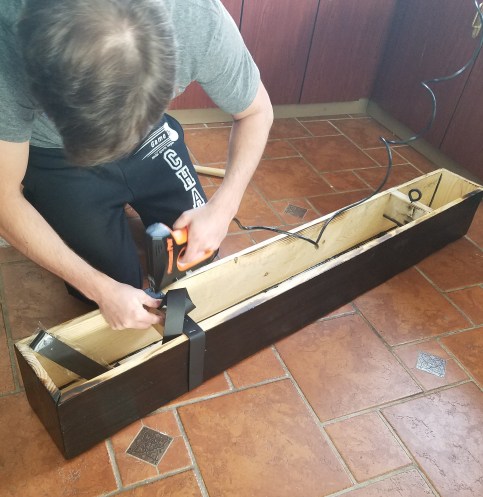
First thing’s first, we had to make the wooden beam. While the finished product will look like a solid 8×8 beam, the truth is that its hollow. Dan used angle cuts to seamlessly piece the 1×8 wood together.
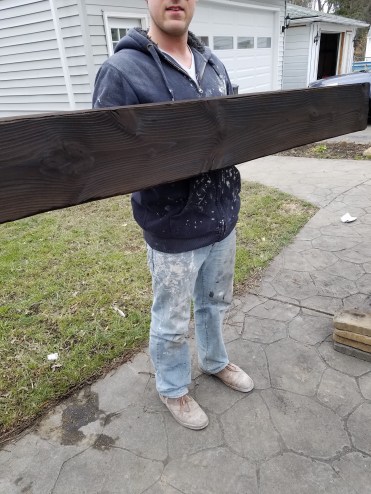
 As predictable as we are, we were going for a rustic look – dark, aged wood. Dan stumbled upon a Japanese technique called Shou-sugi-ban, which is used to preserve and antique wood. In short, you essentially torch the wood until it gives you the look you’re going for. Once torched, you use a brush to dust off the excess charcoal. They say you learn something new everyday. And that day, I learned that Dan was a Pyro.

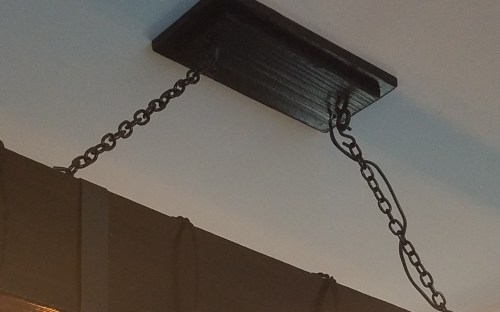
Once the beam was all set, it was time to figure out how to hang it from the ceiling. Dan built a wooden faceplate that he drilled into the ceiling, and added a metal eye bolt. This was also supported from in the attic of the garage, where we have a pretty decent-sized crawl space that helps us to easily access the opposite side of this contraption.
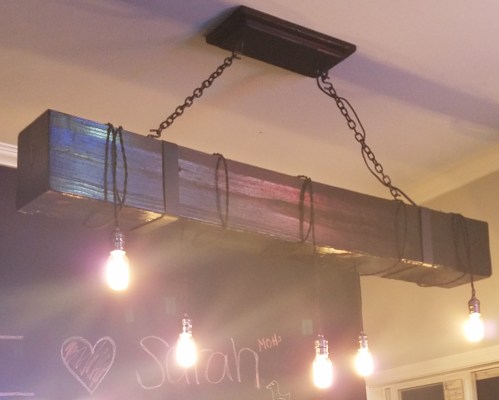
We also added two hooks to the inside of the beam. As I mentioned, we’re going for the “solid” look, but it’s really only a three-sided beam with the top-side completely open. Once the hooks were in place, we were able to add the (black painted) chain to either side of the beam, connecting in the middle of the faceplate eye bolt.
An added touch to the beam was wrapping two pieces of black leather around either side, playing into the rustic side of the light fixture.
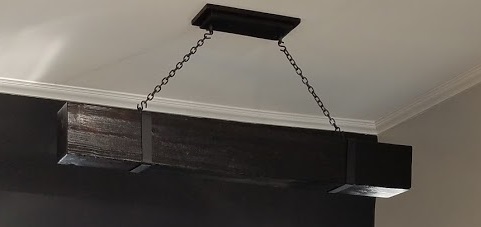
And so for a couple months, this is where the beam sat. Cool looking, but not yet an actual light fixture. You know, other projects just always seemed to get in the way.

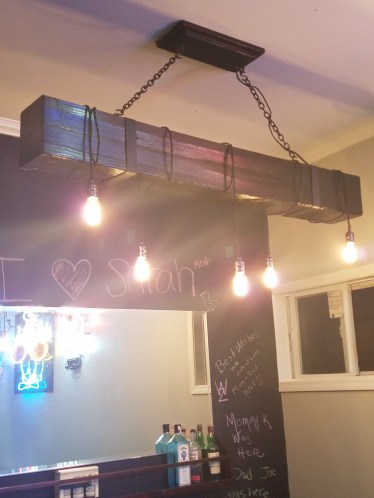
Until this week, when we finally got our hands on the rope wire and sockets needed to hook up the electrical. Luckily, Dan had already done the wiring in the attic for this, so all that was needed to be done was to put the rope wire where we wanted it and fish it through the ceiling to the hook up. We decided on 5 dangling lights, and the finishing touch was adding the vintage-looking Edison bulbs.
Overall, the cost of this project was about $105.
$20 Wood
$50 25′ rope wire and 5 sockets
$10 Chain, hooks, leather, etc.
$25 5 edison light bulbs
That sure as heck beats paying $630 on Etsy. But we sure do appreciate the inspiration =)
