While working on the trunk in my parent’s garage, Dan came across an old coat rack hiding in the corner and thought it’d be a good way for us to test wood stripper and stain. After giving it more thought, he figured it had potential (and was free), and would be another good project for us to work on. So what started out as an old piece of scrap, turned into a coat rack we’ll use in our future foyer.
I’ll admit – I didn’t see the potential at first (“a few pieces of wood nailed together into a wobbly coat rack…” I thought). Great. But Dan insisted, and it’s not like I was going to stop him from making a piece of furniture we’d actually be able to use. And so, we began.
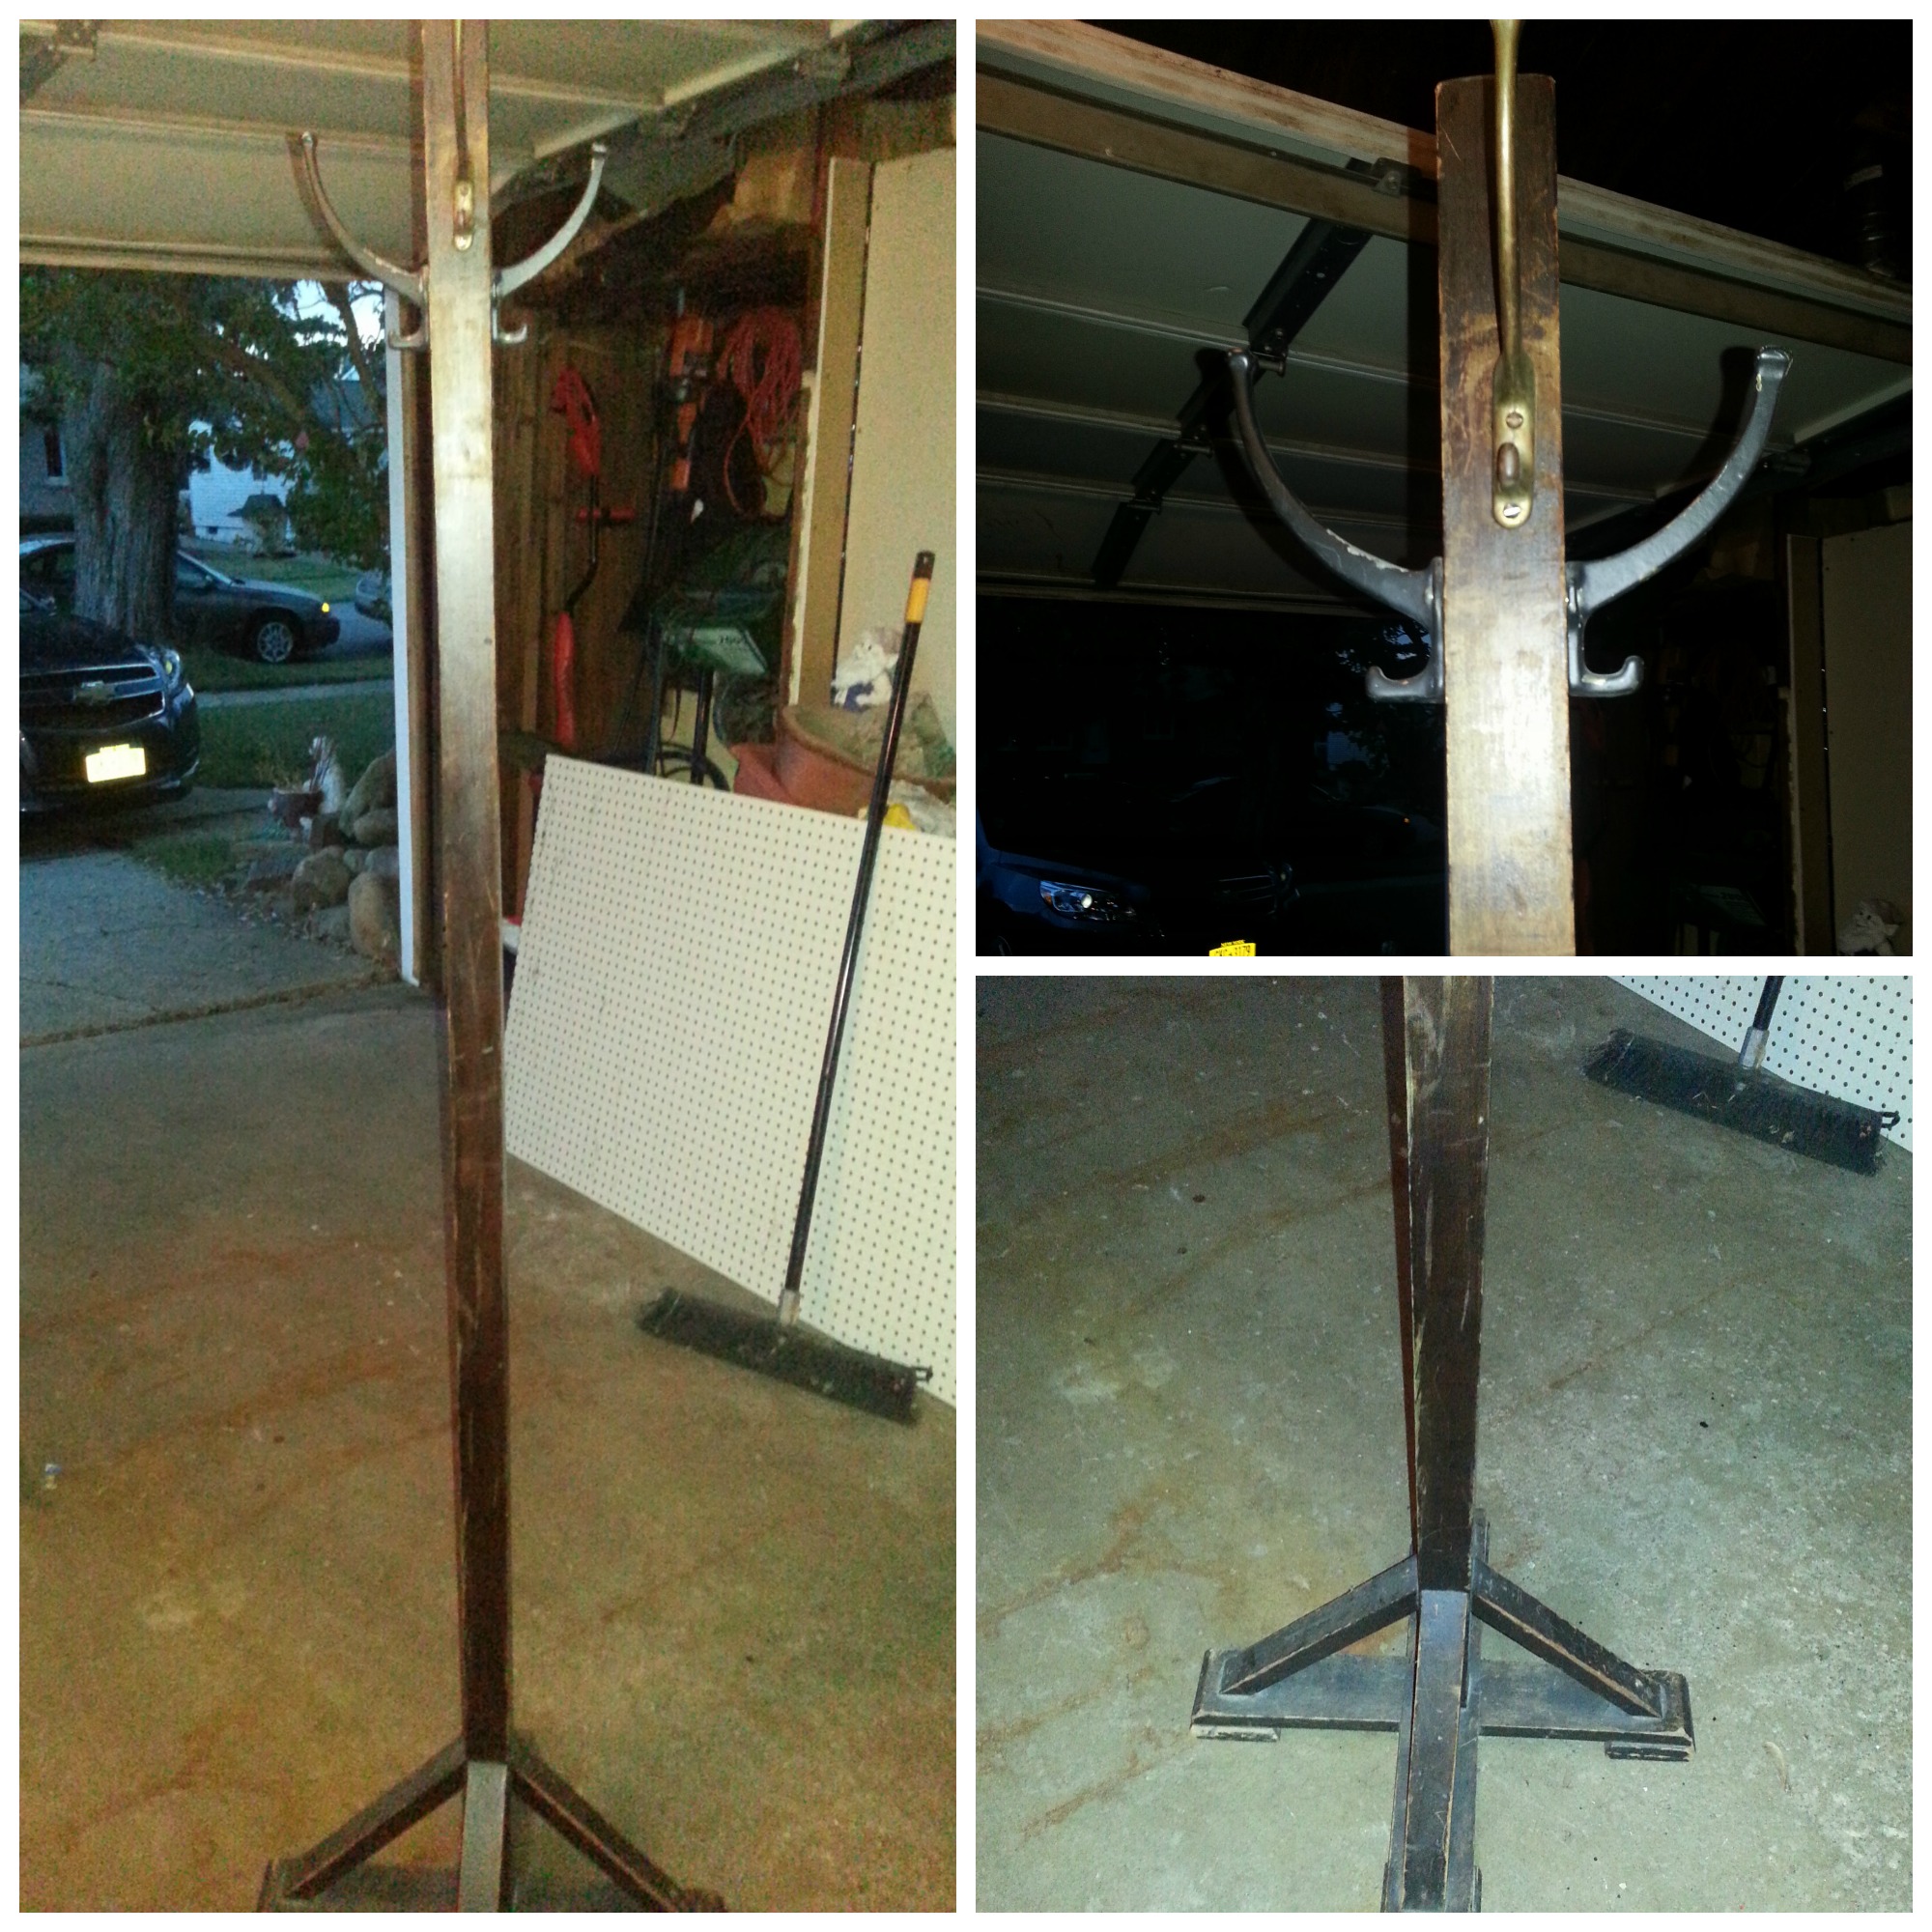
We took off the mismatched hooks and Dan started researching wood stripper. He went with ZAR Stain Stripper, bought a mask and some heavy duty gloves, laid down a tarp in the garage, and went to work. He let it sit for about 20 minutes, and then used a putty knife to scrape away the stain. After a few rounds, and a few hours in the cold garage, most of the stain was lifted. It was at this point that we realized we could have used the stripper on the trunk, instead of spending countless hours scraping and sanding the darn thing. You live and you learn I guess…
Time to sand. The pole itself wasn’t difficult. A few swipes with the electric sander, and some hand-sanding, and it was good to go. The bottom stand was a different story. All flat surfaces, but lots of angles, corners, and grooves to get into. A few rounds of blocks, and more of that elbow grease, and it was all smoothed out.

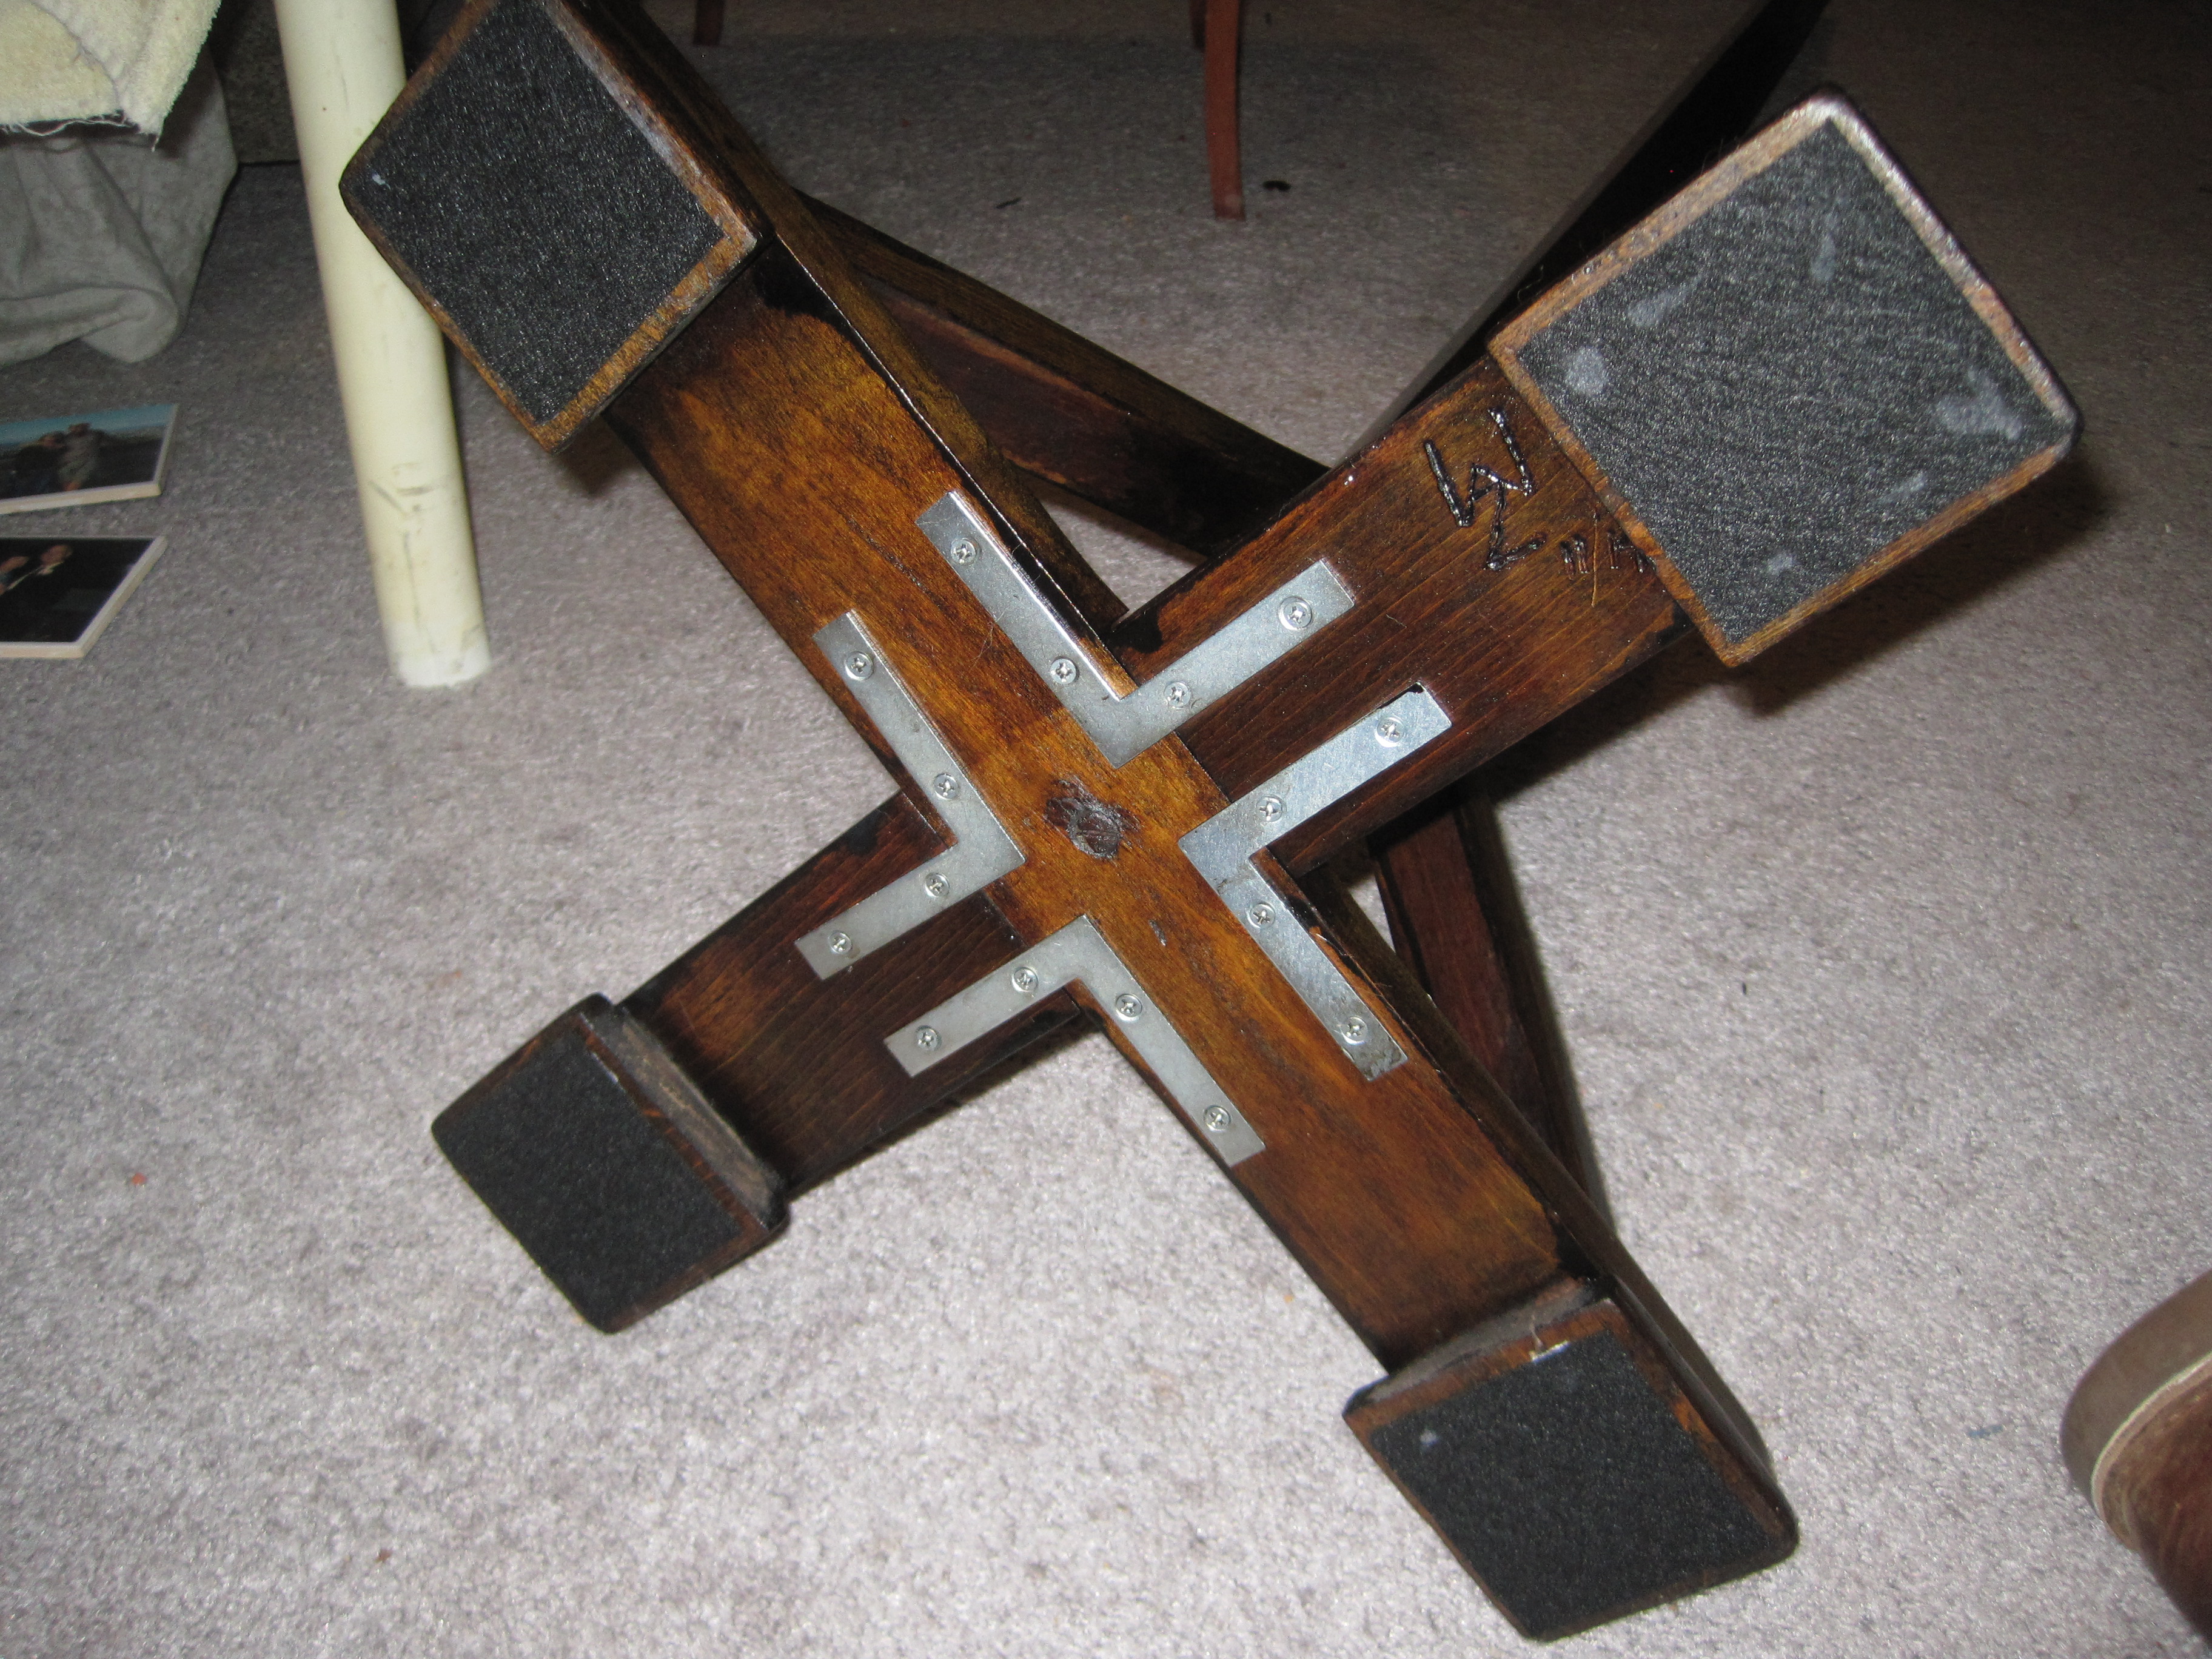
Did I mention the coat rack was wobbly? Well, it was. As in “weebles wobble” wobbly. But as always, Dan had a solution. He drilled braces into the bottom of the coat rack – problem solved.
Now, let’s bring this thing to life with some stain. We wanted something dark, and after testing four different colors on two different types of wood, we decided to go with MinWax Jacobean. We applied two layers to get the dark color we wanted.

After letting that dry overnight, Dan wanted to fill the holes left behind by the old hooks. We used wood putty, causing a bit of a mess (which led to an even bigger mess). The putty filled the holes nicely, but after scraping flat with a putty knife, it got onto the coat rack itself. After realizing it wasn’t easy to wipe off and was actually ruining the stain, we had to re-sand that area and reapply stain to match the work we had already done.
Bad news from here.”Someone” (me) didn’t do a good job of wiping the excess stain the second time around, and it dried too thick. Long story short, Dan had to reuse the stripper (ha) and re-sand the entire pole back to the natural wood (remember, I said that was the “easy” part… but still annoying that we had to redo it – oops). The good thing was the stain on the base turned out great the first time around, so we weren’t re-doing that.
After re-sanding, Dan used “wood filler” (instead of the putty) to finish up the holes. THEN, we were back where we were and re-stained the pole. Hold your breath that it comes out better…
Good news… it turned out even better this time!
A few coats of poly, and the coat rack was sealed. The only thing left to do was add the hardware. Four hooks around the top (staggered so they wouldn’t bump into each other), and four hooks around the middle for “additional family members” as Dan likes to call them (and by “them” I mean children). Not that they’re in the foreseeable future, but hey, great idea none-the-less.
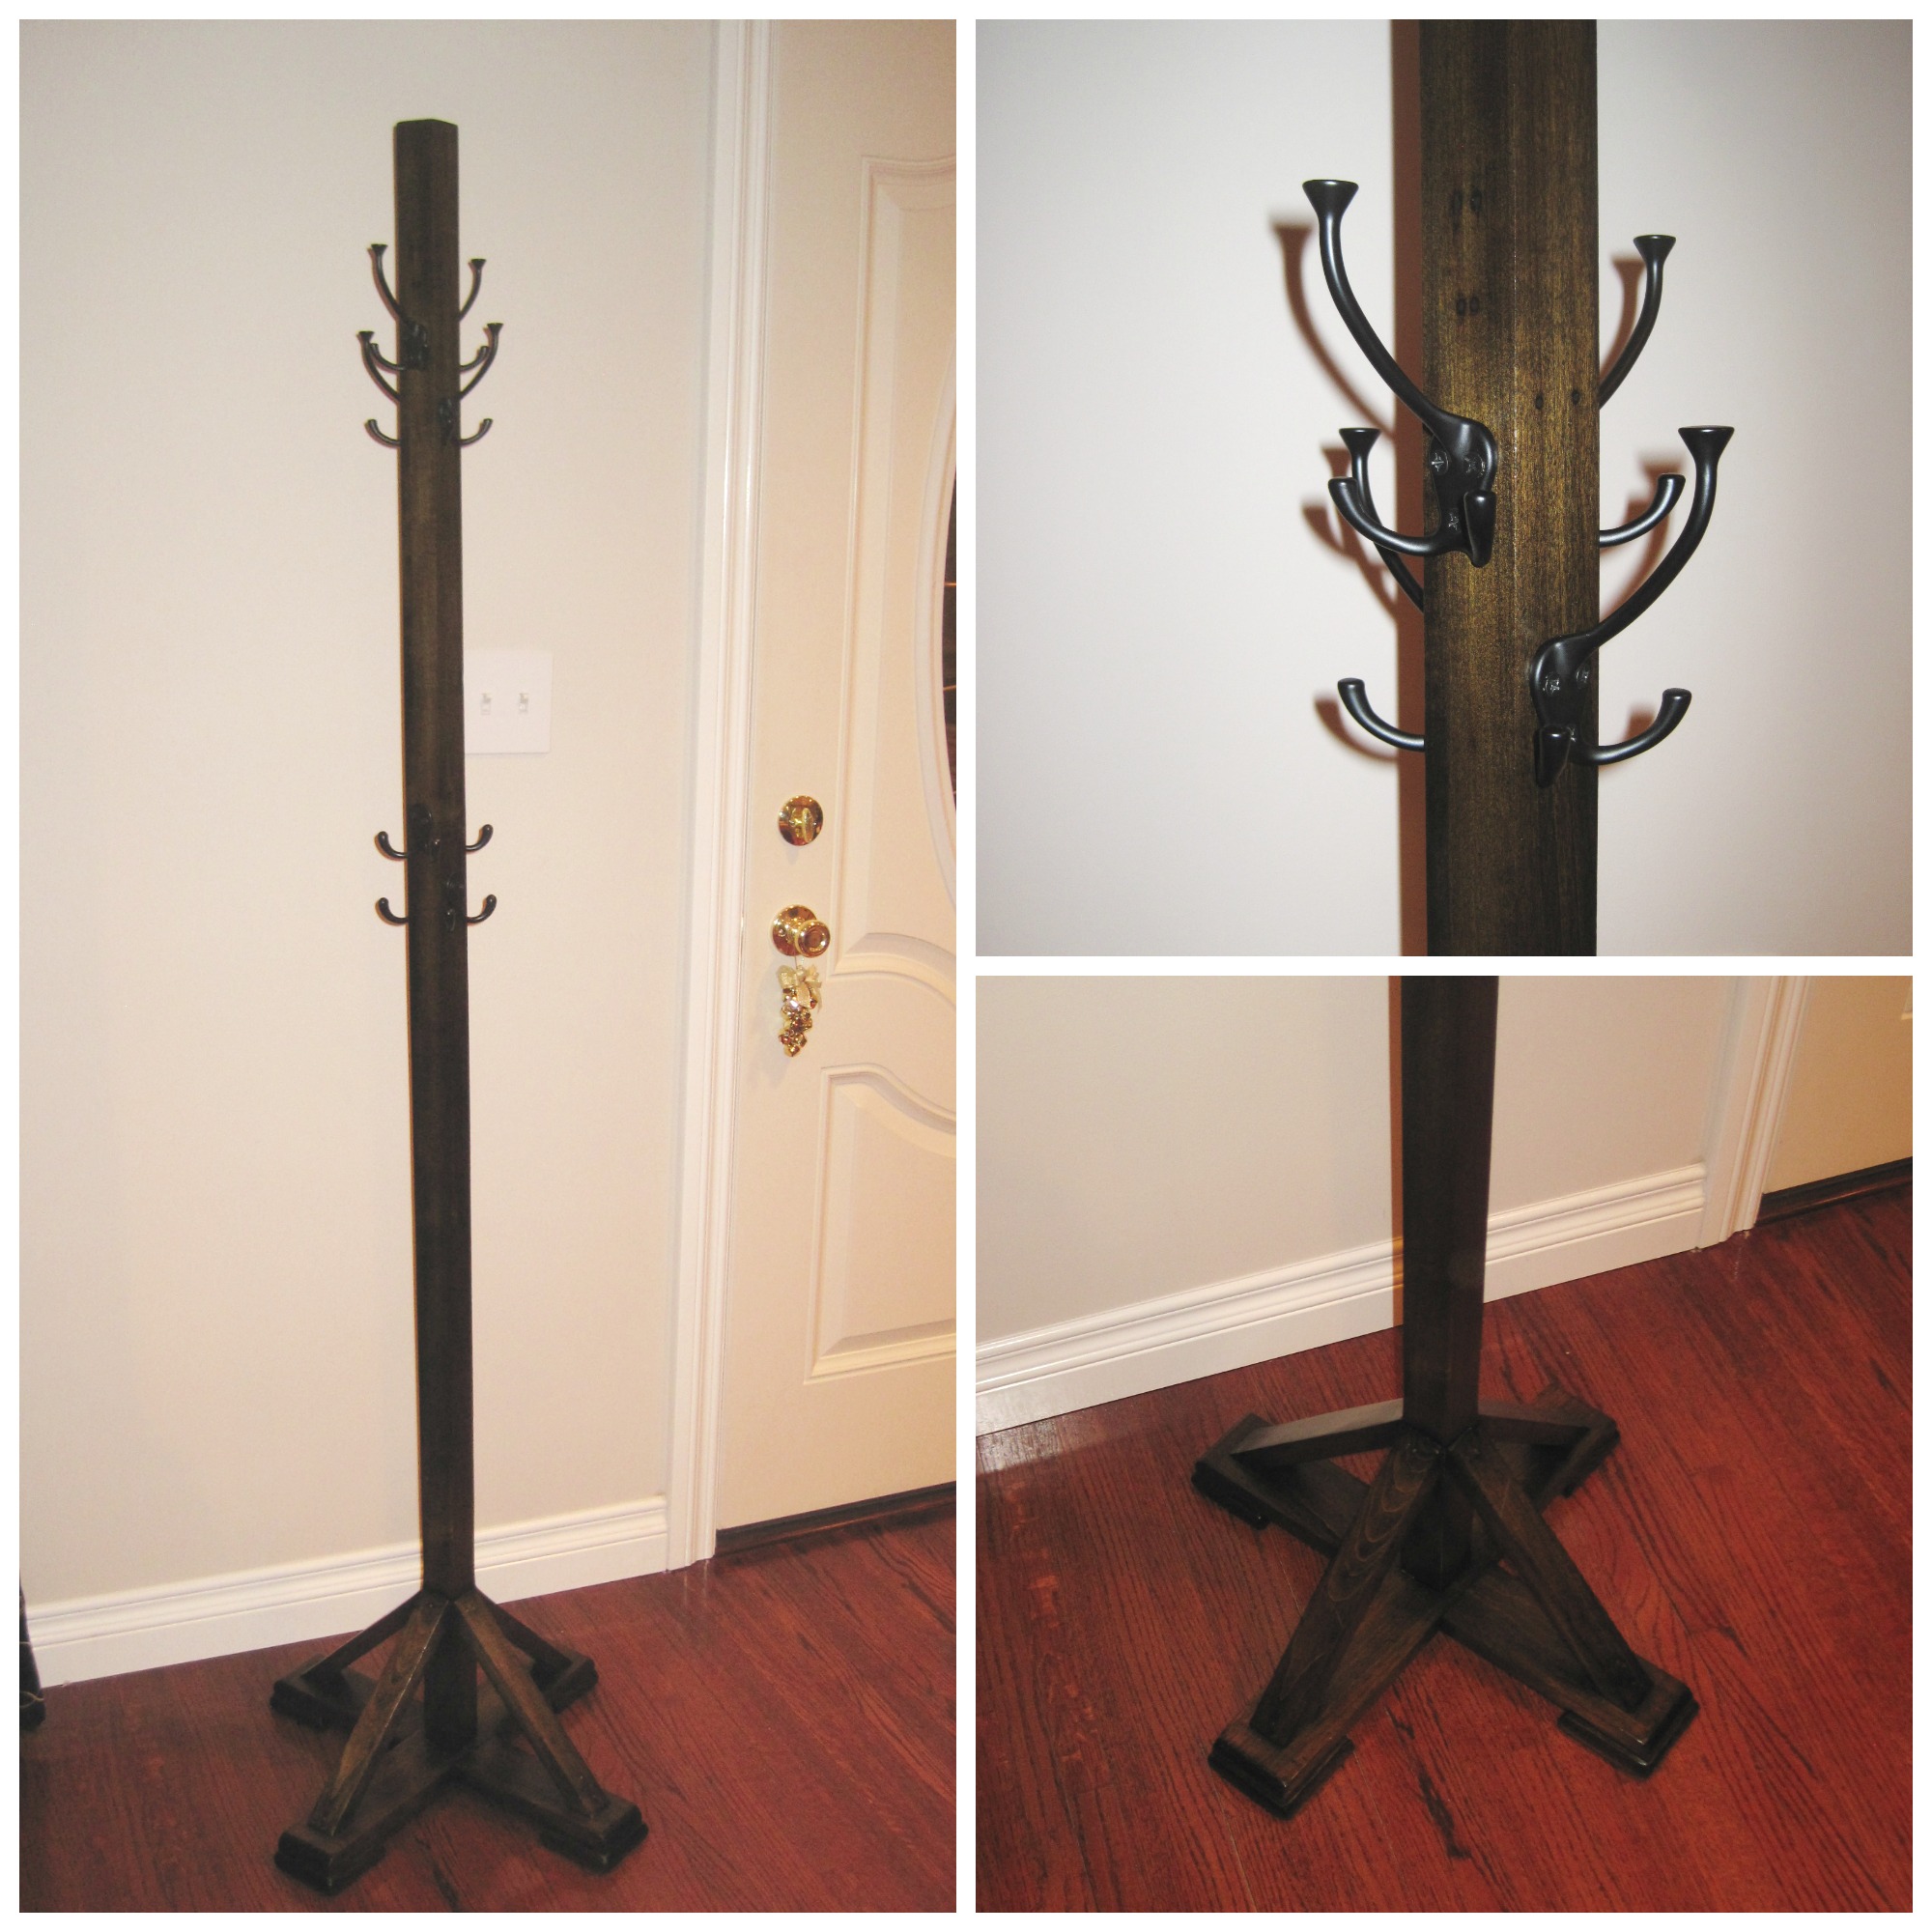
And there you have it. Our very own coat rack that will greet our family and friends as they enter our home.
Onto the next project!
